Short instructions for configuring a reversing starter
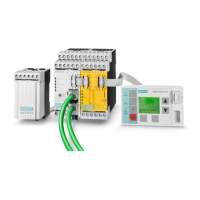
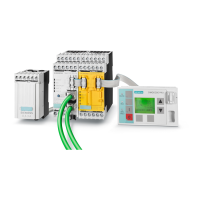
SIMOCODE pro
GWA 4NEB 631 6050-22 DS 03
2-11
Setting the PROFIBUS DP address via SIMOCODE ES
Proceed as follows:
Table 2-5: Setting the PROFIBUS DP address via SIMOCODE ES
Setting the PROFIBUS DP address via the addressing plug
Proceed as follows:
Table 2-6: Setting the PROFIBUS DP address via the addressing plug
Step Description
1 Plug the PC cable into the system interface.
2 Start SIMOCODE ES.
3 Open the menu Device > Open Online.
4 Select RS232 and the corresponding COM interface.
Confirm with OK.
5 Open the dialog Device Parameters > Bus Parameters.
6 Select the DP address.
7 Save the data in the basic unit with Target System > Download to Device.
The address is set. Confirm the change of address.
Step Description
1 Set the desired valid address on the DIP switch.
The switches are numbered.
For example, address 21: Put the "16"+"4"+"1" switches in the "ON" position.
2 If necessary, remove the PC cable from the system interface.
3 Plug the addressing plug into the system interface.
The "Device" LED lights up yellow.
4 Briefly press the Test/Reset button. The set address is accepted. The
"Device" LED flashes yellow for approx. 3 seconds.
5 Remove the addressing plug from the system interface.