4-101
PDW-700/V1 (E)
4-11. AUDIO A/D Error Correction
Before starting adjustment, refer to “9-1. Preparation”.
Fixtures and Equipment
For more details, refer to “1-10-2. Measuring Equipment”.
. Signal generator
Adjustment Procedure
1. Input the sine wave of +4 dBu of 1 kHz to the AUDIO
IN CH1 connector and CH2 connector on the rear.
2. Execute AUDIO A/D ADJUST of the VDR MAINTE-
NANCE page of the SERVICE menu.
3. Select “YES” by turning the MENU knob, and press
the MENU knob.
The auto adjustment starts. The following screens are
displayed during the adjustment.
. Screen displayed when CH1 is being adjusted
. Screen displayed when CH1 is finished and CH2 is
being adjusted
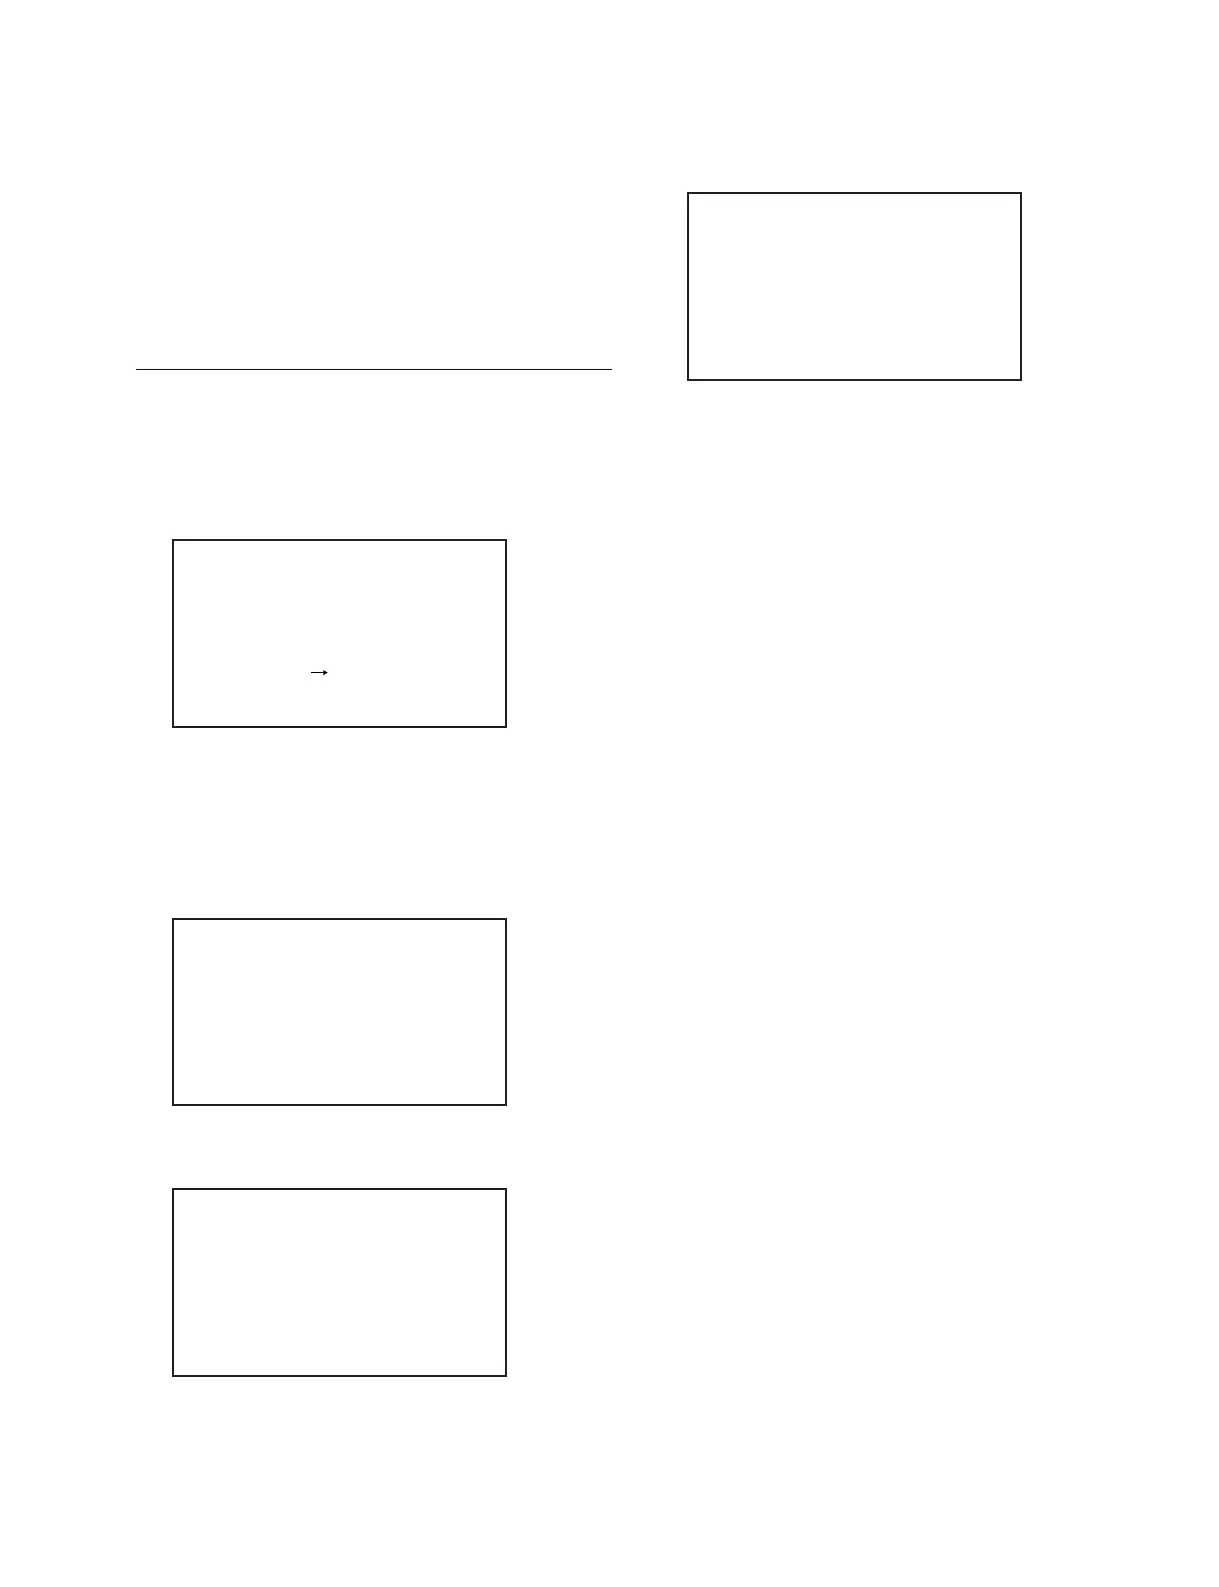
AUDIO A/D ADJUST
ADJUST START?
YES NO
AUDIO A/D ADJUST
CH1: ADJUSTING
CH2:
CH3:
CH4:
AUDIO A/D ADJUST
CH1: COMPLETE
CH2: ADJUSTING
CH3:
CH4:
. Screen displayed when all CH is are finished
4. Press down the MENU ESCAPE switch when the
adjustment is complete.
5. Turn off the power of this equipment once and back on
again. The error is corrected.
m
. If “TIME OVER ERR” is indicated on the adjustment
screen, check the menu setting, switch setting and others,
and re-execute the adjustment.
. If “INPUT OVER ERR” is indicated on the adjustment
screen, check the signal level, since the input signal level
may be too high.
. If “INPUT UNDER ERR” is indicated on the adjustment
screen, check the signal level, since the input signal level
may be too low.
. If “NO INPUT ERR” is indicated on the adjustment
screen, check the input signal, since the signal may not
be input correctly.
AUDIO A/D ADJUST
CH1: COMPLETE
CH2: COMPLETE
CH3: COMPLETE
CH4: COMPLETE