Basic Setup Setting the Printer’s Date and Time
Page 23
© Copyright 2021 Stratasys. All rights reserved.
Setting the Printer’s Date and Time
In order to ensure accurate build times, the printer’s clock must be set. This is done within the
FDM Control Center application which was installed on your workstation PC as part of the
installation process (see “FDM Control Center Software” (page 22)). Perform the following
steps to set the F770’s date and time:
1. Open FDM Control Center by navigating to All Programs > Insight (installed version) >
Control Center (installed version) or double-clicking the Control Center shortcut (if
available).
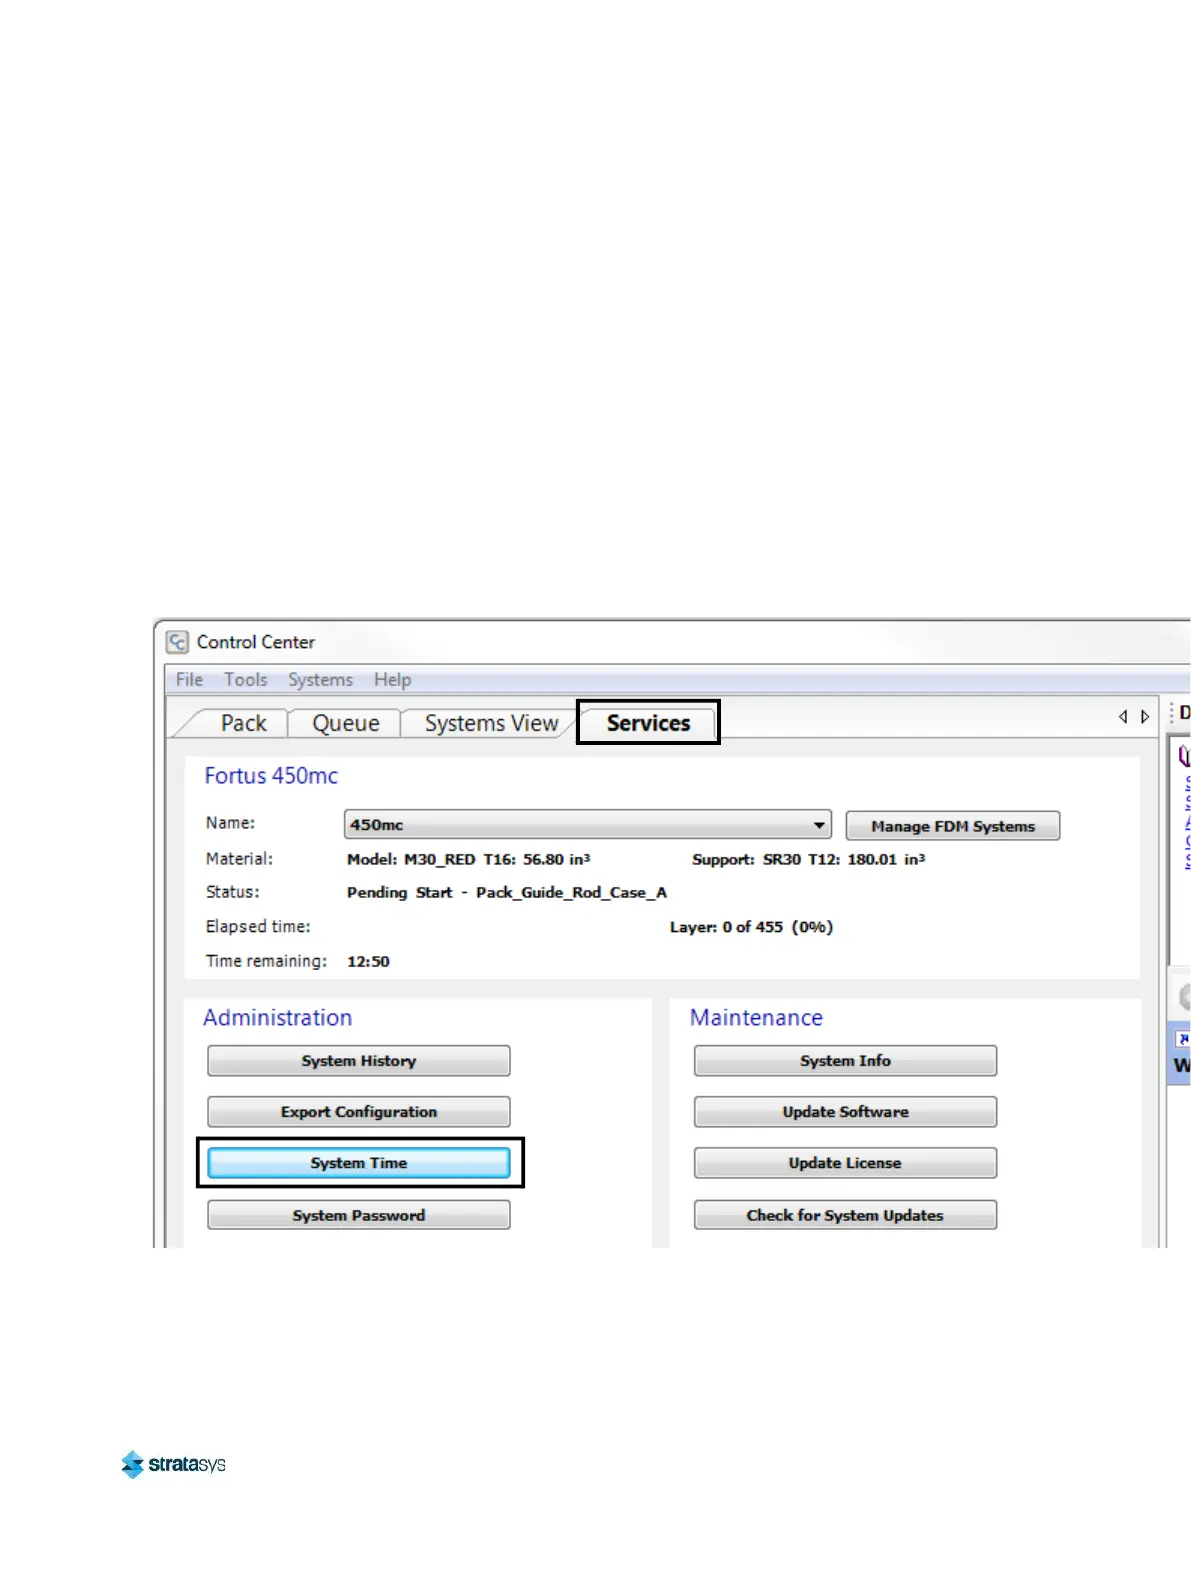
2. Select the Services tab, and ensure that your F770 is selected from the Name: drop-down
menu. If your printer is not available from the drop-down menu, you will need to add the
printer within Control Center, see “Add Printer to Control Center” on page 219 for
instructions.
3. Click the System Time button.
Figure 14: System Time Button Location
4. The Change F770 Date and Time dialog will be displayed. The date and time settings
within this dialog are automatically configured based on the workstation PC’s date and time
settings.