Customer Replaceable Units Filament Ports Assembly
Page 229
© Copyright 2021 Stratasys. All rights reserved.
Installing the Oven Door Interlock
1. Use a 3 mm hex wrench to loosely reinstall the mounting screws (2) that secure the
interlock switch and mounting bracket to the right side of the oven chamber entrance. See
Figure 60.
2. Make sure that the interlock switch actuator is fully inside the switch port when the oven
door is closed. Tighten the interlock switch mounting screws.
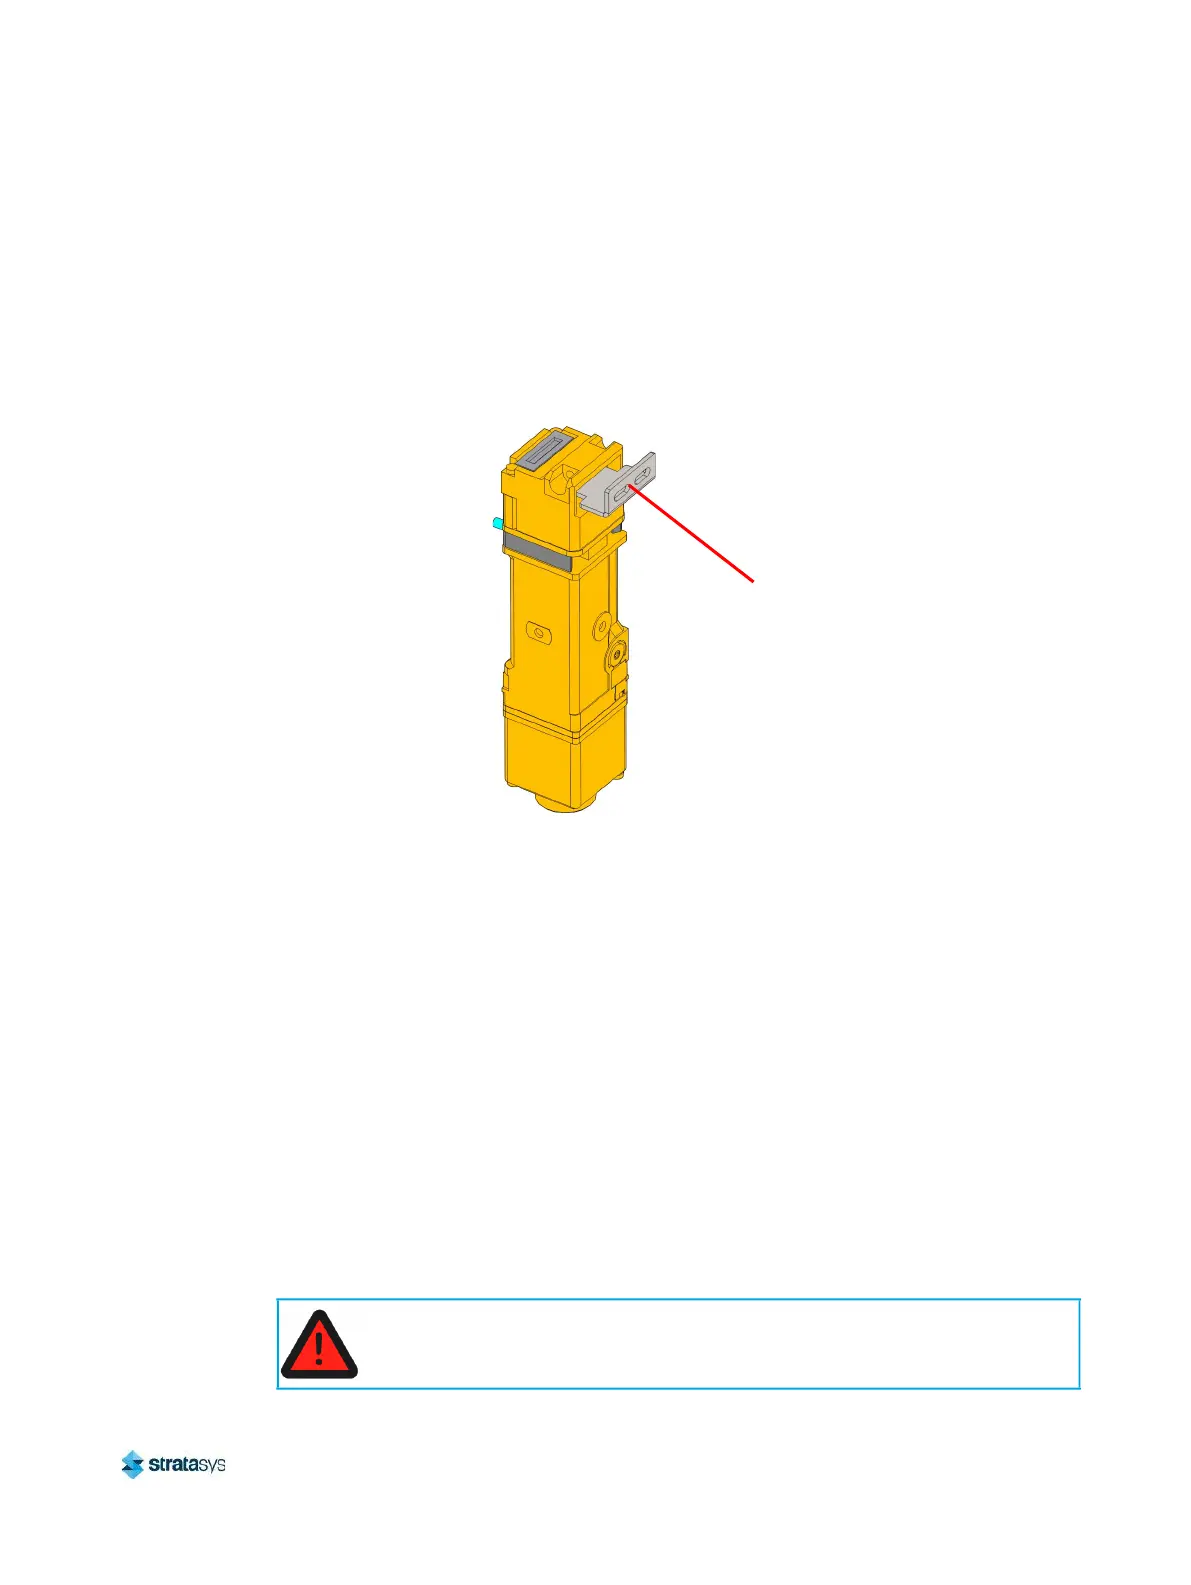
Figure 61: Interlock Switch Detail
3. Reconnect the interlock switch cable.
4. Close the oven door.
5. Power ON the printer.
6. Verify operation by opening and closing the oven door.
7. If the touchscreen indicates that the oven door is not closed, adjust the position of the
actuator.
Filament Ports Assembly
Required Tools
• 3 mm hex wrench
• T20 Torx wrench
Removing the Filament Ports Assembly
1. Unload material.
2. Power OFF the printer. See “Powering Off” (page 182).
Actuator
Always perform lockout-tagout of the AC power cord in accordance with
customer site procedures.
 Loading...


