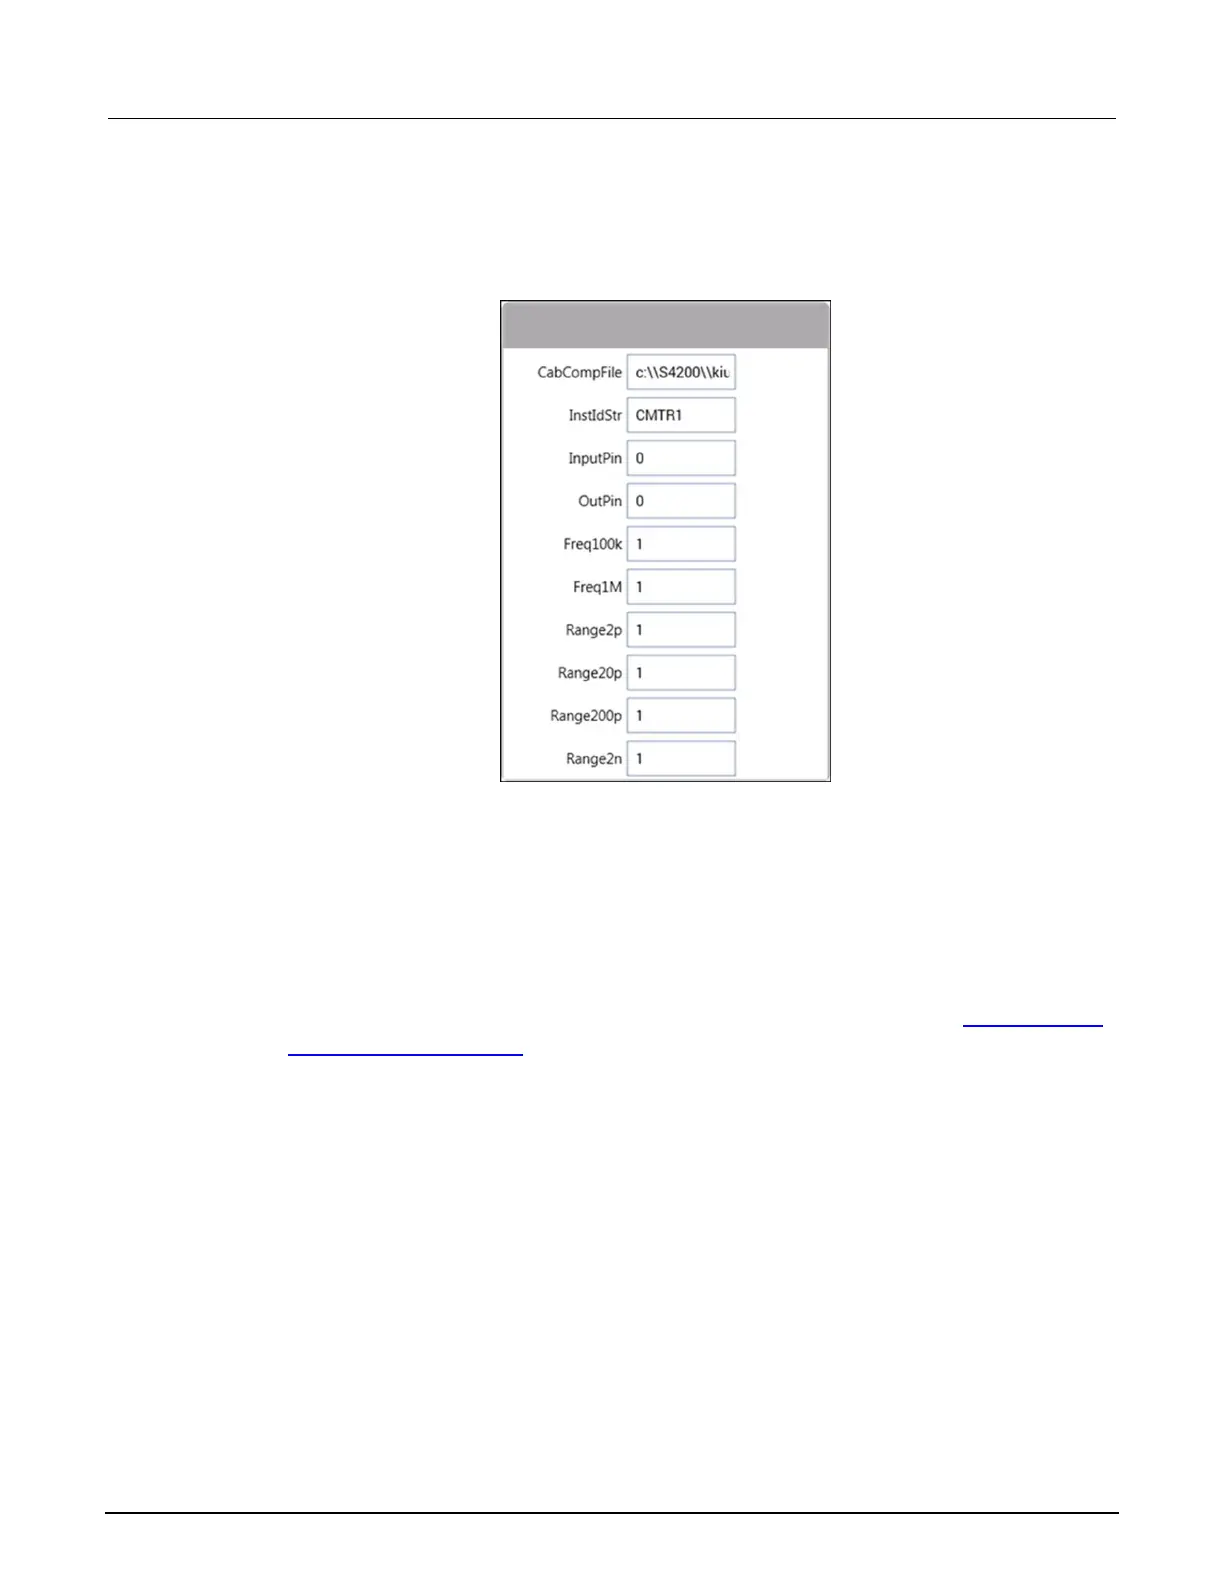
4. Enable or disable cable compensation: Use the frequency and range fields to either disable (0) or
enable (1) cable compensation for the test frequencies and ranges. The following figure shows
cable compensation enabled for all ranges and test frequencies.
Figure 88: CableCompensate82 user module
5. Select Run to execute the test.
6. Follow the instructions on the dialog boxes, which will guide you through the cable compensation
process. The three basic dialog boxes are shown below.
▪ Measure offset: An open circuit measurement is required. Open the circuit as close to the
DUT as possible.
▪ Measure capacitance source: Connect a capacitance source in place of the DUT. Note that
the value in the dialog box corresponds to a calibration value you entered in Enter and save
capacitance source values (on page 6-10). Connect the capacitance source as close to the
DUT as possible.
▪ Compare readings: Compares the measured value to the calibration (nominal) value you
entered. The two readings should be fairly close. If they are not, the wrong capacitance
source may have been connected or an open circuit condition occurred. In that case, click
Cancel to abort the cable compensation process.

 Loading...


