9. Loosely install one of the linear rail supports to the left
front panel with 1 M6 × 1.0 - 12 screws, making sure
that the clamping bolt is facing up.
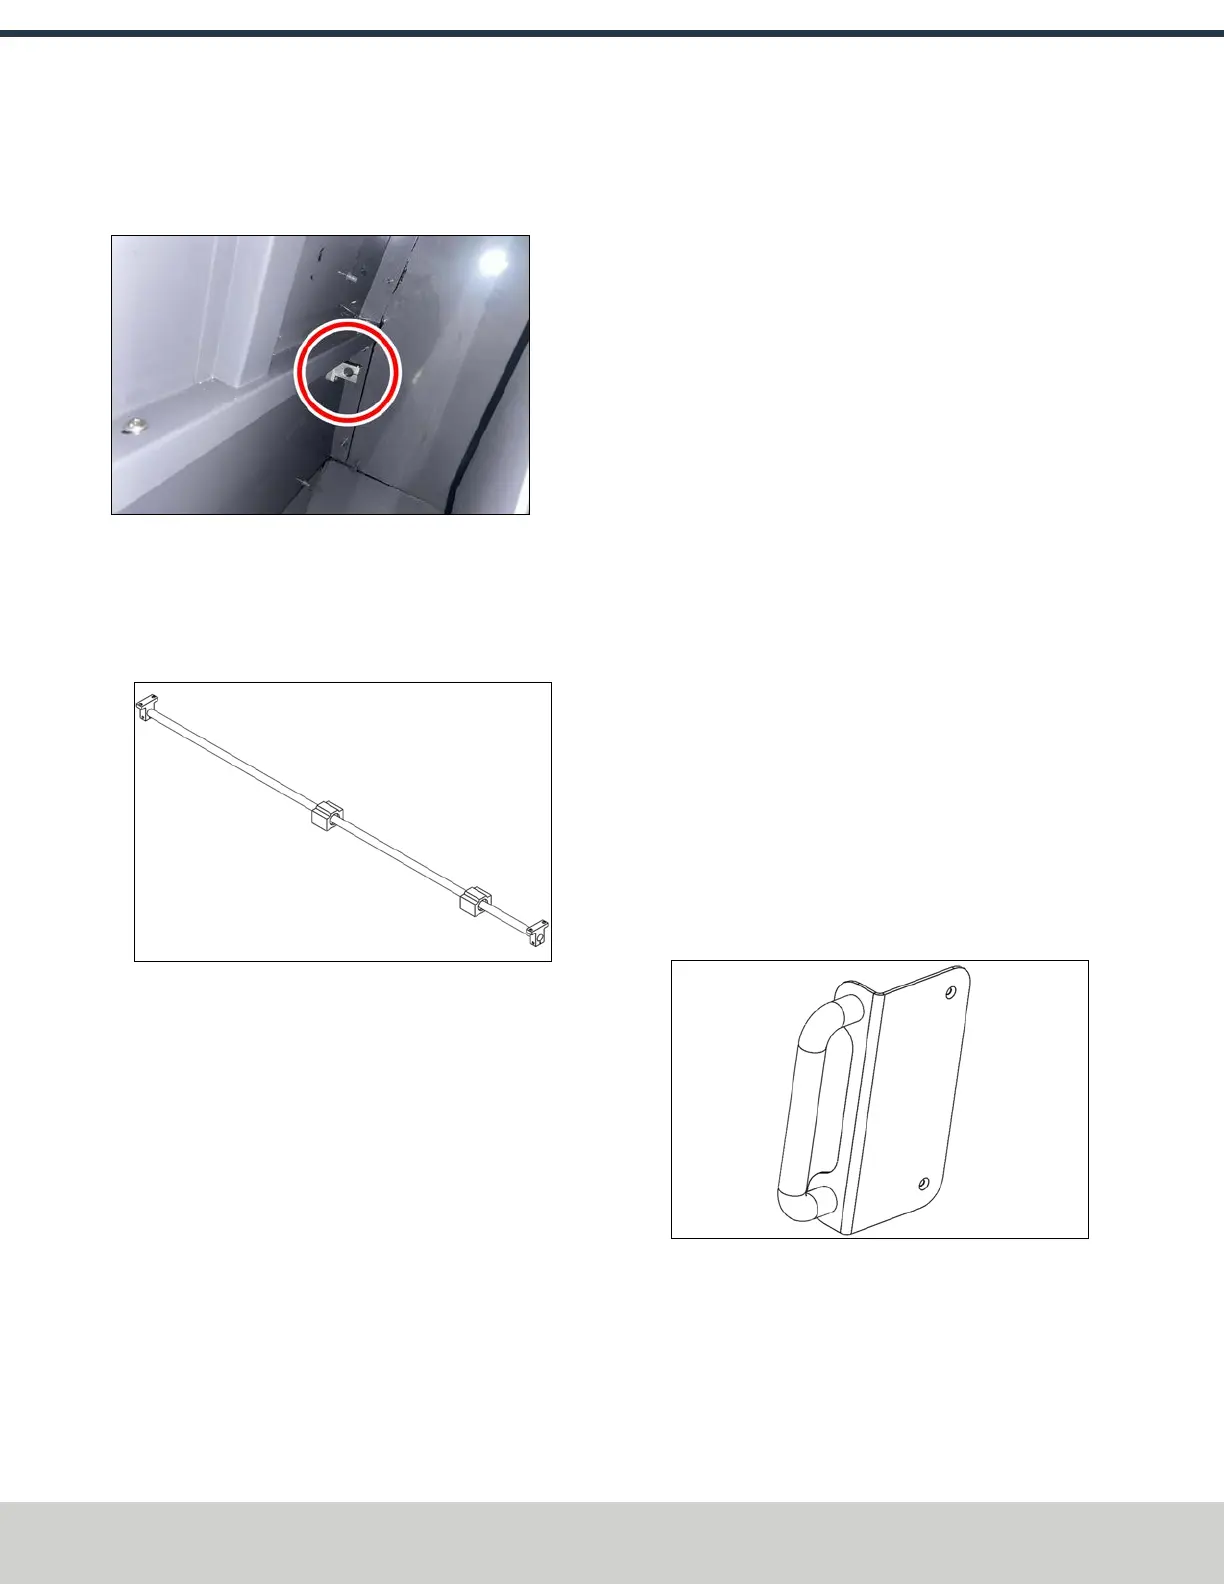
10. Assemble the bottom linear rail:
l Slide two guide blocks onto the rail.
l Put the remaining linear rail support onto the
opposite end of the rail, making sure that the
clamping bolt is facing up.
Figure 4-50: Linear rail assembly.
11. Slide the loose end of the linear rail into the support that
you installed in Step 9. Install the remaining M6 × 1.0 -
12 screw into the support.
12. Fasten the remaining linear rail assembly to the right
front panel with 2 M6 × 1.0 - 12 screws with the
clamping bolt facing up.
13. Tighten the clamping screw on each support bracket.
14. Fasten the door to each linear guide block with 8 M5
screws.
15. Identify the enclosure door overlap extension panel
(PN51365).
16. Fasten enclosure door overlap extension panel to the left
edge of the door panel using 4 M6 × 1.0 - 12 screws.
17. Open and close the door to ensure that the door overlap
extension panel is correctly aligned and not rubbing on
the side panels. You may need to align the panel up or
down.
18. Identify the enclosure door linear bearing cover panel
(PN51886). Loosely install 2 M6 × 1.0 - 12 screws to the
door, and then slide the panel on. Tighten the screws.
19. Identify the enclosure scuff guard (PN51345). Fasten it
to the front panel using 2 M6 × 1.0 - 12 screws.
20. Identify the enclosure door window (PN51275) and
remove the plastic covering from either side.
21. Identify the two long window clamps (PN51690) and
two short window clamps (PN 51691).
22. Loosely install one short window clamp and one long
window clamp to the bottom and left side of the inside
of the door panel's window opening using 8 M6 × 1.0 -
12 screws.
23. Close the door and put the window through the door.
Slide the window onto the bottom window clamp.
Holding the window in place with one hand, open the
door, and slide the window into the left window clamp.
24. Loosely install the remaining two window clamps to the
door panel using 8 M6 × 1.0 - 12 screws.
25. Tighten all screws on the window clamps. Don't
overtighten the screws.
26. Identify the door handle bracket (PN 51360) and the door
handle (PN 51361).
Figure 4-51: Door handle and door handle bracket
sub-assembly.
©Tormach® 2024
Specifications subject to change without notice.
Page 54 UM10811: 1500MX Operator's Manual (Version 0424A)
For the most recent version, see tormach.com/support
4: INSTALLATION
 Loading...


