2-14
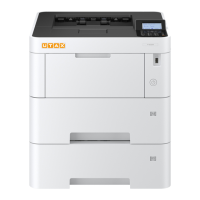
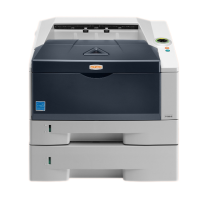
Installation > Installing the main unit
[CONFIDENTIAL]
(8-2)Network Setup
Configuring the Wired Network
Set up TCP/IP (IPv4) to connect to the Windows network.
TCP/IP (IPv4) setting
Set up TCP/IP (IPv4) to connect to the Windows network.
The default settings are as follows.
• TCP/IP: On
• DHCP: On
• Auto-IP: On
• IP address: 0.0.0.0
• Subnet Mask: 0.0.0.0
• Default Gateway: 0.0.0.0
1
Display the screen.
[Menu] key > [▲] [▼] key >[Network] > [OK] key > [▲] [▼] key > [Wired Netwk. Set] > [OK] key >
[▲] [▼] key >[TCP/IP Settings] > [OK] key > [▲] [▼] key > [IPv4 Setting] > [OK] key
2
Configure the settings.
When using DHCP server
1 [▲] [▼] key > [DHCP] > [OK] key > [▲] [▼] key > [On] > [OK] key
When setting the static IP address
1 [▲] [▼] key > [DHCP] > [OK] key > [▲] [▼] key > [Off] > [OK] key
2 [▲] [▼] key > [IP Address] > [OK] key
3 Set the IP address.
The machine is equipped with network interface, which is compatible with network protocols such as TCP/IP
(IPv4), TCP/IP (IPv6), NetBEUI, and IPSec. It enables network printing on the Windows, Macintosh, UNIX and
other platforms.
The factory default login user name and login password are set as shown below.
• 45 ppm model: Login User Name/ Login Password: 4500 / 4500
• 50 ppm model: Login User Name/ Login Password: 5000 / 5000
• 55 ppm model: Login User Name/ Login Password: 5500 / 5500
• 60 ppm model: Login User Name/ Login Password: 6000 / 6000
You can set any value between 000 and 255.
Use the numeric keys or select the [▲] or [▼] key to enter a number.
Select the [◄] or [►] key to move the position being entered, which is shown highlighted.