2-25
Installation > Installing the optional parts
[CONFIDENTIAL]
(3) SSD (HD-6/HD-7)
1
Turn off the main unit and disconnect the power cord and all interface cables.
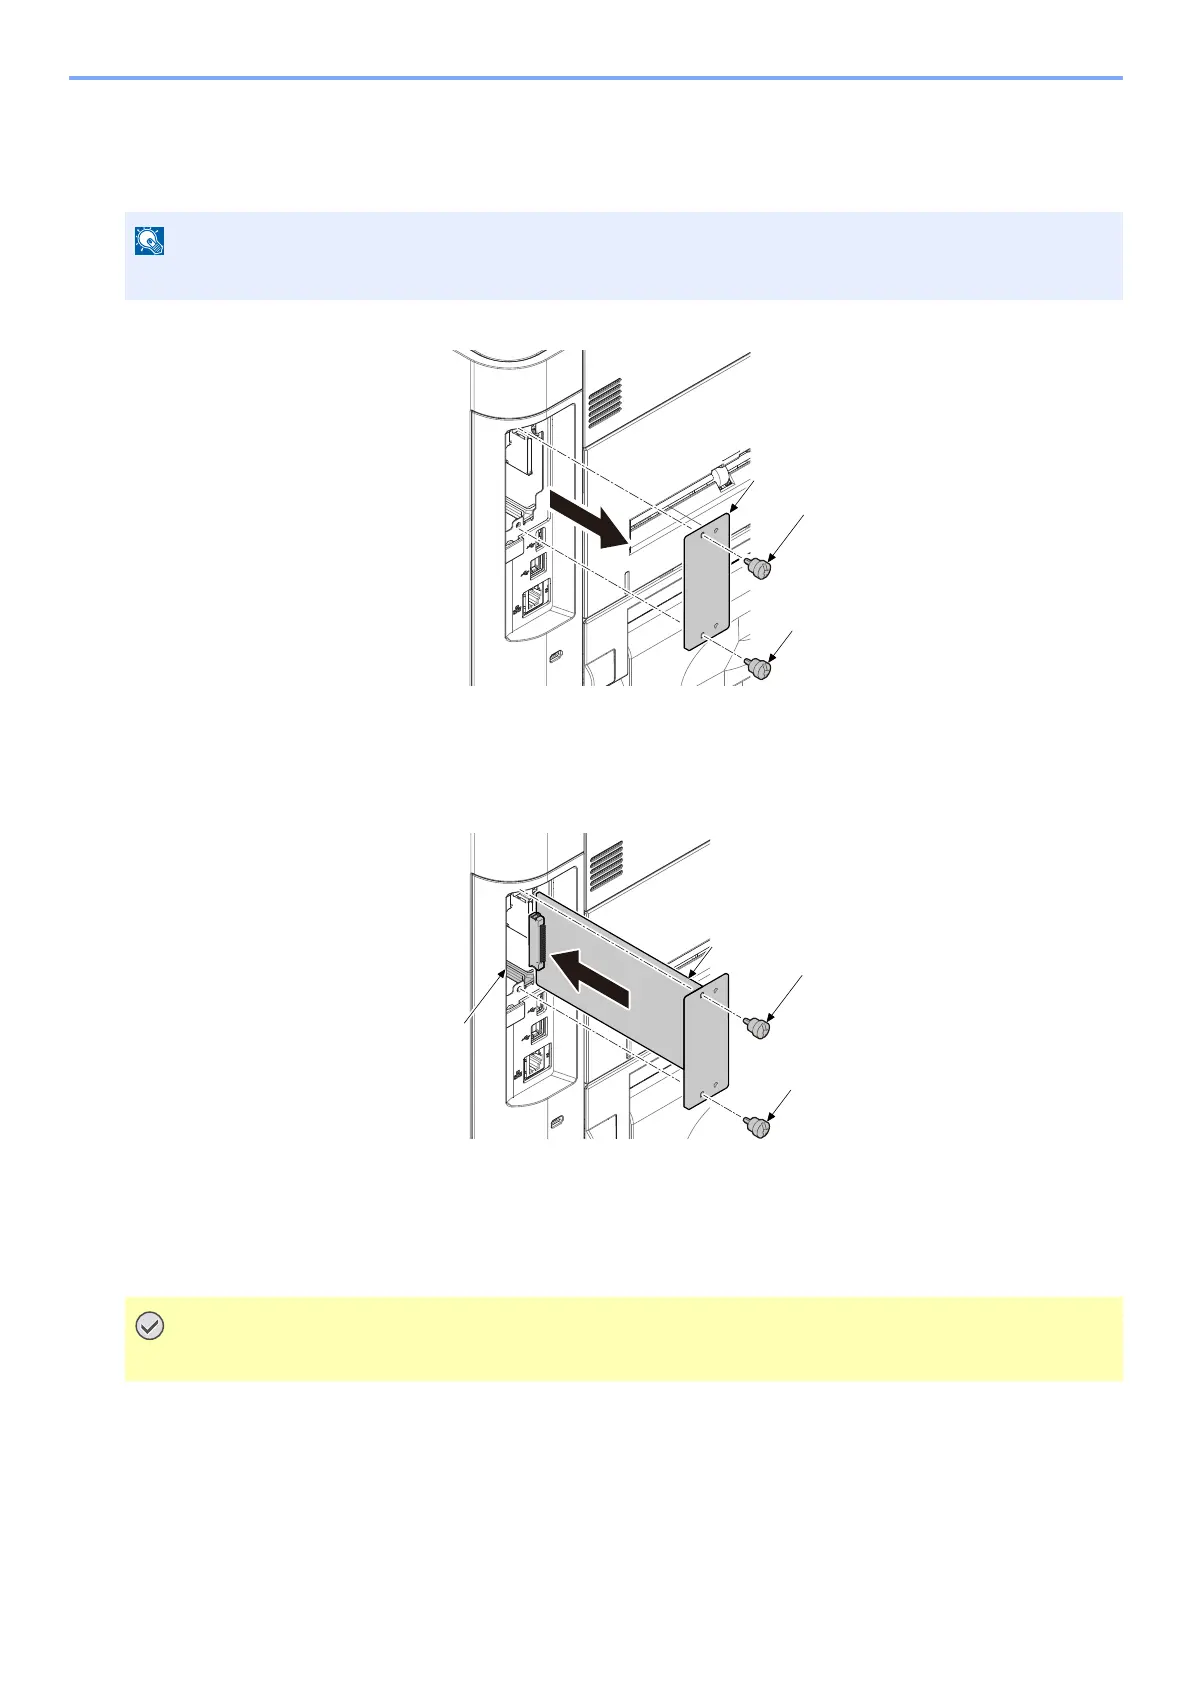
1 Remove two screws (b) and the option slot cover (a).
2
Attach the SSD to the main unit
1 Insert the SSD (a) in an option slot (c).
2 Fix the SSD (a) with using two screws to main unit.
• When attaching the new SSD, display appears at the 1st start-up to induce formatting
Format SSD
When an optional SSD is inserted into the printer for the first time, it must be formatted before use.
Format procedure
1 [Menu] key > [▲] [▼] key > [Device Common] > [OK] key > [▲] [▼] key > [Format SSD] > [OK] key
Format an optional SSD.
The shutdown confirmation screen is displayed. It might take about three minutes to shut down.
• Formatting will destroy any existing data on a storage device including a used SSD.