7-20 Phaser 3600 Printer Service Manual
Service Parts Disassembly
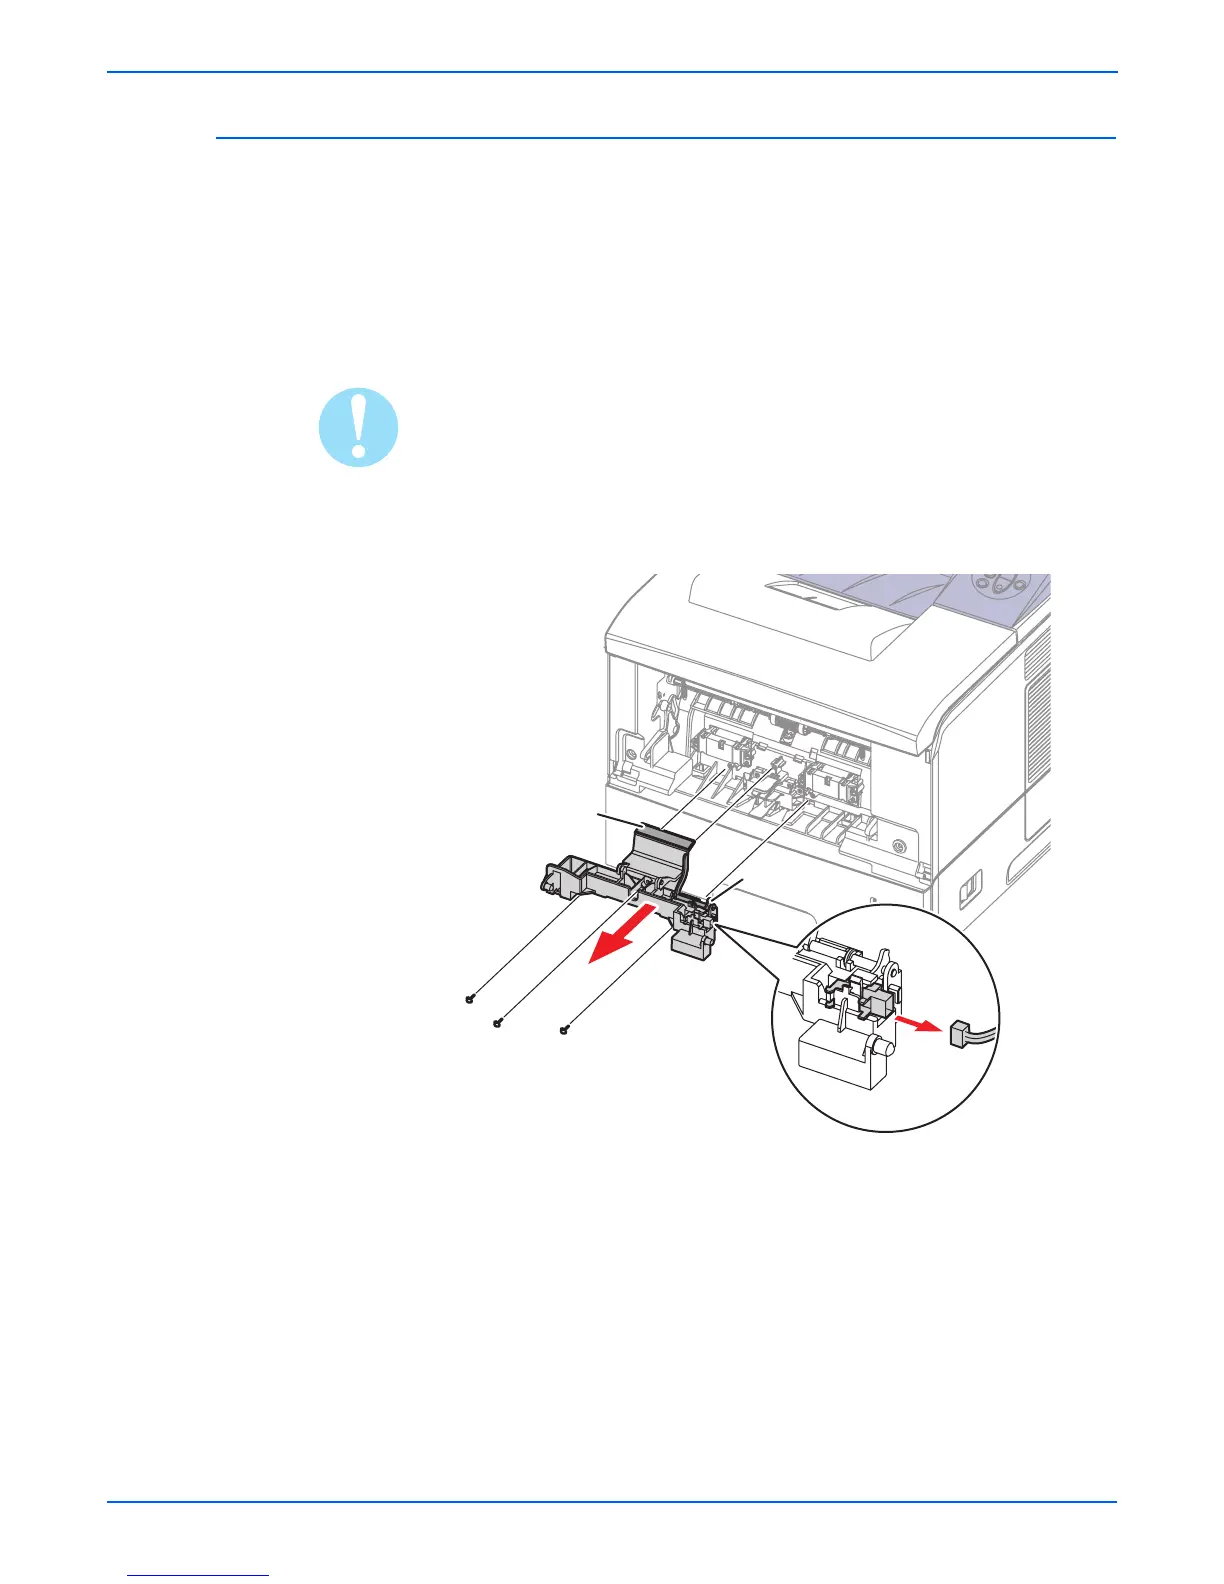
Tray 1 (MPT) Separator Pad Assembly (PL 1.3.4)
1. Remove the Tray 1 (MPT) Assembly (page 7-14).
2. Remove the Retard Assembly (page 7-19).
3. Loosen the wire harness from the plastic wire holder and disconnect the
connector (CN1) from the Separator Pad Assembly. Do not use a
needlenose set of pliers to loosen the connector.
4. Remove the 3 screws shown below and then remove the Separator Pad
Assembly from the printer.
Caution
Be careful not to break the MP actuator flag. Also, do not lose the spring
located underneath the Friction Pad of the separator.
Replacement Note
Before installing the three screws, be sure to snug the spring between
the friction pad and the plastic base.
s3600-039
Friction Pad
MP Actuator

 Loading...


