7-76 Phaser 3600 Printer Service Manual
Service Parts Disassembly
Switched Mode Power Supply (PL 1.1.29.2)
1. Remove the Print Cartridge.
2. Remove Tray 2 and Tray 3 (if installed).
3. Remove the Right Cover (page 7-6).
4. Remove the Rear Cover (page 7-8).
5. Remove the Registration Assembly (page 7-41).
6. Turn the printer upside down so that you are viewing the bottom of the
chassis.
7. Remove the rear Cross Bar secured by 2 screws.
8. Remove the Tray 2 No Paper Actuator for better access.
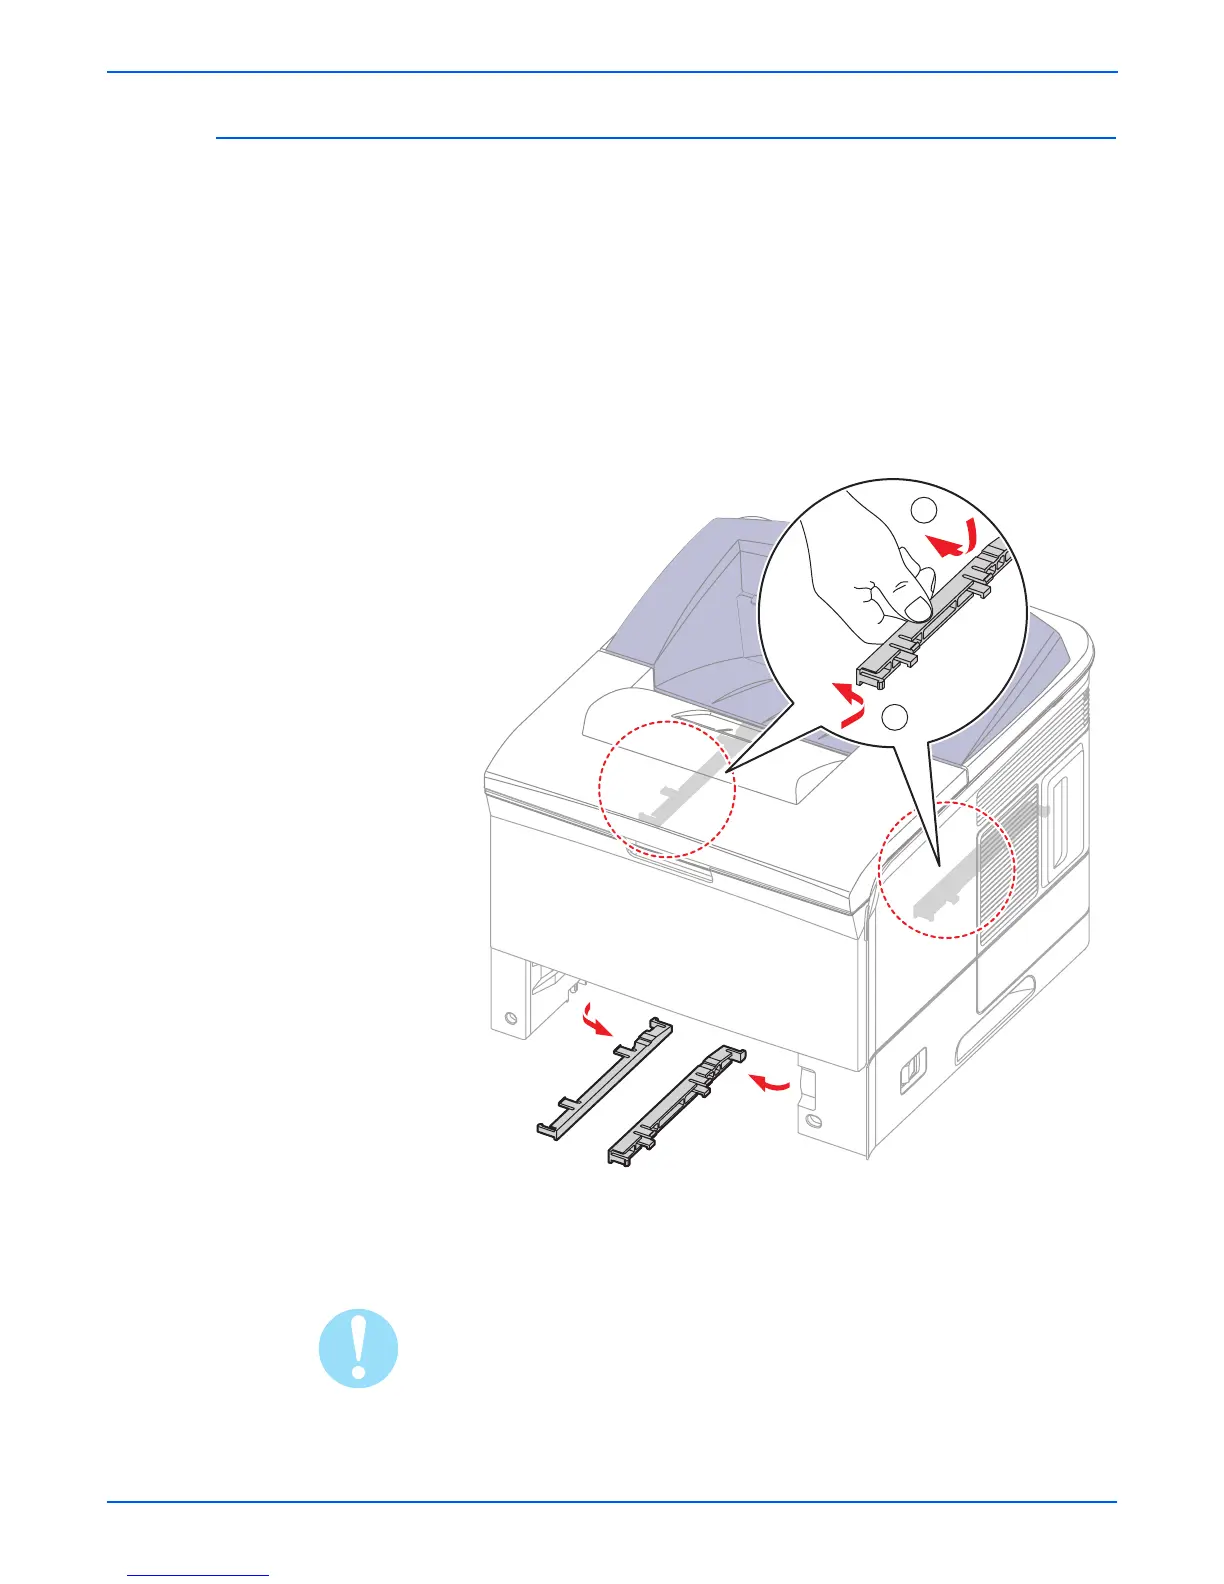
9. Remove the left and right Duplex Unit Guides.
10. Remove 5 screws from the SMPS Power Supply Board.
11. Remove one grounding screw from the rear of the power supply.
12. Remove the SMPS Power Supply Board from the printer.
Caution
Since the fuser wire is hardwired to the SMPS Power Supply Board,
disconnect the wire from the fuser side.
s3600-072
2
1

 Loading...


