Image-Quality Problems
Phaser® 6120 Color Laser Printer Service Manual
4-28
Low Image Density
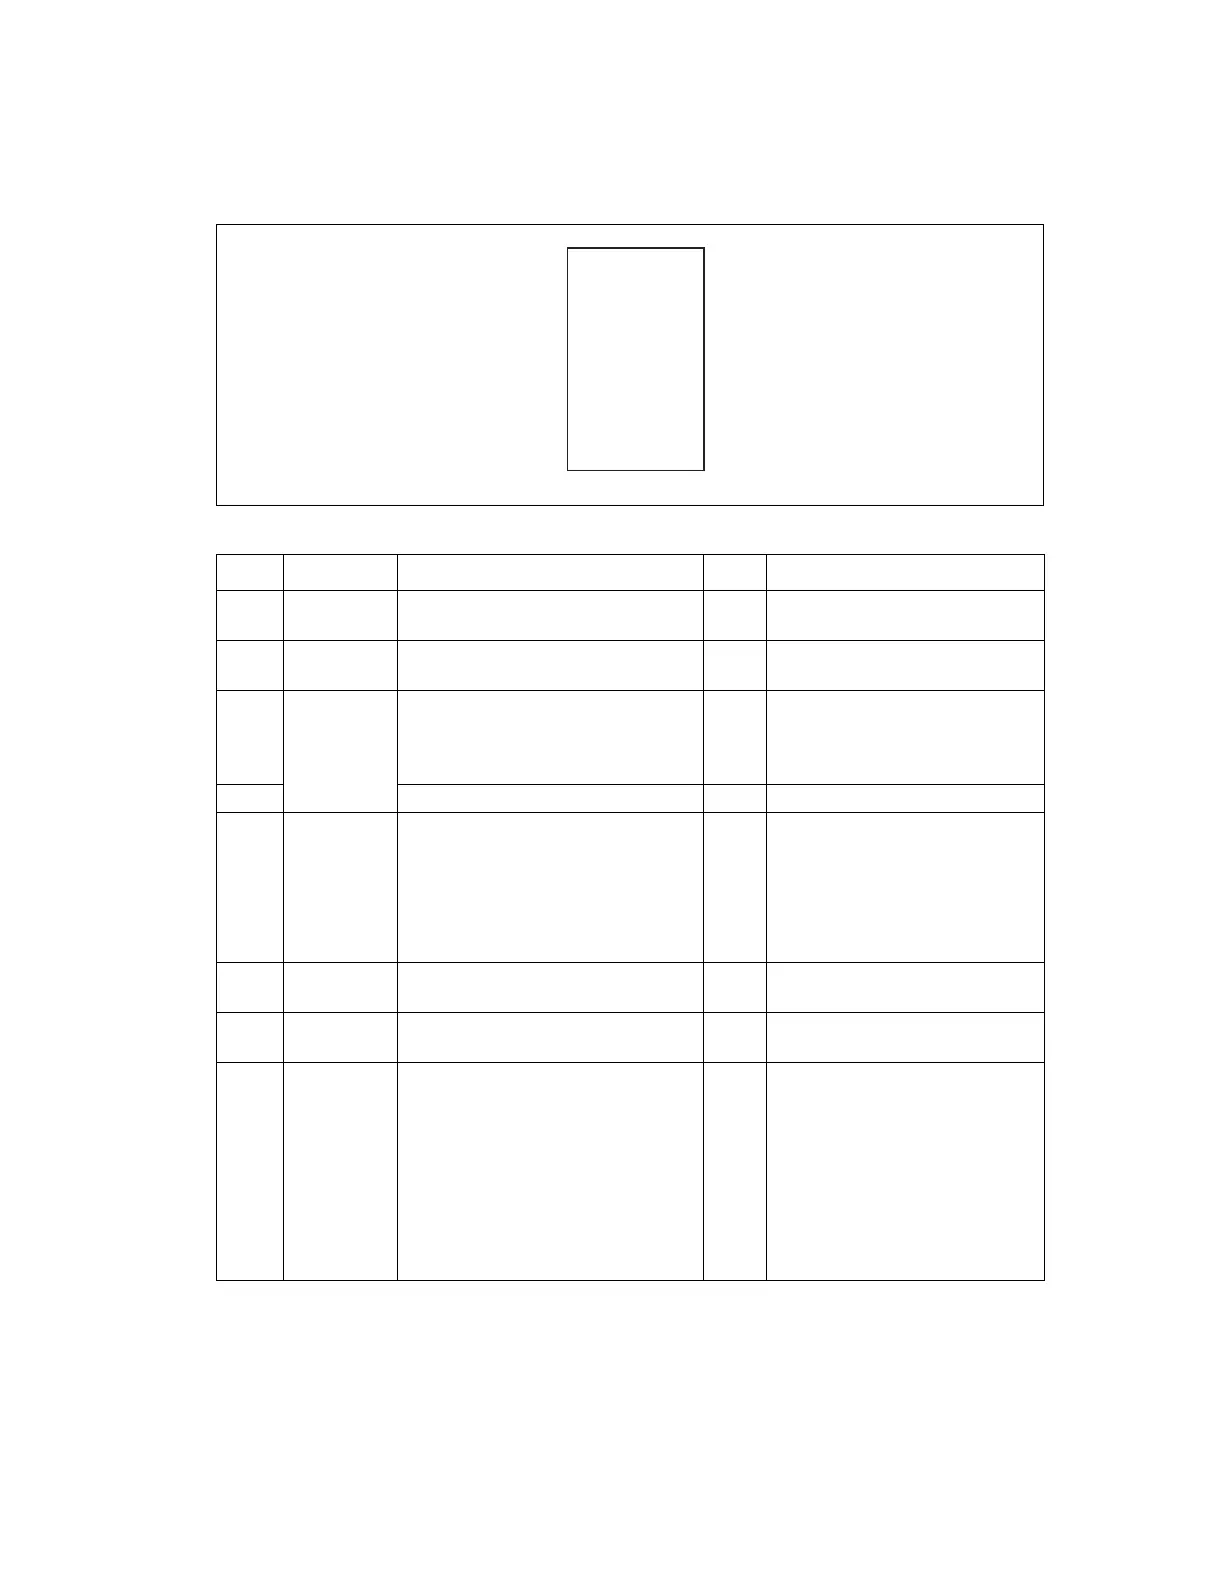
Typical Faulty Images
Troubleshooting Procedure
Step Section Check Item Result Action
1 Imaging Unit Is the outside of the imaging unit
dirty?
YES Clean.
2 Laser (PH)
Unit
Is the window surface dirty? YES Clean.
3 Transfer Belt
Unit
Check the mounting shafts on the
transfer belt assembly to ensure the
assembly is fully seated and installed
correctly.
NO Check or correct contact.
4 Is the contact dirty? YES Clean.
5 2nd Transfer
Roller
■ Is the high-voltage contact dirty?
■ Are the contact springs correctly
seated?
■ Is the high-voltage bias spring in
the correct location (making
contact with the plate.?
YES
NO
NO
Clean.
Reseat
Realign spring.
6 Paper Is the paper damp? YES Replace the paper with new paper
that has just been unwrapped.
7 Density
Sensor
Is the sensor dirty? YES Clean.
8 Have steps 1-7 eliminated the
problem?
NO
■ Replace the Toner Cartridge.
■ Replace the Transfer Belt Unit.
■ Replace the Transfer Roller.
■ Replace the Laser Unit (PH).
■ Replace the Density Sensor.
■ Replace the Control Board.
■ Replace the High Voltage
Unit.
ABCDE
ABCDE
ABCDE
ABCDE
ABCDE
4036fs4036c0

 Loading...


