Disassembly/Assembly Procedures
Phaser® 6120 Color Laser Printer Service Manual
5-26
3. Reinsert PJ22 through the opening of the chassis on the right side of the printer.
4. Align the top pin on the left side of the take-up assembly with the groove on the chassis.
5. Pull the tray forward until it rests underneath the cams on the take-up assembly.
6. Using the lower alignment pin, as a reference, reinstall the unit into the printer.
7. Reinstall the springs.
Separation Pad
Removal Procedure
1. Remove the Paper Pick-Up Unit. See Paper Take-Up Unit on page 5-23.
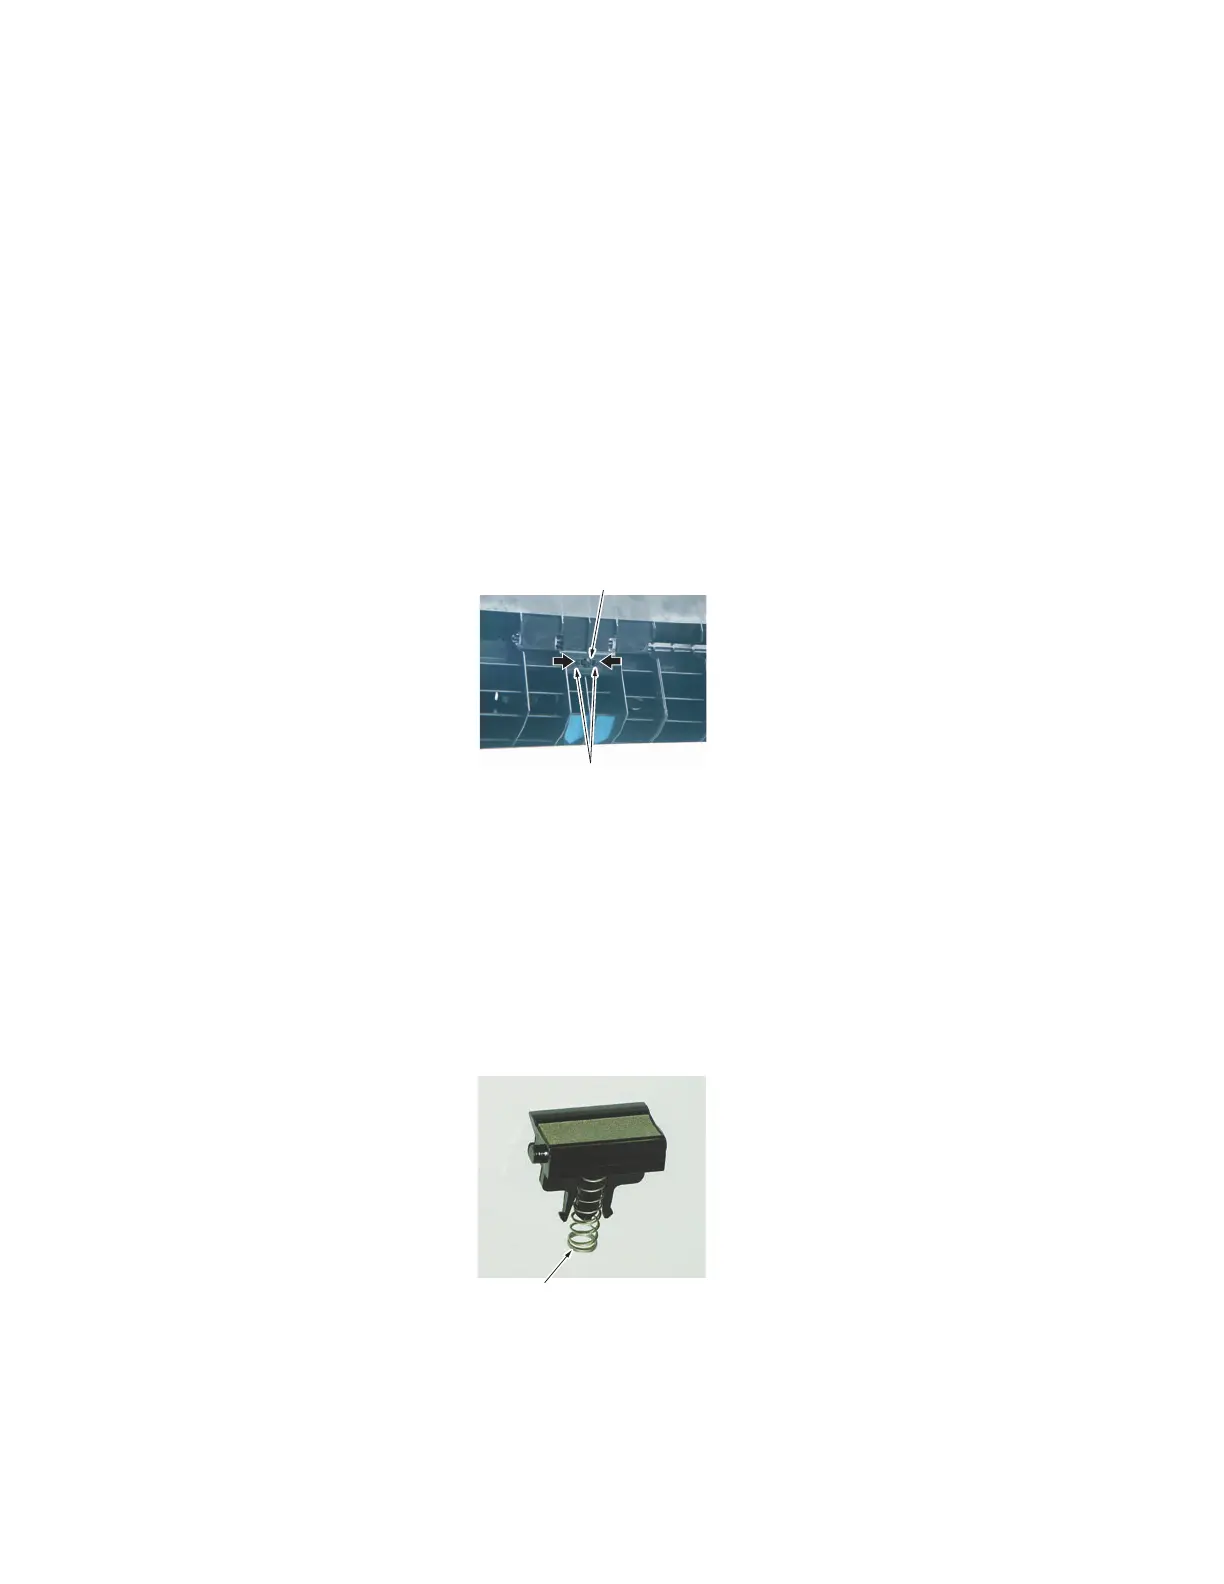
2. Unlock tabs [1] and remove the Separation Pad [2].
3. Unhook the spring [3].
Note: When replacing the separation pad, reattach the spring to the new separation pad.
When reinstalling the separation pad, line the spring up with the locator tab, and then snap
the pad into the slots. Push on the pad to confirm that the spring is moving correctly.
[2]
[1]
4139fs2065c1
[3]
4139fs2066c1

 Loading...


