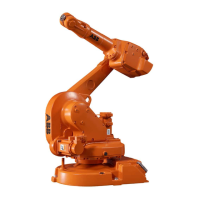
Installation of mechanical stop, axis 3
The procedure below details how to install the mechanical stop to axis 3.
NoteAction
DANGER
Turn off all:
• electric power supply
• hydraulic pressure supply
• air pressure supply
to the robot, before entering the robot working
area.
1
See Illustration, mechanical stop,
axis 3 on page 111.
Fit the mechanical stop to the two mounting holes
at the upper arm housing, with the two attachment
screws and washers. Tighten the screws.
2
2 pcs: M8 x 25, tightening torque:
25 Nm.
The system parameters that must
be changed (Upper joint bound and
Lower joint bound) are described in
Technical reference manual - Sys-
tem parameters.
Adjust the software working range limitations
(system parameter configuration) to correspond
to the mechanical limitations.
3
WARNING
If the mechanical stop pin is deformed after a
hard collision, it must be replaced!
Deformed movable stops and/or additional stops
as well as deformed attachment screws must also
be replaced after a hard collision.
4
112 Product manual - IRB 1600/1660
3HAC026660-001 Revision: W
© Copyright 2006-2018 ABB. All rights reserved.
2 Installation and commissioning
2.4.4 Installation of additional mechanical stops on axis 3
Continued

 Loading...