Chapter 2 2-7
System Verification and Performance Tests
Agilent 8753ES System Verification and Performance Tests
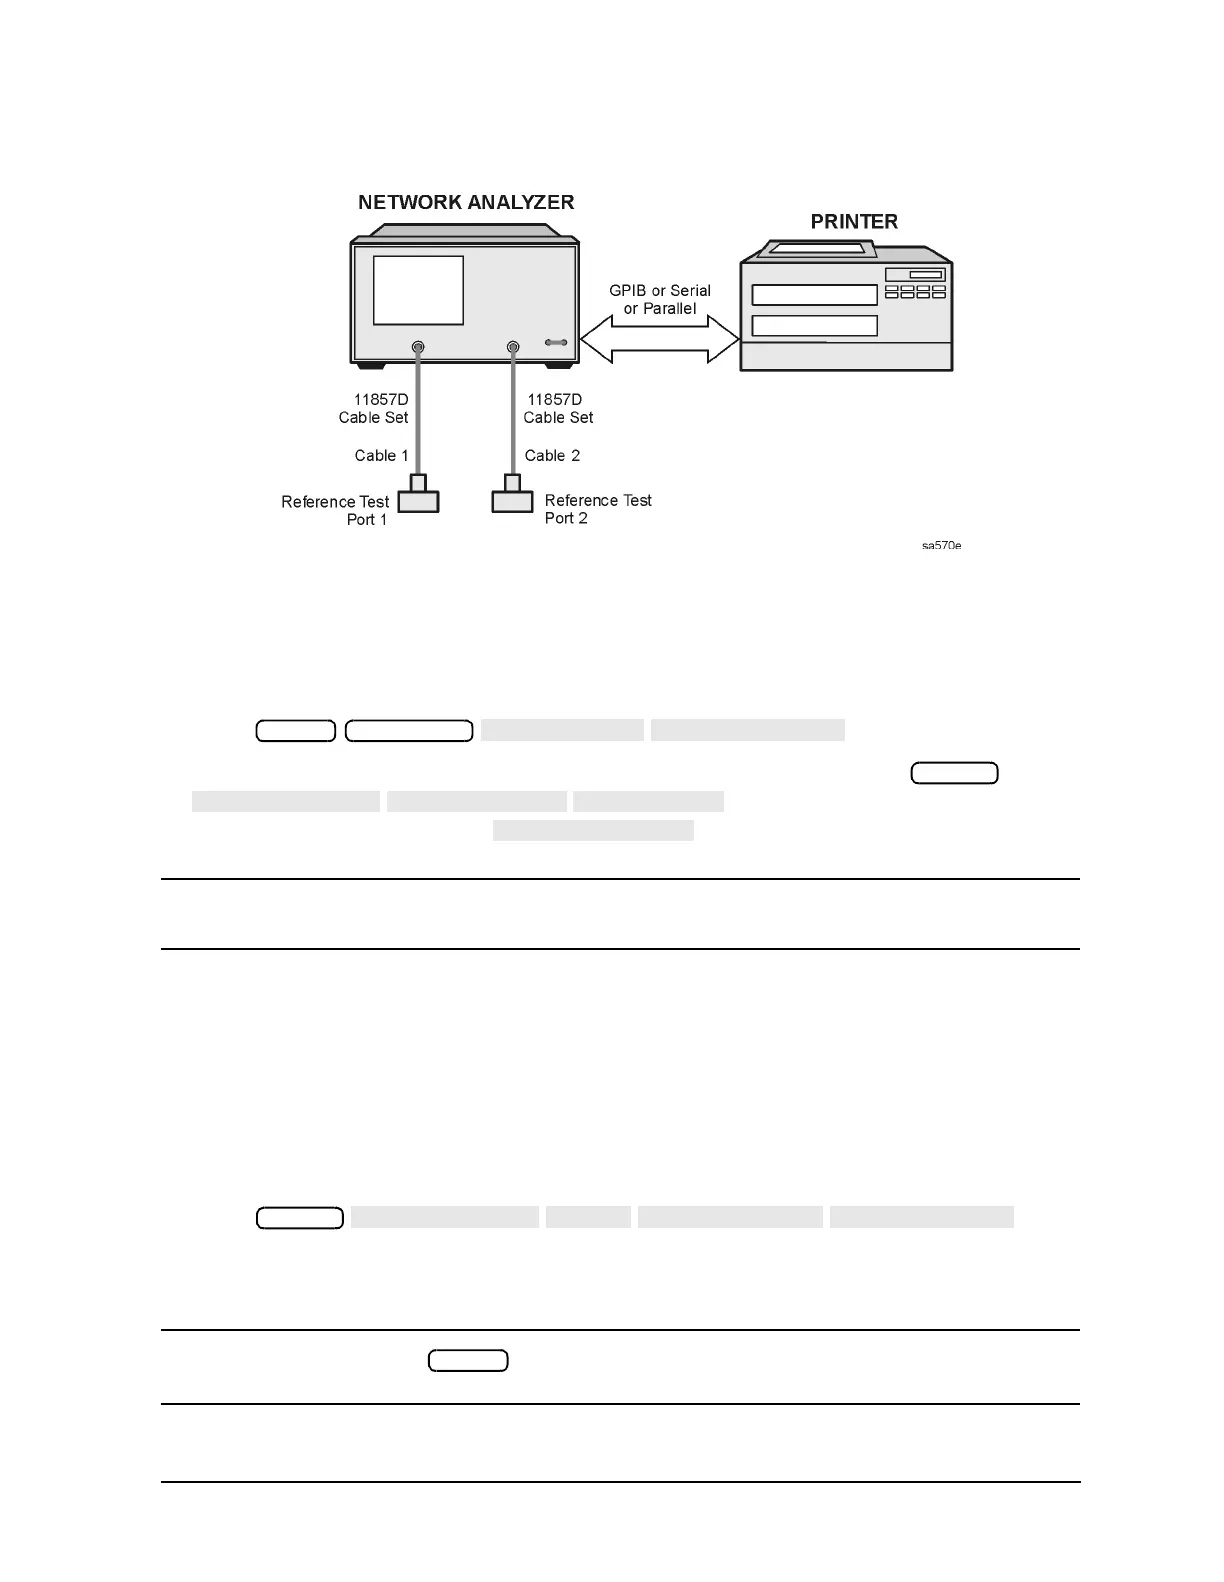
Figure 2-1 System Verification Test Setup
4. While the equipment is warming up, review the connector care information in Table 1-3
on page 1-7. Good connections and clean, undamaged connectors are critical for
accurate measurement results.
5. Insert the verification kit disk into the analyzer disk drive.
6. Press .
7. If you want a printout of the verification data for all the devices, press
. If you want a printout of the
graph from the display, press .
NOTE If you switch on the record function, you cannot switch it off during the
verification procedure.
8. Position the paper in the printer so that printing starts at the top of the page.
9. If you have difficulty with the printer:
• If the interface on your printer is GPIB, verify that the printer address is set to 1 (or
change the setting in the analyzer to match the printer).
• If the interface on your printer is serial or parallel, be sure that you selected the
printer port and the printer type correctly. Refer to your User’s Guide for more
information on how to perform these tasks.
10.Press .
11.When the analyzer displays Sys Ver Init DONE, the initialization procedure is
complete.
CAUTION Do not press or recall another instrument state. You must use the
current instrument state.
Preset Save/Recall
System
System

 Loading...


