Chapter 4 137
Basic Digital Operation
Using Waveform Markers
Clearing a Single Marker Point
Use the steps described in “Clearing a Range of Marker Points” on page 136, but set both the first and last
marker point to the value of the point you want to clear. For example, if you want to clear a marker on point
5, set both the first and last value to 5.
Setting Marker Points in a Waveform Segment
To set marker points on a segment, the segment must reside in volatile memory (page 113).
When you set marker points, they do not replace points that already exist, but are set in addition to existing
points. Because markers are cumulative, before you set marker points within a segment, view the segment
(page 135) and remove any unwanted points (page 130).
Placing a Marker Across a Range of Points
1. In the
Marker Utilities menu (page 134), press Set Markers.
2. Highlight the desired waveform segment.
In an ARB format, there is only one file (AUTOGEN_WAVEFORM) and it is already highlighted.
3. Highlight the desired marker number:
Press
Marker 1 2 3 4
4. Set the first sample point in the range (in this example, 10):
Press
Set Marker On Range Of Points > First Mkr Point > 10 > Enter.
5. Set the last marker point in the range to a value less than or equal to the number of points in the
waveform, and greater than or equal to the first marker point (in this example, 20):
Press
Last Mkr Point > 20 > Enter.
6. Press
Apply To Waveform > Return.
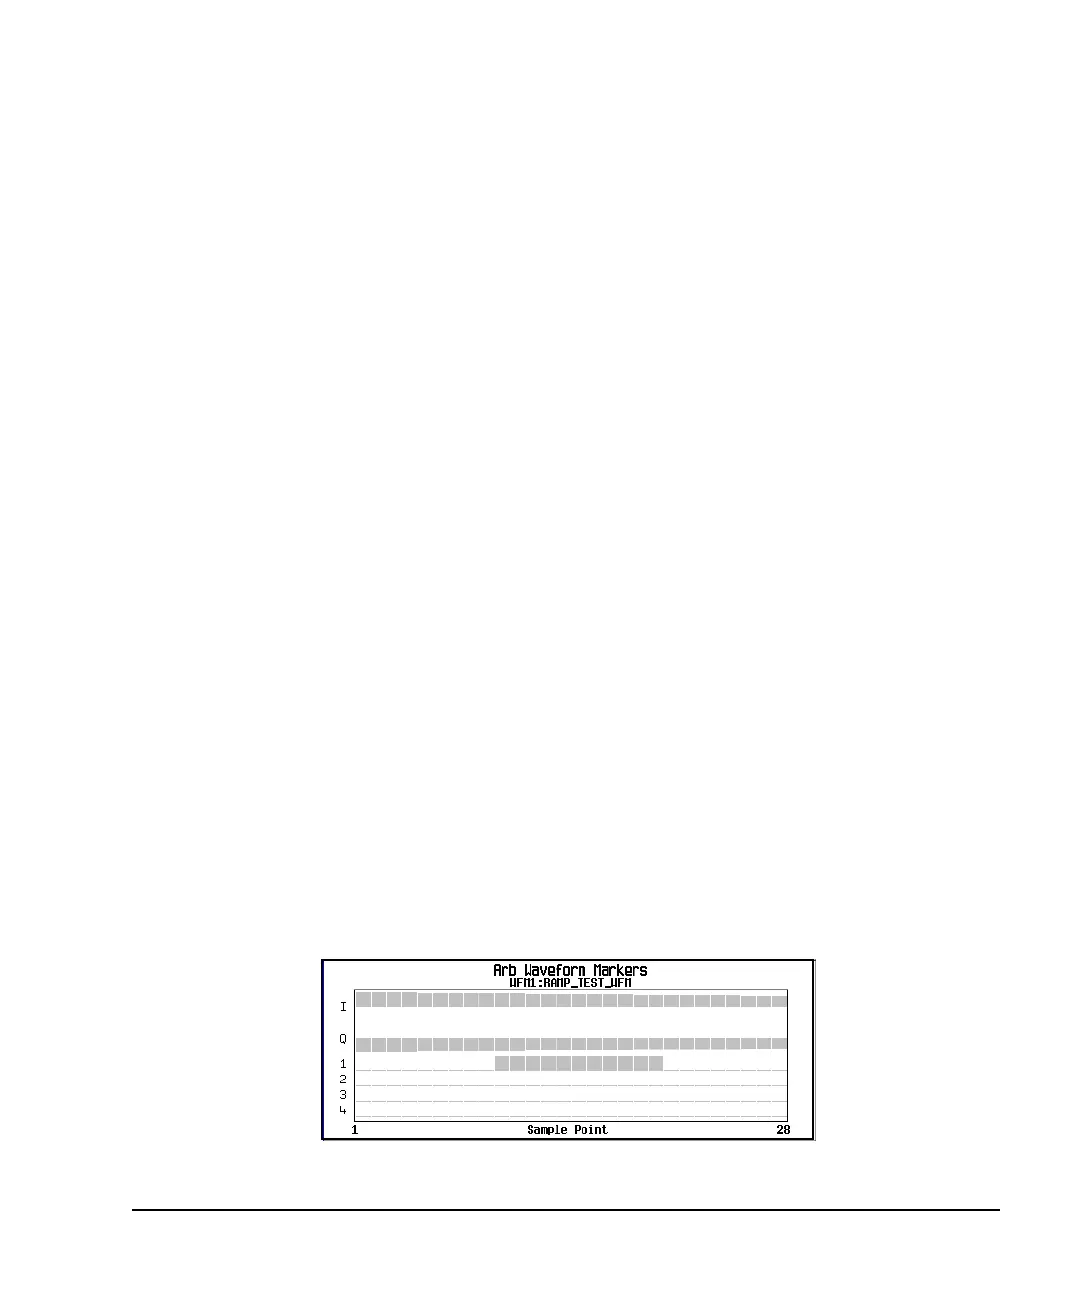
This sets a range of waveform marker points. The marker signal starts on sample point 10, and ends on
sample point 20, as shown in the following figure.
Viewing markers is described on page 135