COPYRIGHT
©
2001 CANON INC. 2000 2000 2000 2000 CANON CLC5000 REV.0 JAN. 2001
CHAPTER 5 TROUBLESHOOTING IMAGE FAULTS/MALFUNCTIONS
5-61
2.10.4 Checking the Photointerrupters
The CLC1000 allows you to use a conventional meter or service mode when checking its
photointerrupters.
a.Using a Meter
1) Set the meter to the 30VDC range.
2) Connect the – probe of the meter to J101-7 (GND) of the DC control PCB.
3) Connect the + probe to the terminals (on the DC controller PCB or the deck controller
PCB) shown on the pages that follow.
4) Make checks according to the instructions given.
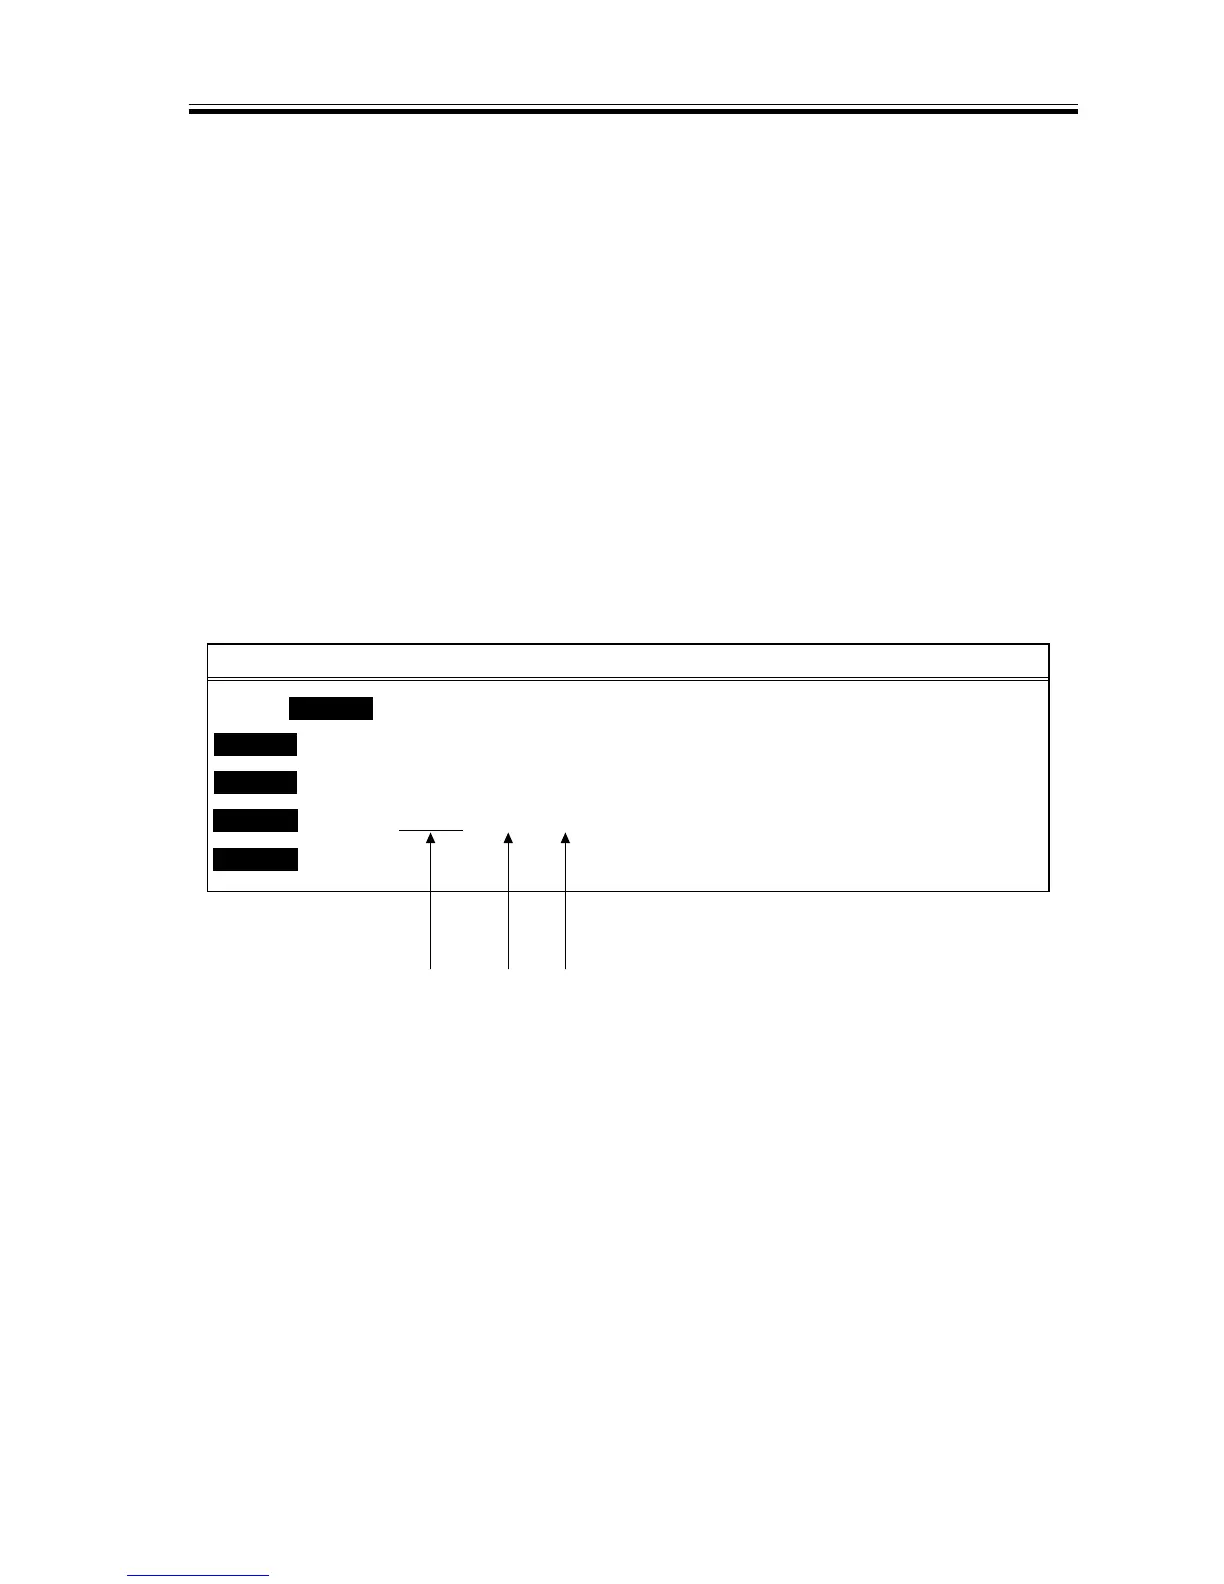
b.Using Service Mode
1) Start service mode.
2) Press ‘DISP’.
3) Press ‘SENSOR’.
4) Make checks as indicated.
F05-210-01
<M>
SENSOR <S>
<R>READY <P>READY <F>
DISP
ADJUST
COUNTER
FUNC
800003H
800001H
800005H
OPTION
800002H
800004H
TEST
800000H
xxxxxxxx
xxxxxxxx
xxxxxxxx
xxxxxxxx
xxxxxxxx
xxxxxxxx
801003H
801001H
801005H
801002H
801004H
801000H
xxxxxxxx
xxxxxxxx
xxxxxxxx
xxxxxxxx
xxxxxxxx
xxxxxxxx
802003H
802001H
802005H
802002H
802004H
802000H
xxxxxxxx
xxxxxxxx
xxxxxxxx
xxxxxxxx
xxxxxxxx
xxxxxxxx
Address bit 7 bit 0
 Loading...