If backup operation has been performed
1. Write the backup data to the new PCB in the host machine's service mode.
COPIER> FUNCTION> SYSTEM> MD-BK-W (M Deck)
COPIER> FUNCTION> SYSTEM> MD2-BK-W (Sec M Deck)
2. Turn OFF/ON the main power switch of the host machine.
If there is the output of the "P-PRINT"
1. Based on the output setting values (P-PRINT), enter the adjustment values and setting values in the service mode. However,
in this case, the counter cannot enter.
If there is not the output of the "P-PRINT"
1. Enter the adjustment values and setting values written to the service label in the service mode.
2. Enter the Serial Number of Multi-drawer Paper Deck. (for imagePRESS V1000 series only)
COPIER> OPTION> SERIAL> PDECK1 (M Deck)
COPIER> OPTION> SERIAL> PDECK2 (Sec M Deck)
Removing the AC Distributor PCB (PCB002)
■ Preparation
1. Remove the Deck Rear Middle Cover.“Removing the Deck Rear Middle Cover” on page 79
2. Remove the Deck Rear Lower Cover.“Removing the Deck Rear Lower Cover” on page 79
■ Procedure
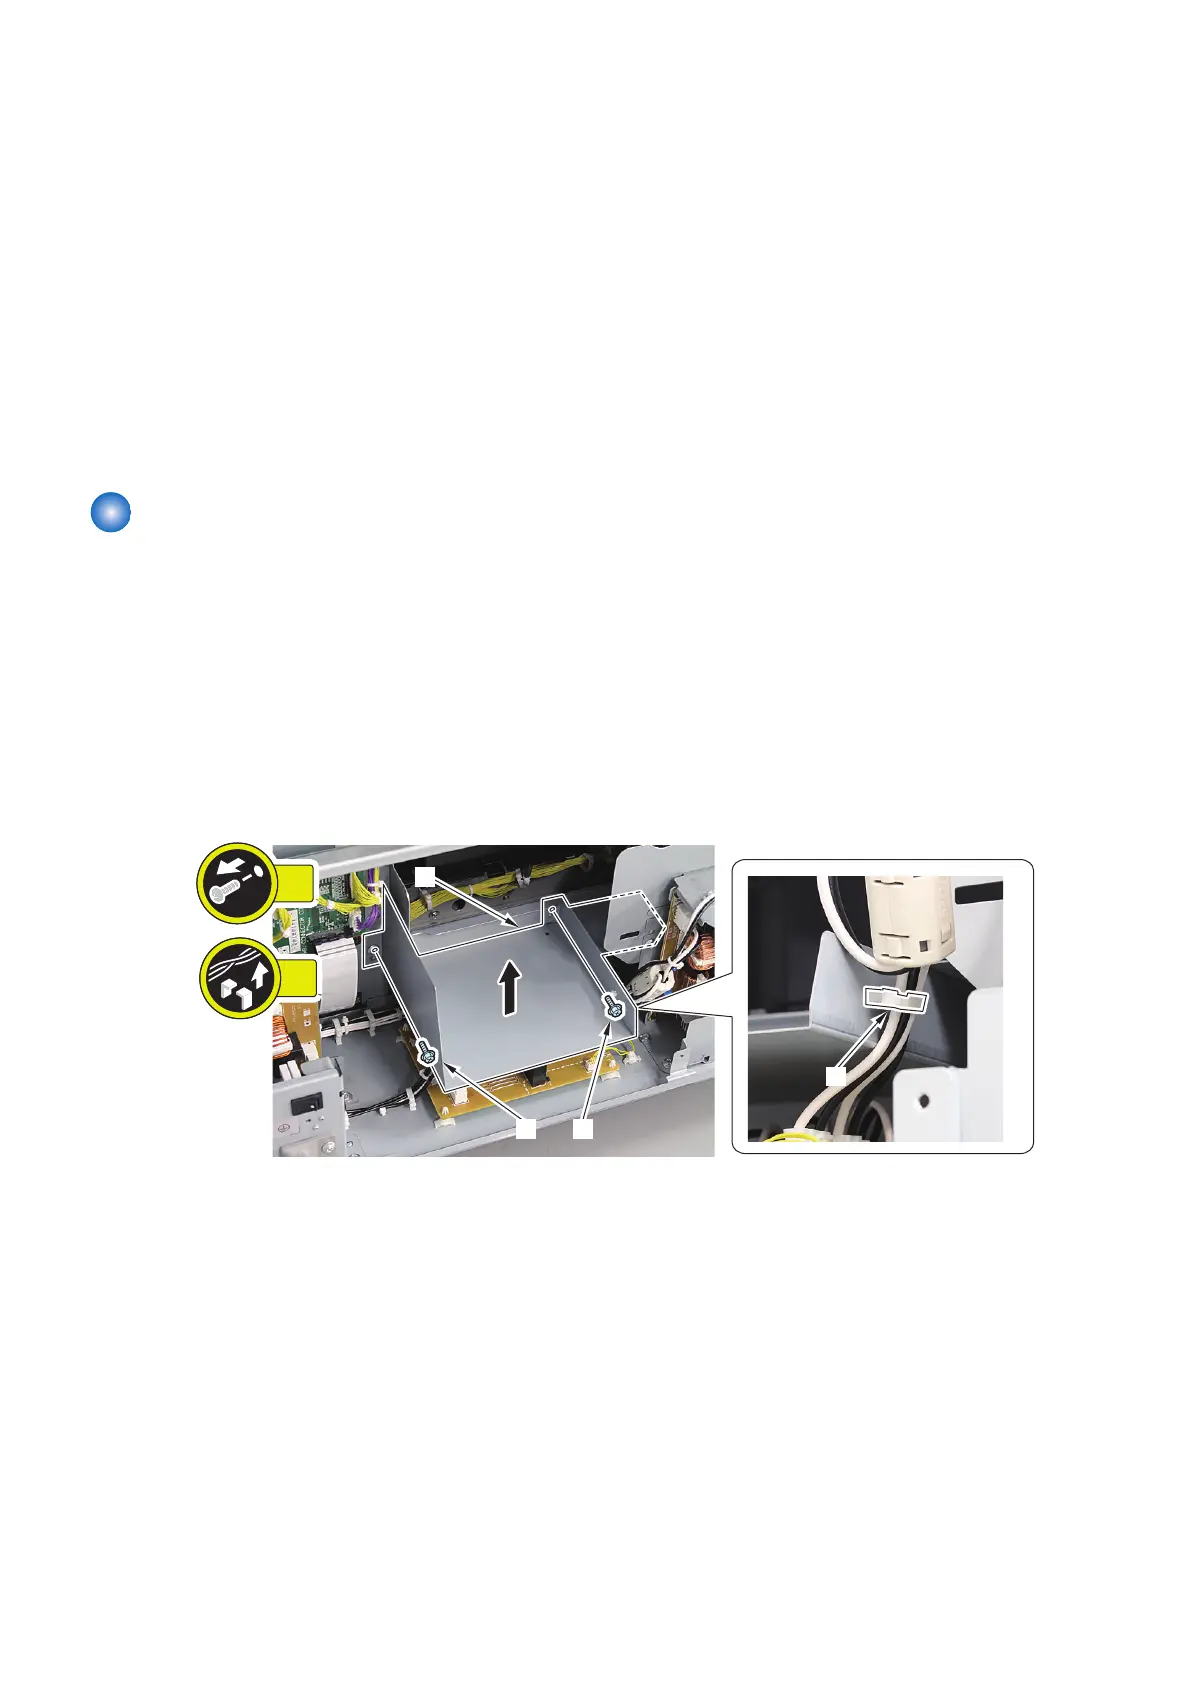
1. Remove the PCB Cover [1].
• 2 Screws [2]
• 1 Wire Saddle [3]
4. Parts Replacement and Cleaning
133