Initial Settings
Initial Settings
Configuring the IP Address on the Printer ................................................................................................... 477
Configuring the IP Address Using the Printer Control Panel .................................................................. 477
Configuring the IP Address Using ARP and PING Commands .............................................................. 478
Configuring TCP/IPv6 Network Settings ....................................................................................................... 479
Configuring the Printer Driver Destination (Windows) .................................................................................. 480
Configuring the Printer Driver Destination (Mac OS X) ................................................................................ 480
Configuring the Printer's TCP/IP Network Settings With RemoteUI ............................................................. 481
Configuring the IP Address on the Printer
Configuring the IP Address on the Printer
You must configure the printer's IP address before using the printer in a TCP/IP network.
The printer's IP address is configured automatically when you install the printer driver following the instructions in
the Setup Guide.
Configure the IP address by using imagePROGRAF Device Setup Utility, the printer Control Panel, or ARP or PING
commands, if the IP address is changed, or if you change the printer connection mode to a network connection.
For details on configuring the IP address, refer to the following topics.
•
Configuring the IP Address Using imagePROGRAF Device Setup Utility →P.275 (Windows)
•
Configuring the IP Address Using the Printer Control Panel →P.477
•
Configuring the IP Address Using ARP and PING Commands →P.478
Important
• If you use a DHCP server for automatic assignment of the printer's IP address, printing may no longer be possible after
the printer is turned off and on. This is because an IP address different from before has been assigned. Thus, when
using DHCP server functions, consult your network administrator and configure the settings in one of the following ways.
• Configure the setting for dynamic DNS updating
In the printer menu, either set DNS Dync update to On, or activate the setting Enable DNS Dynamic Update in
RemoteUI.
(See "Menu Settings.") →P.448
(See "Configuring the Printer's TCP/IP Network Settings With RemoteUI.") →P.481
• Configure the setting for assignment of the same IP address each time the printer starts up
Note
• We recommend configuring the printer's IP address even if you will use the printer in networks other than TCP/IP net-
works. Configuring the printer's IP address enables you to use RemoteUI to configure the network settings and manage
the printer with a web browser.
For details on RemoteUI, see "Using RemoteUI." →P.475
Configuring the IP Address Using the Printer Control Panel
Configuring the IP Address Using the Printer Control Panel
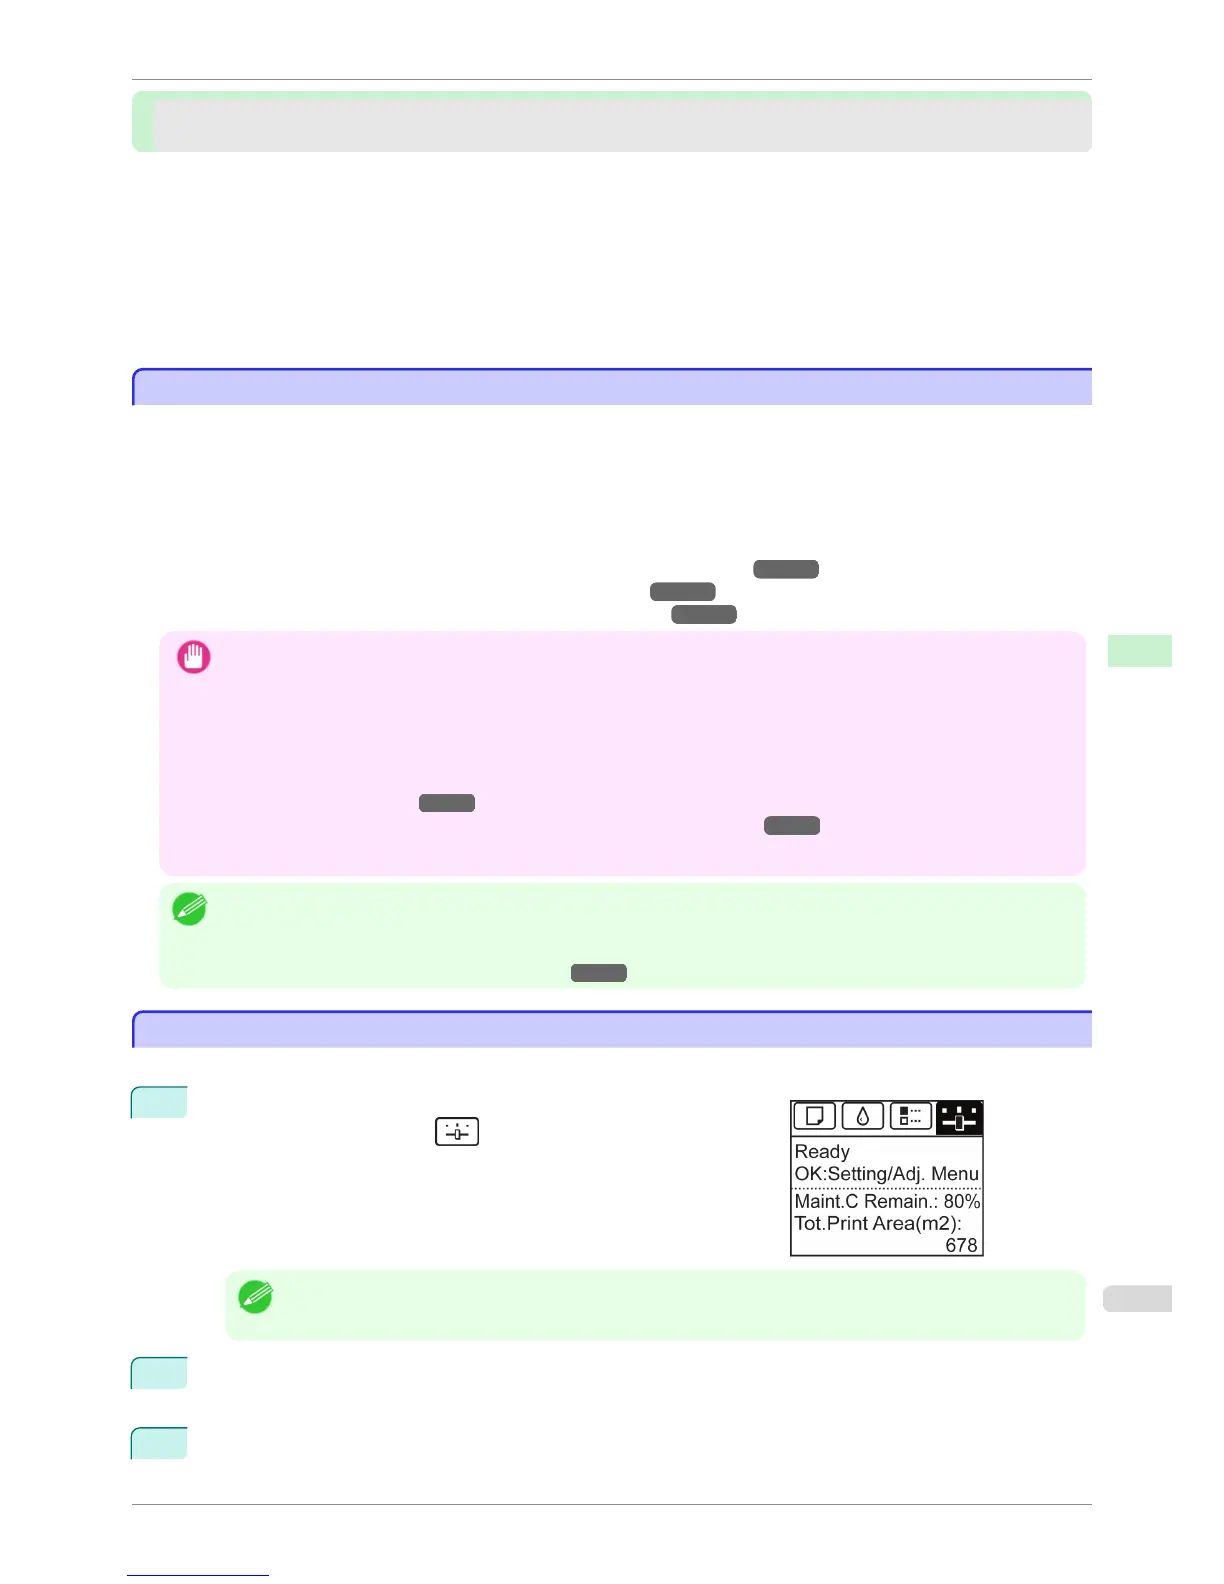
This topic describes how to configure the printer's IP address on the Control Panel.
1
On the Tab Selection screen of the Control Panel, press
◀ or ▶ to
select the Settings/Adj. tab (
).
Note
• If the Tab Selection screen is not displayed, press the Menu button.
2
Press the OK button.
The Set./Adj. Menu is displayed.
3
Press ▲ or ▼ to select Interface Setup, and then press the OK button.
iPF760
Configuring the IP Address on the Printer
User's Guide
Network Setting Initial Settings
477