•
B:Standard/Draft
This setting is applied when Standard or Fast is selected in Print Quality in the printer driver.
Note
• Always check the Adj. Priority values before using Adjust Length. (See "Selecting a Feed Amount Adjustment Method
(Feed Priority).") →P.509
• Use paper of the same type and size for adjustment as you will use for printing.
Paper to Prepare
When Using Rolls
•
An unused roll at least 10 inches wide
•
High-precision ruler
When Using Sheets
•
One sheet of unused paper of at least A4/Letter size
•
High-precision ruler
Perform adjustment as follows.
1
Load the paper.
•
Attaching the Roll Holder to Rolls →P.397
•
Loading Rolls in the Printer →P.399
•
Loading Sheets in the Printer →P.417
Important
• Always make sure the loaded paper matches the type of paper specified. Adjustment cannot be completed
correctly unless the loaded paper matches the settings.
2
On the Tab Selection screen of the Control Panel, press
◀ or ▶ to
select the Settings/Adj. tab ( ).
Note
• If the Tab Selection screen is not displayed, press the Menu button.
3
Press the OK button.
The Set./Adj. Menu is displayed.
4
Press ▲ or ▼ to select Adjust Printer, and then press the OK button.
5
Press ▲ or ▼ to select Feed Priority, and then press the OK button.
6
Press ▲ or ▼ to select Adjust Length, and then press the OK button.
7
Press ▲ or ▼ to select AdjustmentPrint or Change Settings, and
then press the OK button.
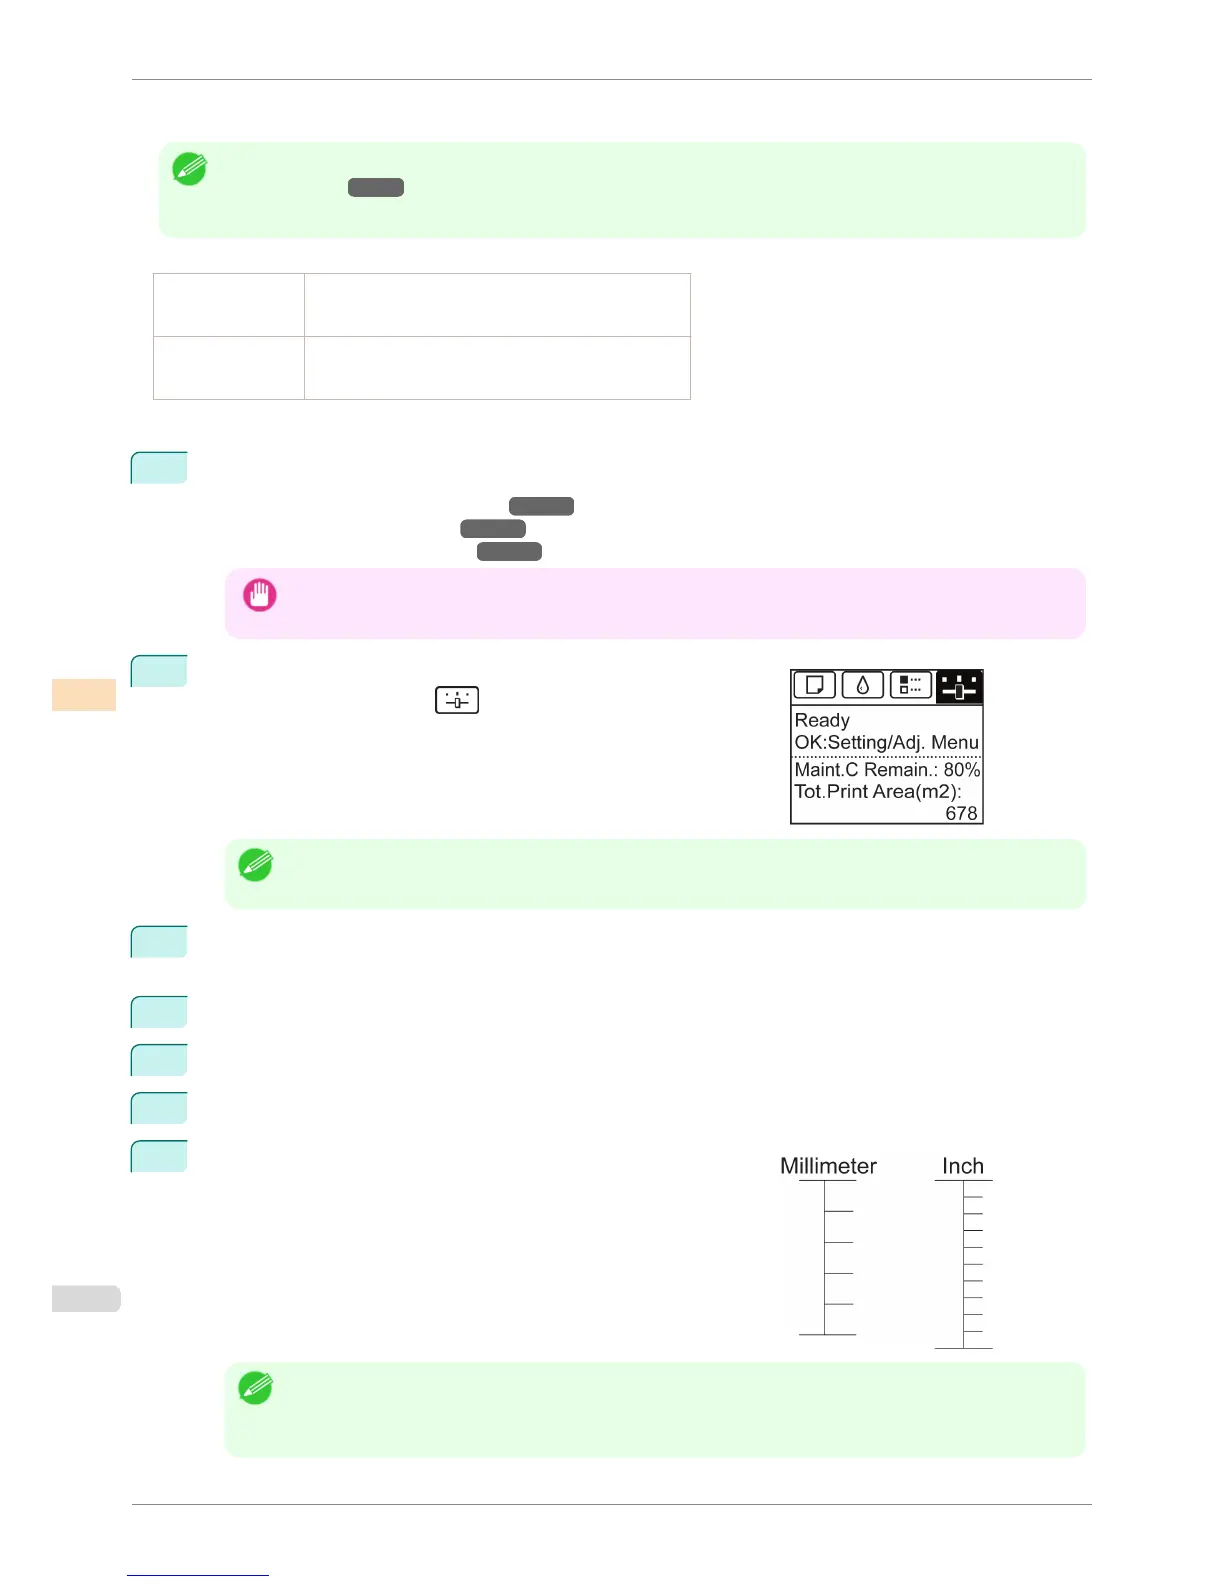
When you select AdjustmentPrint, a test pattern is printed for you
to measure the scale and calculate the discrepancy. The scale bar
prints Millimeter in 50 mm increments and Inch in 1-inch incre-
ments.
Note
• A test pattern is printed in black when you choose A:High or in magenta if you choose B:Standard/Draft.
• To cancel printing the test pattern for adjustment, hold down the Stop button. When "Stop printing?" is dis-
played, press ▲ or ▼ to select "Yes", and then press the OK button.
Adjusting Line Length (Adjust Length)
iPF760
User's Guide
Adjustments for Better Print Quality Adjusting the feed amount
514