CAPINTEC, INC. CAPTUS
®
600
1. WELL
2. PROBE
0. RETURN TO PREVIOUS SCREEN
14:32
TEST
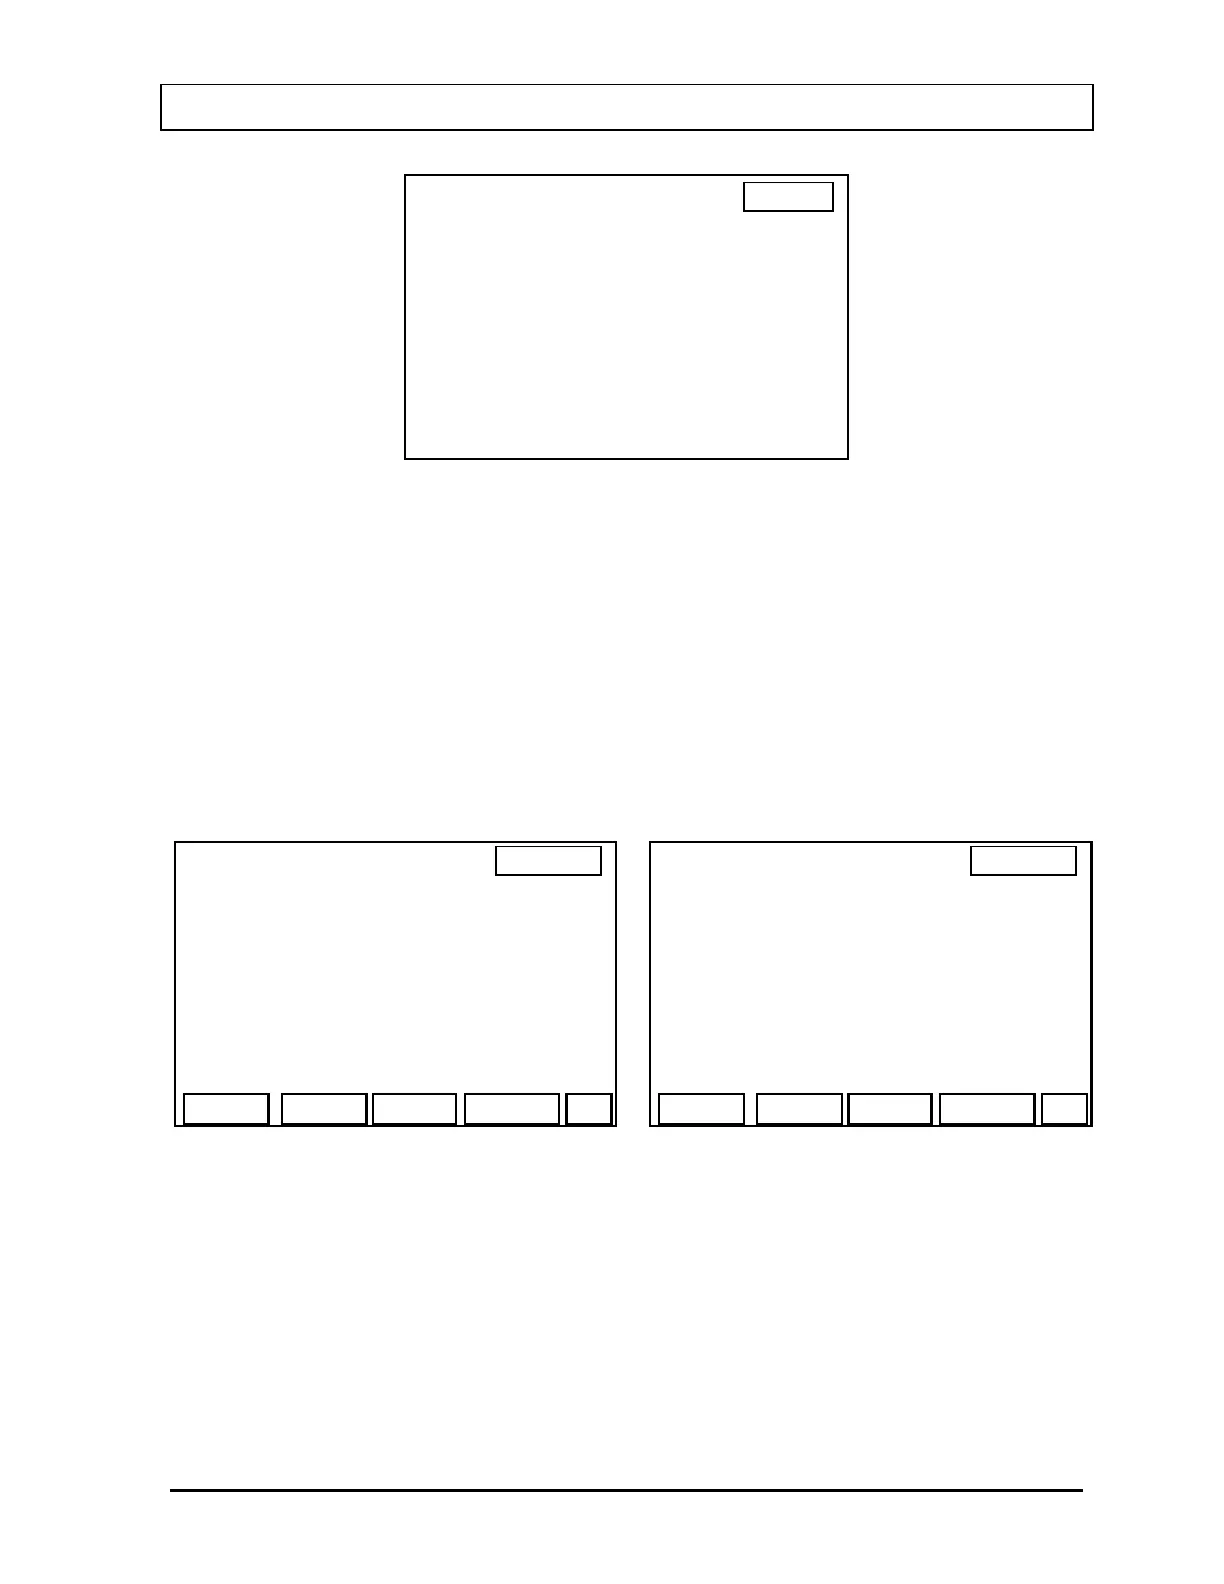
Figure 6-2
To test the Well, press 1. To test the Probe, press 2.
Place the source in the correct geometry for the detector. (i.e., in the center of the Flat Probe;
on the face of the Drilled Probe; inside the well of the Well Probe). Even if there is only a
single detector, TEST must be performed for Probe and Well. Thus, the Probe and Well tests
may have different results even if there is only one detector.
When Well or Probe has been selected, the appropriate Test Screen will appear (
Figure 6-3
or
Figure 6-4). If an ID for the Cs137 source has been entered in the Cs137 Standard Setup
Function, the ID will appear on this screen.
14:32
PROBE TEST
MEASURE CS137:
START
CS1
14:32
WELL TEST
MEASURE CS137:
START
Figure 6-4 Figure 6-3
The rest of the Test procedure is the same for both the Probe and Well.
Press the F4 [START] key. The counting display (
Figure 6-5) will appear. As the counts
increase, the vertical scale also increases, changing from 100, to 200, 500, etc. to
accommodate for the number of counts measured in the Cs137 standard source.
November 07 ACCEPTANCE & QUALITY ASSURANCE TESTS 6-3