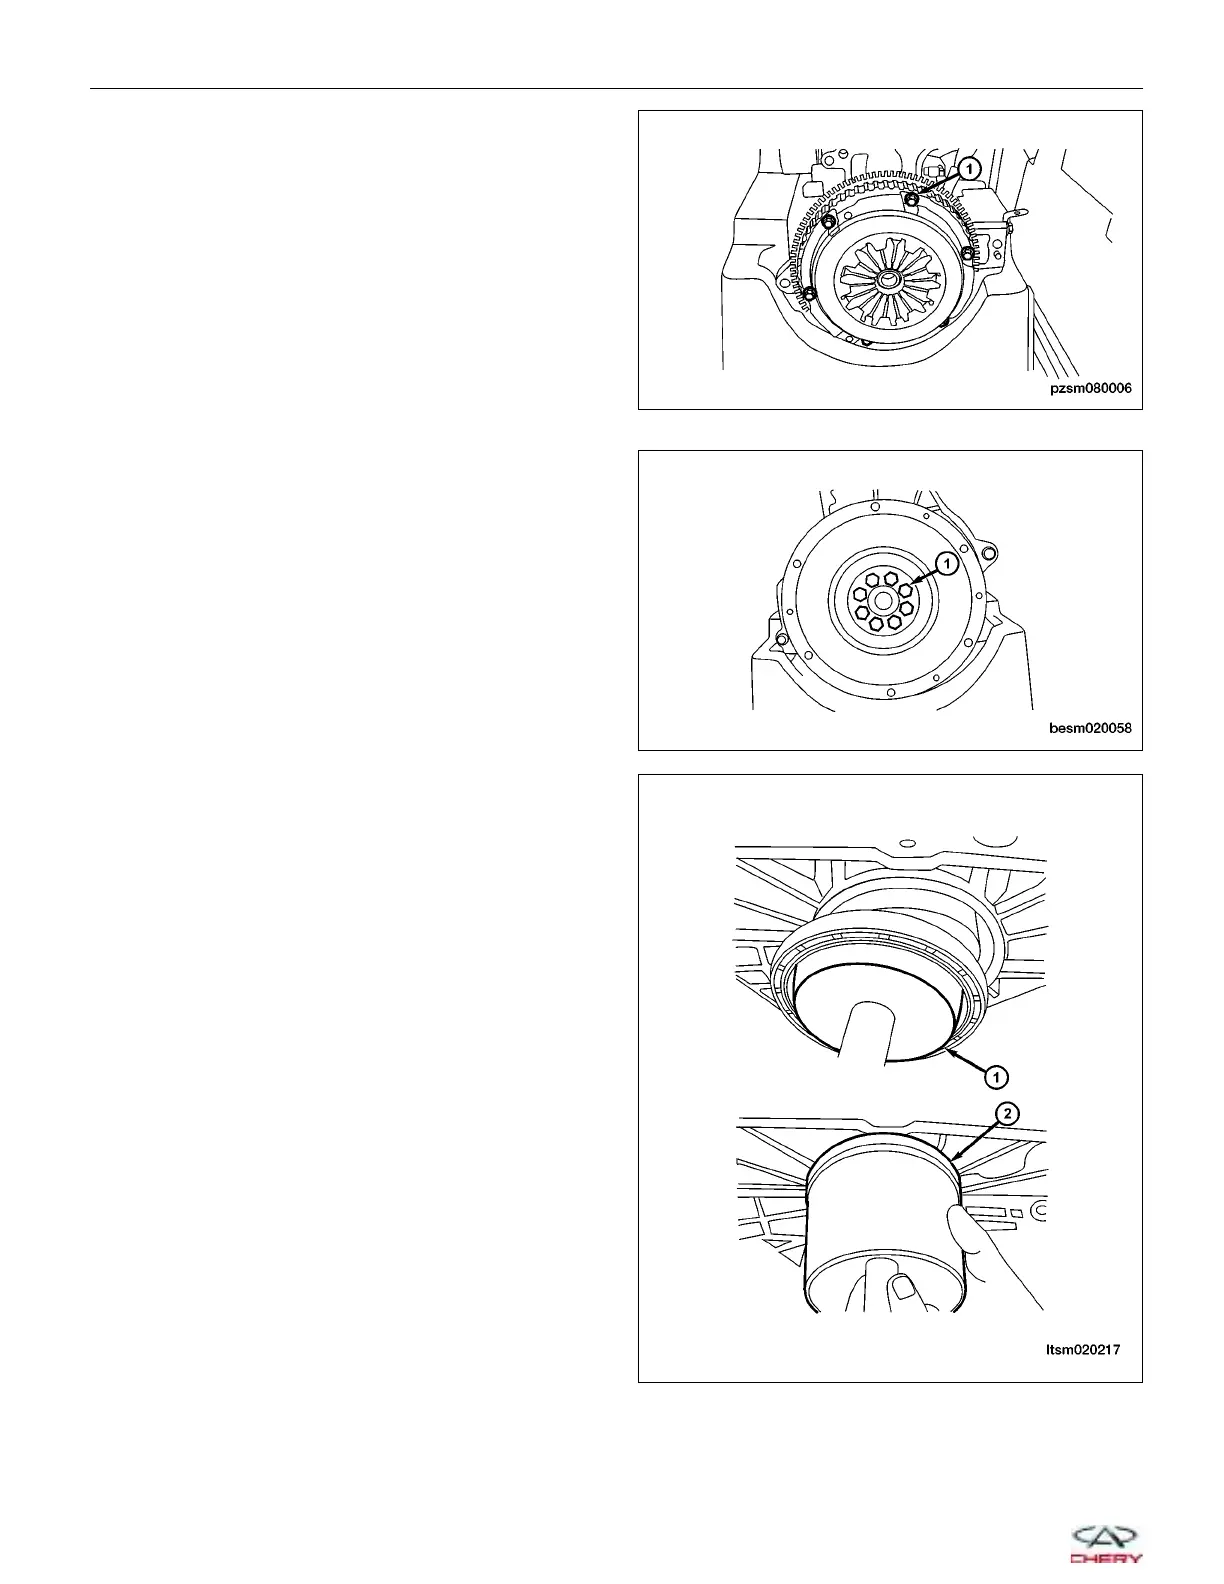
3. Remove the six clutch pressure plate retaining
bolts (1).
(Tighten: Clutch pressure plate bolts to 25 ± 5 N·m)
4. Remove the eight flywheel bolts (1) and then
remove the flywheel.
(Tighten: Flywheel bolts to 15 ± 5 N·m and an
additional 30 ± 5°)
5. Remove the rear oil seal using a suitable tool.
6. Installation is in the reverse order of removal.
Installation Notes:
• When installing seal, lubricate seal guide with clean
engine oil.
• Position the seal over the rear crankshaft seal
guide.
• Use special tool CH-20005 (2) and CH-20006 (1),
to install the rear crankshaft oil seal.
• Ensure that the lip of the seal is facing toward the
crankcase during installation.
ON-VEHICLE SERVICE
PZSM080006
BESM020058
LTSM020217
02–30
Chery Automobile Co., Ltd.