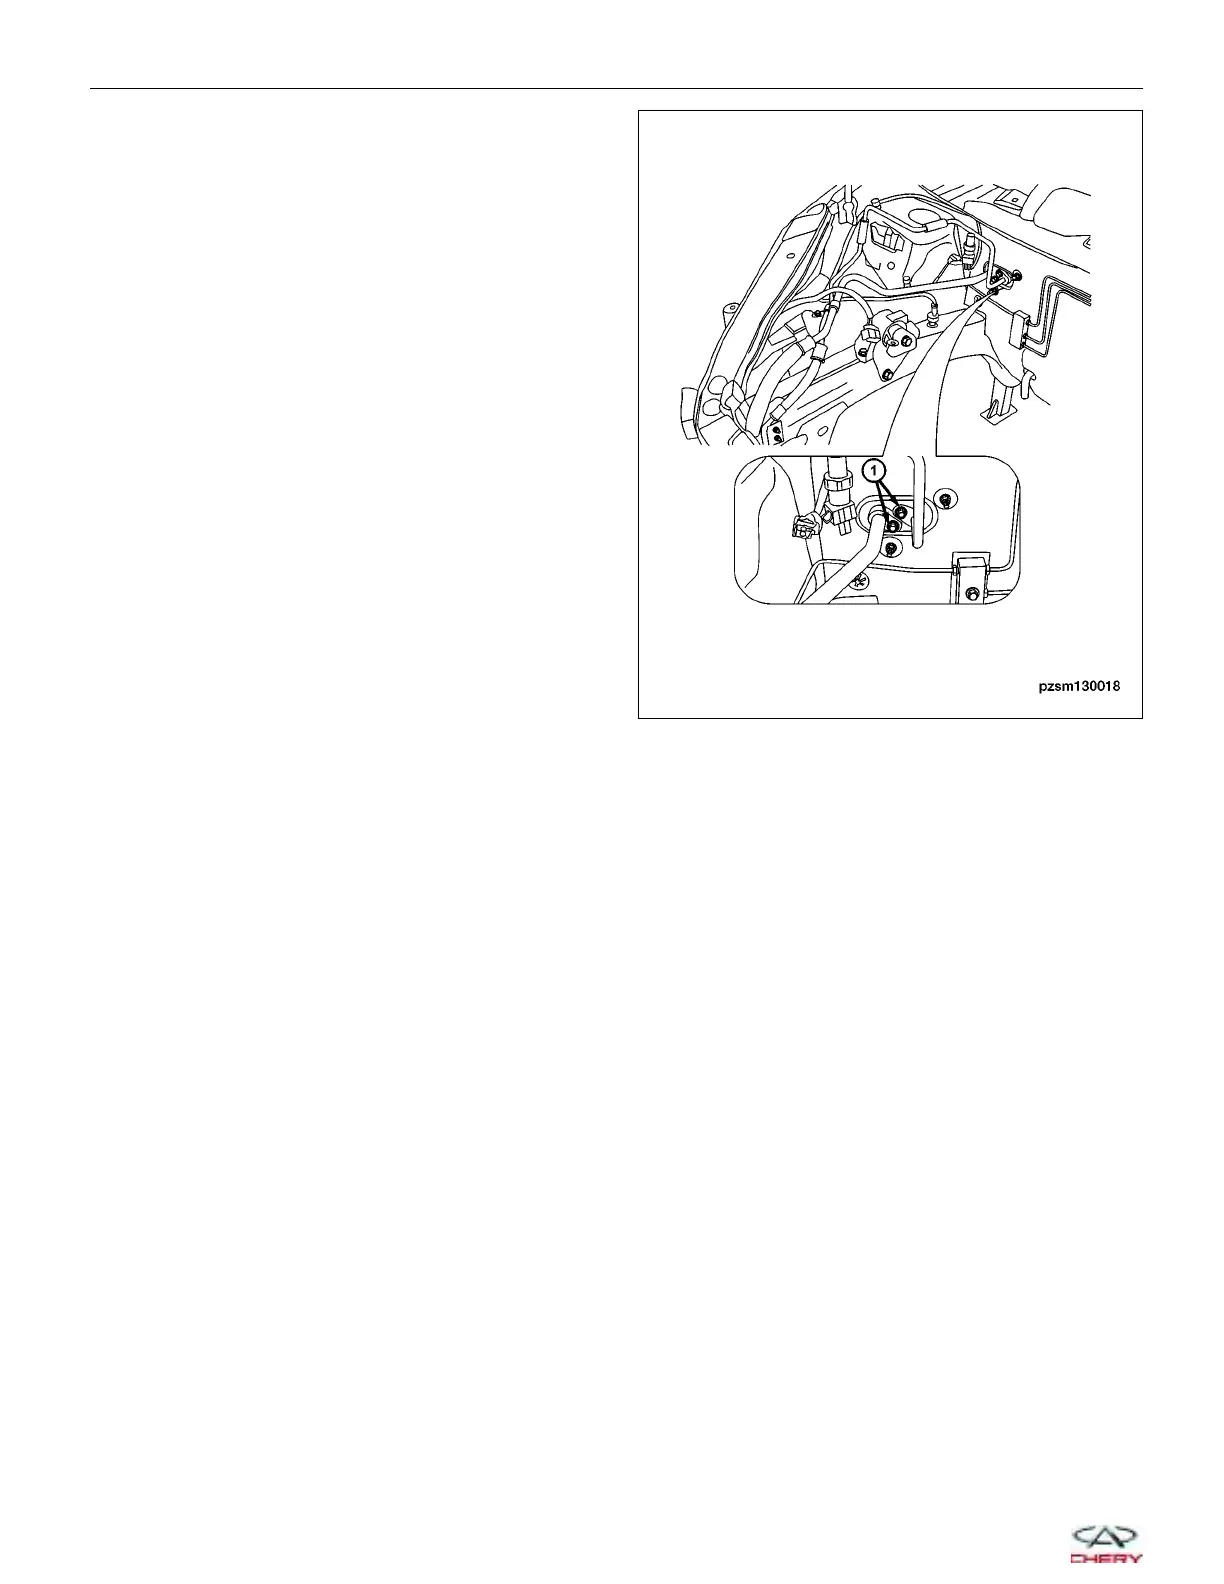
4. Remove the nuts (1) that secure the A/C pressure
line assembly to the A/C evaporator.
5. Remove the A/C pressure line clamp retaining bolt from the engine body.
6. Disconnect the A/C liquid line assembly from the A/C condenser.
7. Remove and discard the dual-plane seals.
8. Plug the opened refrigerant line fittings and the evaporator ports to keep debris out of the refrigerant system.
9. Remove the A/C liquid line assembly from the engine compartment.
10. Installation is in the reverse order of removal.
Installation Notes:
• Lubricate new rubber O-ring seals with clean refrigerant oil and install them and new gaskets onto the refriger-
ant line fittings.
• Use only the specified O-rings as they are made of a special material for the R-134a system.
• Use only refrigerant oil of the type recommended for the A/C compressor in the vehicle.
• Recharge the A/C system (See A/C System Evacuation and Recharge in Section 13 Heating and Air Condition-
ing).
Suction Line
Description
The A/C suction line connects the A/C evaporator to the A/C compressor and from A/C compressor to the A/C con-
denser.
Operation
The low pressure A/C suction line is the refrigerant line that carries refrigerant from the A/C evaporator to the A/C
condenser. Air conditioning hoses are designed to control liquid and gas at high pressures and temperatures. The
hoses are usually flexible and equipped with special metal fittings at the ends to prevent leaks and provide a sure
seal and connection between components.
ON-VEHICLE SERVICE
PZSM130018
13–42
Chery Automobile Co., Ltd.
 Loading...


