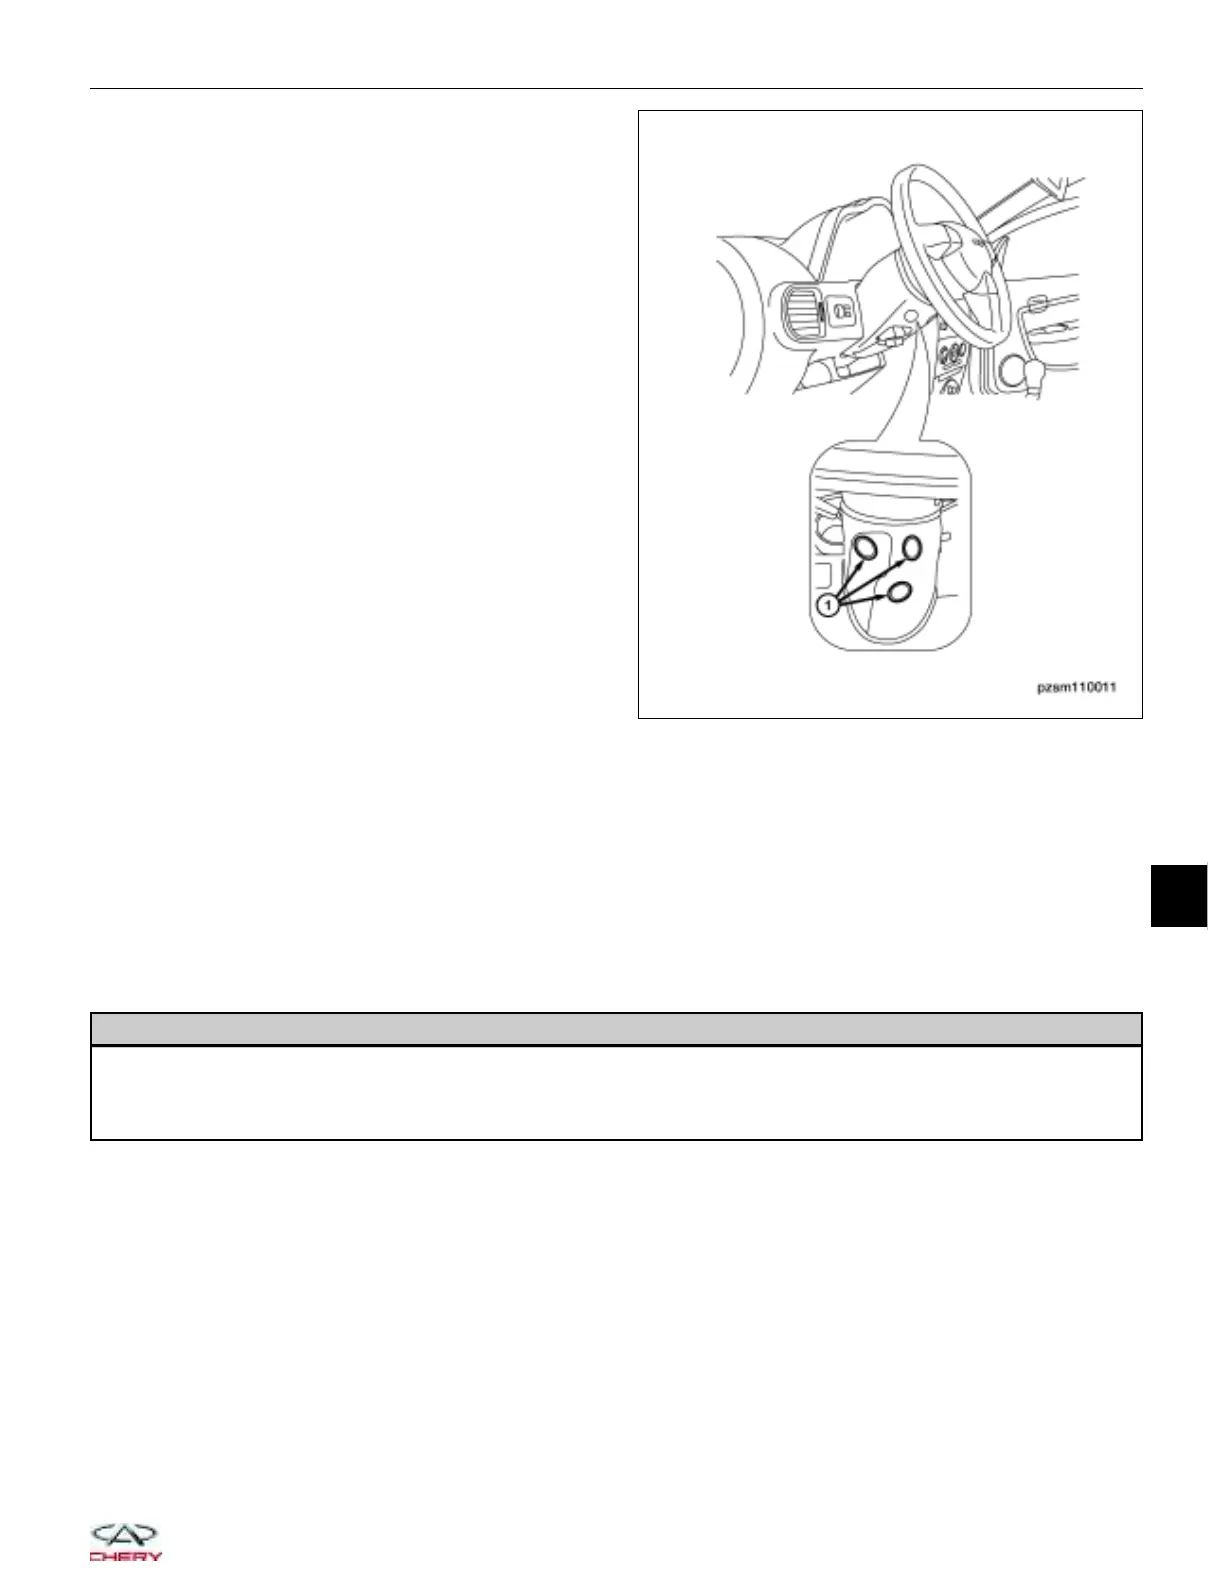
3. Remove the three steering column lower shroud
retaining bolts (1).
(Tighten: Steering column lower shroud retaining
bolts to 5 ± 2 N·m)
4. Remove the shroud.
5. Installation is in the reverse order of removal.
Installation Notes:
• The spiral cable could be damaged if installed in an improper position.
• Do not rotate the spiral cable quickly or beyond the limit of turns (this can cause the cable to break).
• Verify the airbag system is operating properly after the repair is complete.
Steering Column
Removal & Installation
WARNING!
Before servicing the steering column, the airbag system must be disarmed. Failure to do so may result in acci-
dental deployment of the airbag and possible personal injury (See Airbag System Disarming Procedure in Sec-
tion 14 Restraints).
NOTE :
To help maintain alignment of the spiral cable connector during reassembly, apply a small piece of tape to the spiral
cable and the steering column to keep them in alignment.
1. Disconnect the negative battery cable.
2. Set the front wheels to straight-ahead position.
3. Remove the driver airbag (See Driver Airbag Removal & Installation in Section 14 Restraints).
4. Disconnect the spiral cable electrical connector.
5. Remove the steering wheel (See Steering Wheel Removal & Installation in Section 11 Steering).
6. Remove the steering shroud (See Steering Shroud Removal & Installation in Section 11 Steering).
ON-VEHICLE SERVICE
PZSM110011
11
11–15
Chery Automobile Co., Ltd.
 Loading...