− If the brake pad assemblies do not require replacement, be sure to reinstall the brake pads in the original
position from which they were removed.
FRONT BRAKE PAD SPECIFICATIONS
Standard Pad Thickness 10 mm
Minimum Pad Thickness 1 mm
Rear Brake Shoes
Removal & Installation
1. Raise and support the vehicle.
2. Remove the wheel mounting nuts and the tire and wheel assembly.
(Tighten: Wheel mounting nuts to 110 N·m)
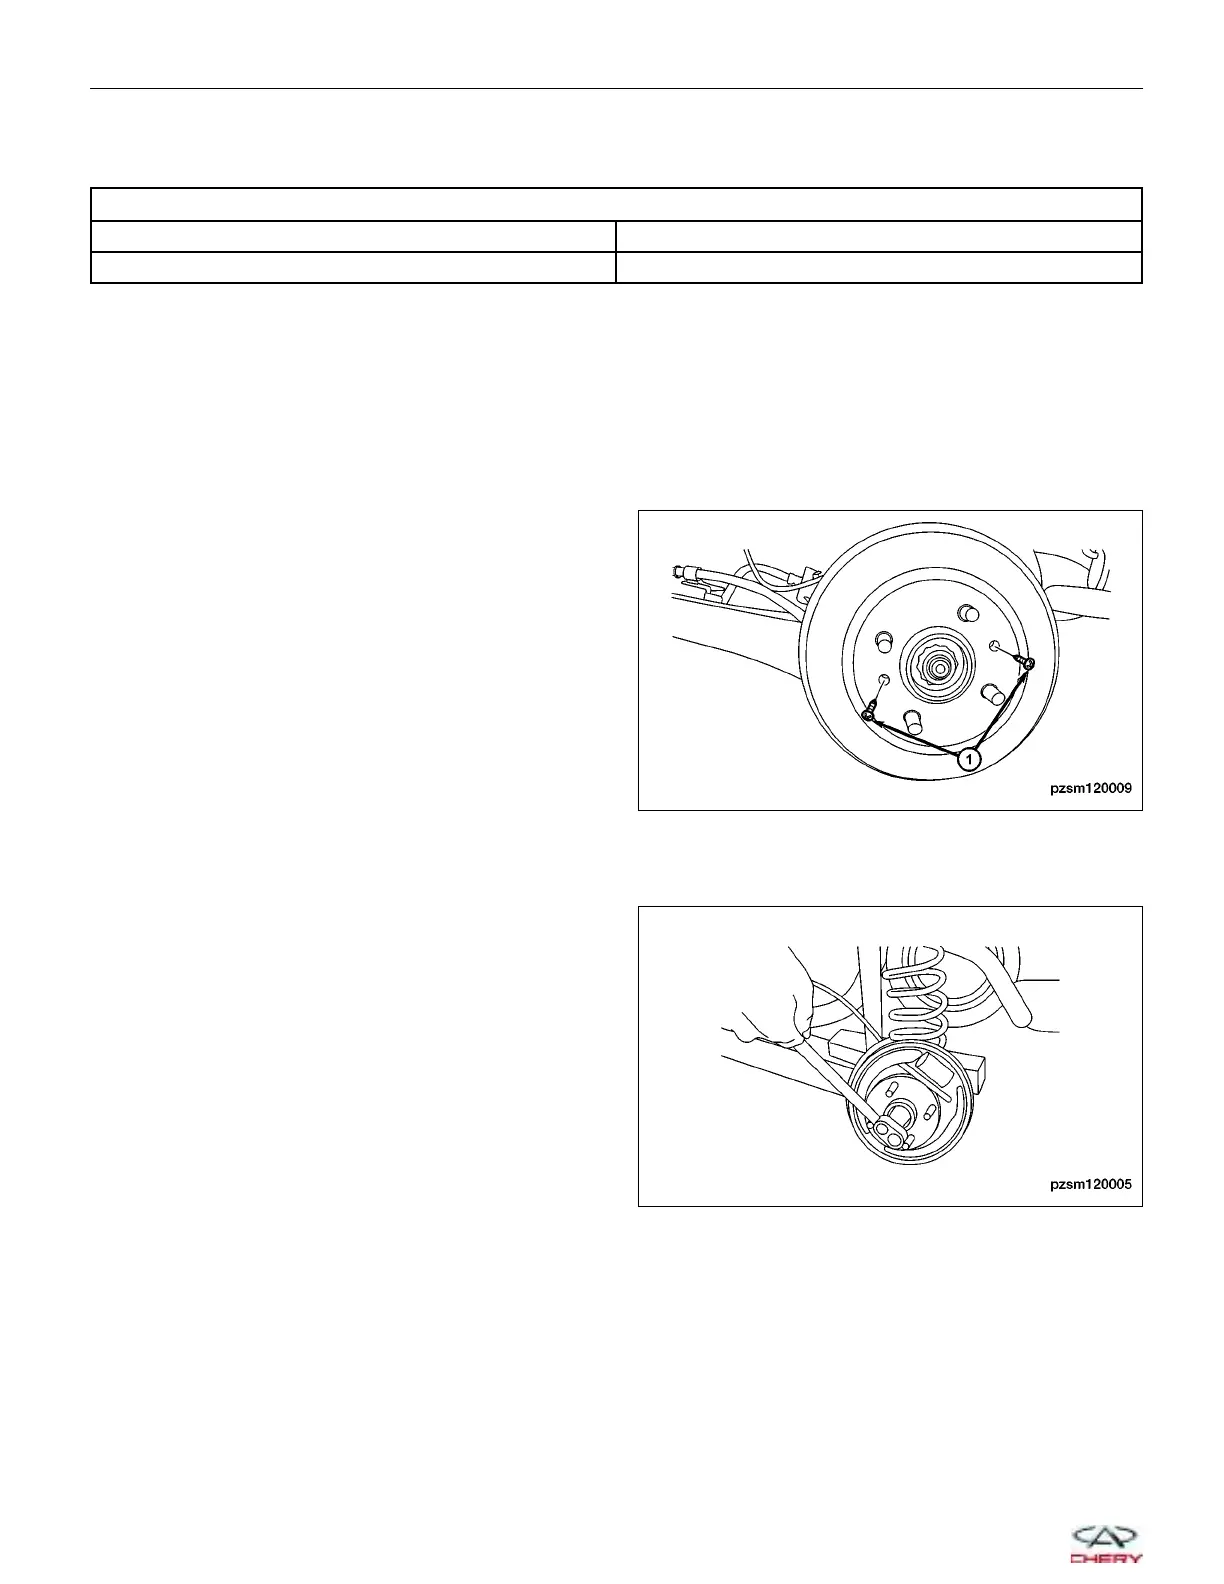
3. Remove the two brake drum mounting screws (1)
from the brake drum.
4. Remove the brake drum bearing dust cap.
5. Rotate the brake drum and remove the brake drum from the axle hub.
6. Remove the rear hub and bearing nut.
(Tighten: Rear hub and bearing nut to 250 ± 10
N·m)
ON-VEHICLE SERVICE
PZSM120009
PZSM120005
12–18
Chery Automobile Co., Ltd.