CAUTION:
When servicing the oil filter, avoid deforming the filter by installing the special tool against the
base of the filter.
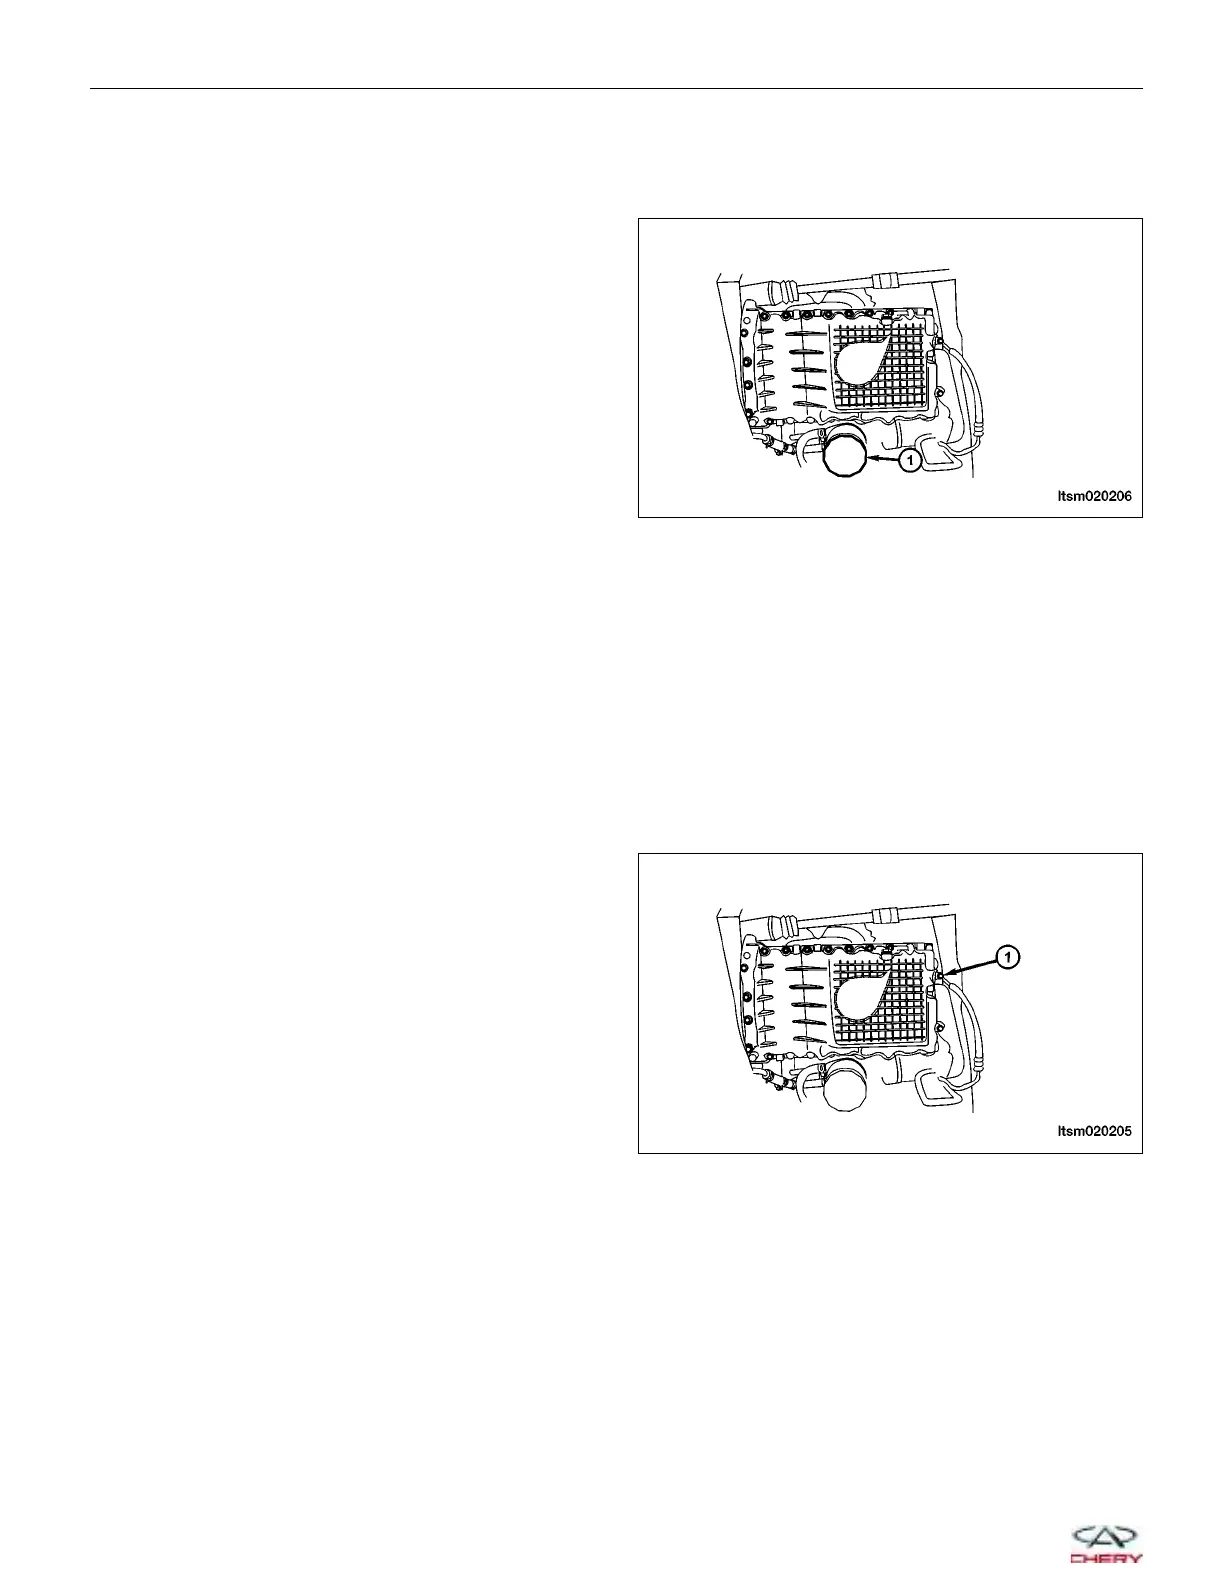
1. Using special tool CH-10003, remove the oil filter
(1).
(Tighten: Oil filter to 25 ± 3 N·m)
CAUTION: When removing the oil filter, ensure
that the oil filter gasket is not stuck to the
engine. The oil filter gasket must be removed
from the engine before installing the new oil fil-
ter.
2. Installation is in the reverse order of removal.
Installation Notes:
• Lubricate the oil filter gasket ring with clean engine
oil.
• Clean all surfaces, and verify the oil filter does not
leak.
Oil Pan
Removal & Installation
1. Remove the oil dipstick.
2. Raise and support the vehicle.
3. Remove the oil pan drain plug and drain the engine oil.
(Tighten: Oil pan drain plug to 40 N·m)
NOTE :
Do not pry on cylinder block to remove oil pan.
4. Remove oil pan bolts (1).
(Tighten: Oil pan bolts to 18 N·m)
5. Using a putty knife, loosen the seal around the oil pan.
6. Remove the oil pan.
7. Installation is in the reverse order of removal.
ON-VEHICLE SERVICE
LTSM020206
LTSM020205
02–50
Chery Automobile Co., Ltd.