CLUTCH ASSEMBLY SERVICE
Clutch and Pressure Plate
Removal & Installation
1. Remove the transaxle assembly (See Transaxle Assembly Removal & Installation in Section 08 Transaxle).
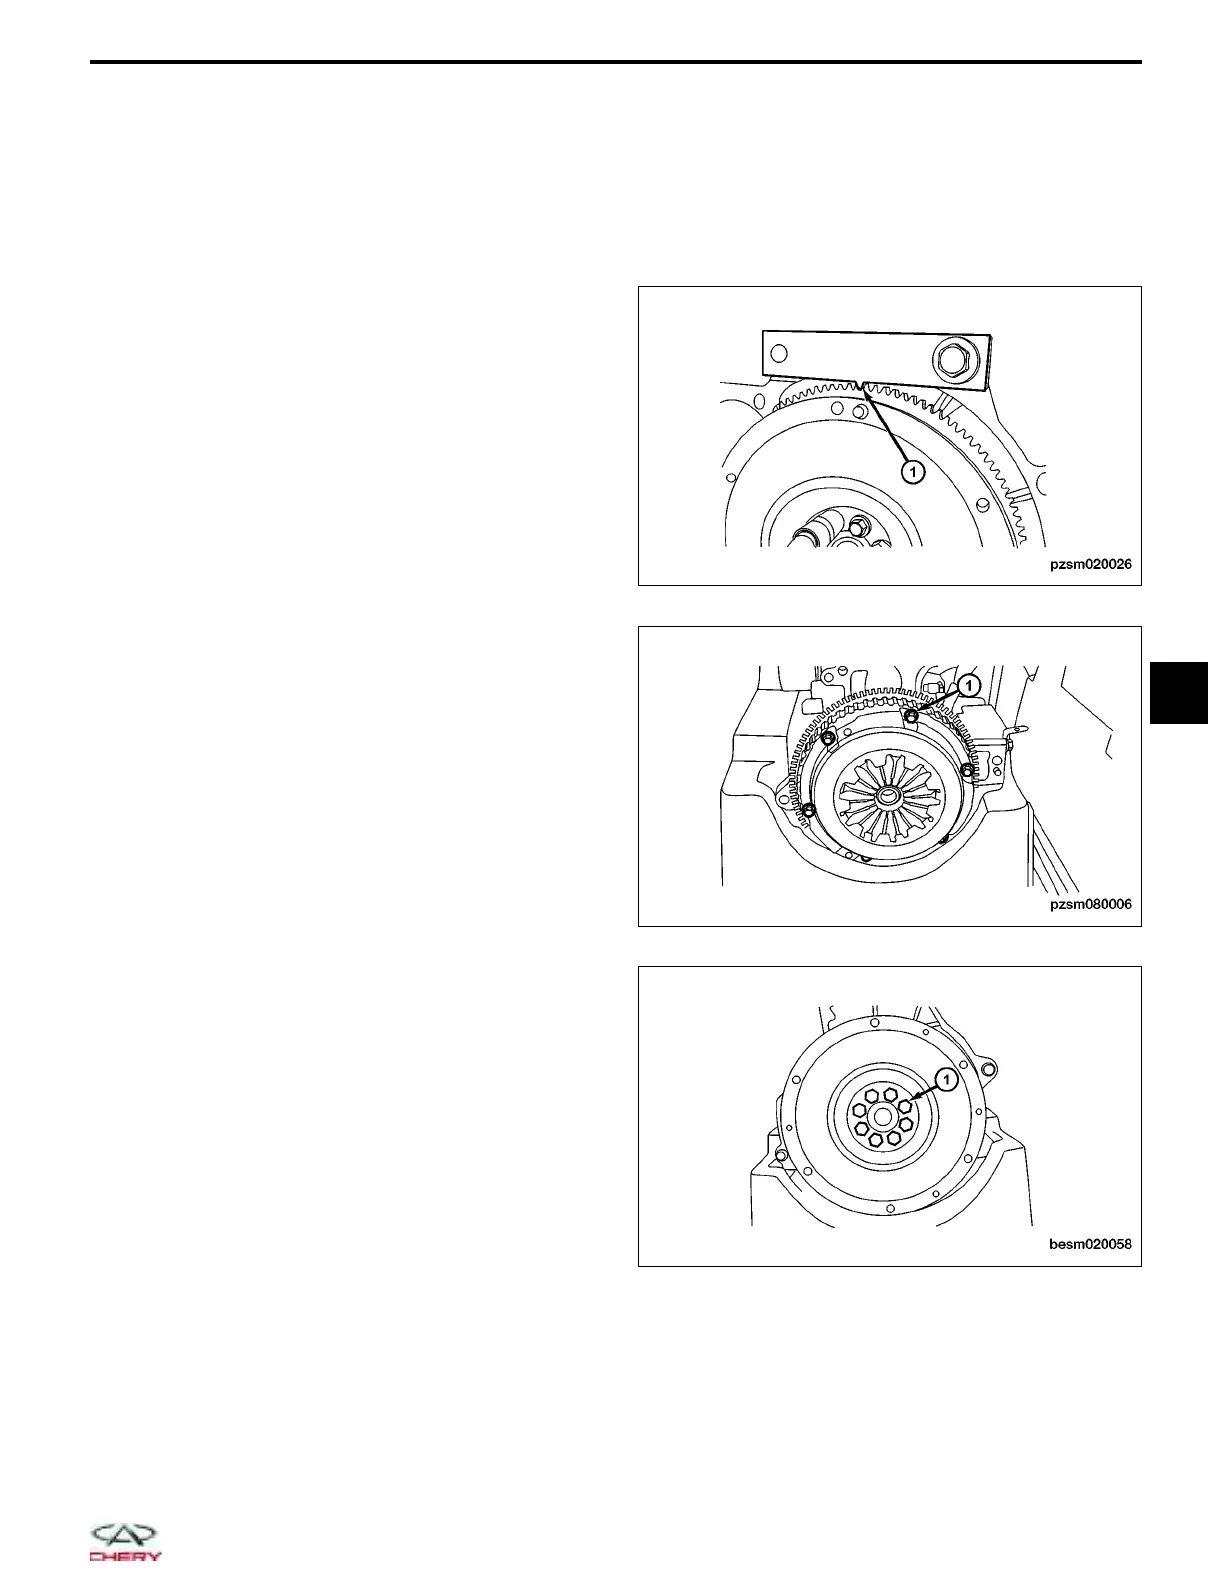
2. Using special tool CH-20043 (1), hold the flywheel.
3. Remove the clutch pressure plate bolts (1).
(Tighten: Clutch pressure plate bolts to 30 ± 5 N·m)
4. Remove the modular clutch assembly.
5. Remove the flywheel-to-crankshaft bolts (1) and
remove the flywheel (if necessary for resurfacing).
(Tighten: Flywheel-to-crankshaft bolts to 80 ±
5 N·m)
PZSM020026
PZSM080006
BESM020058
08
08–45
Chery Automobile Co., Ltd.