15. Remove the four A/C compressor bracket retaining
bolts (1).
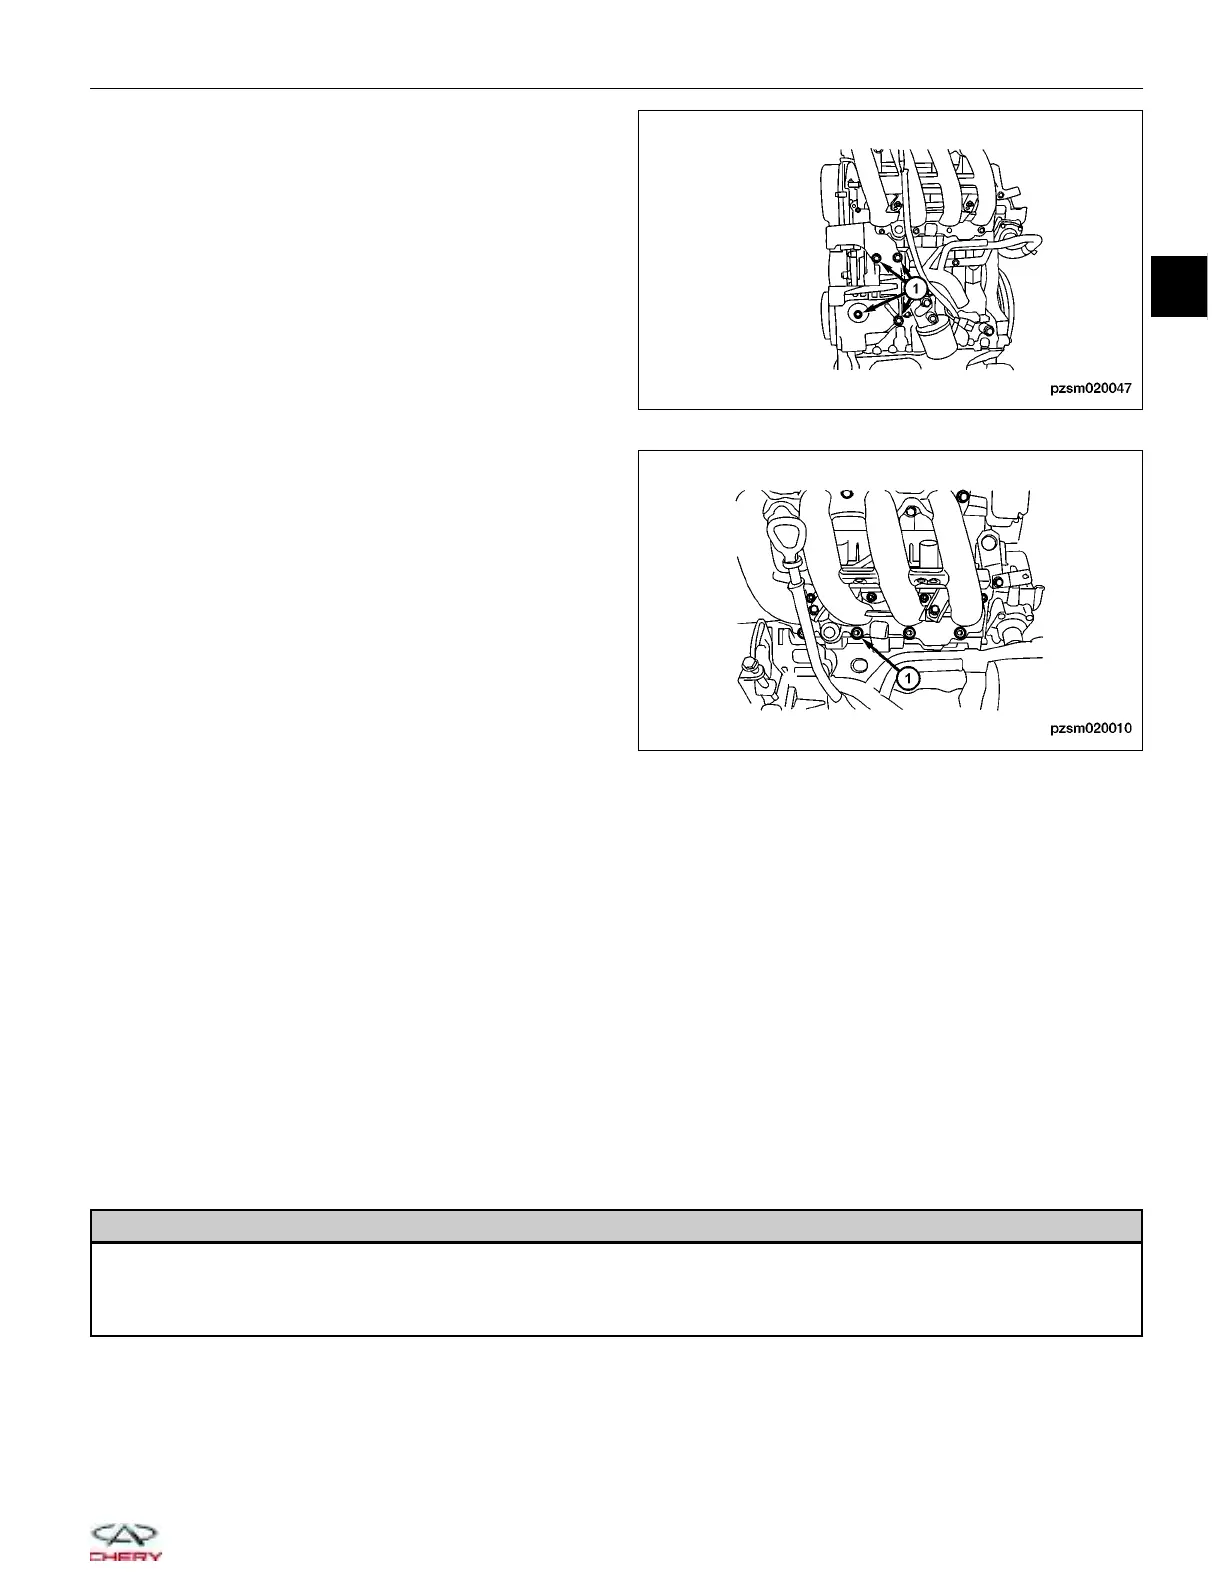
16. Remove the eight lower intake manifold retaining
bolts (1).
(Tighten: Lower intake manifold bolts to 8 ± 3 N·m)
17. Remove the lower intake manifold and gasket.
18. Remove and discard the intake manifold gasket.
NOTE :
Install a new intake manifold gasket during reassembly.
19. Installation is in the reverse order of removal.
Installation Notes:
• Clean all surfaces of manifold and cylinder head.
• Install new O-rings on the fuel injectors.
Oil Filter
Removal & Installation
NOTE :
The following special tools are required to perform the repair procedure:
• CH-10003 - Oil Filter Remover
WARNING!
Prolonged and repeated contact with engine oil will harm your skin. If engine oil is spilled on your skin, wash it
off immediately with water. In addition, used engine oil contains potentially harmful contaminants which may
cause skin cancer. Always use adequate skin protection when performing vehicle service.
ON-VEHICLE SERVICE
PZSM020047
PZSM020010
02
02–49
Chery Automobile Co., Ltd.