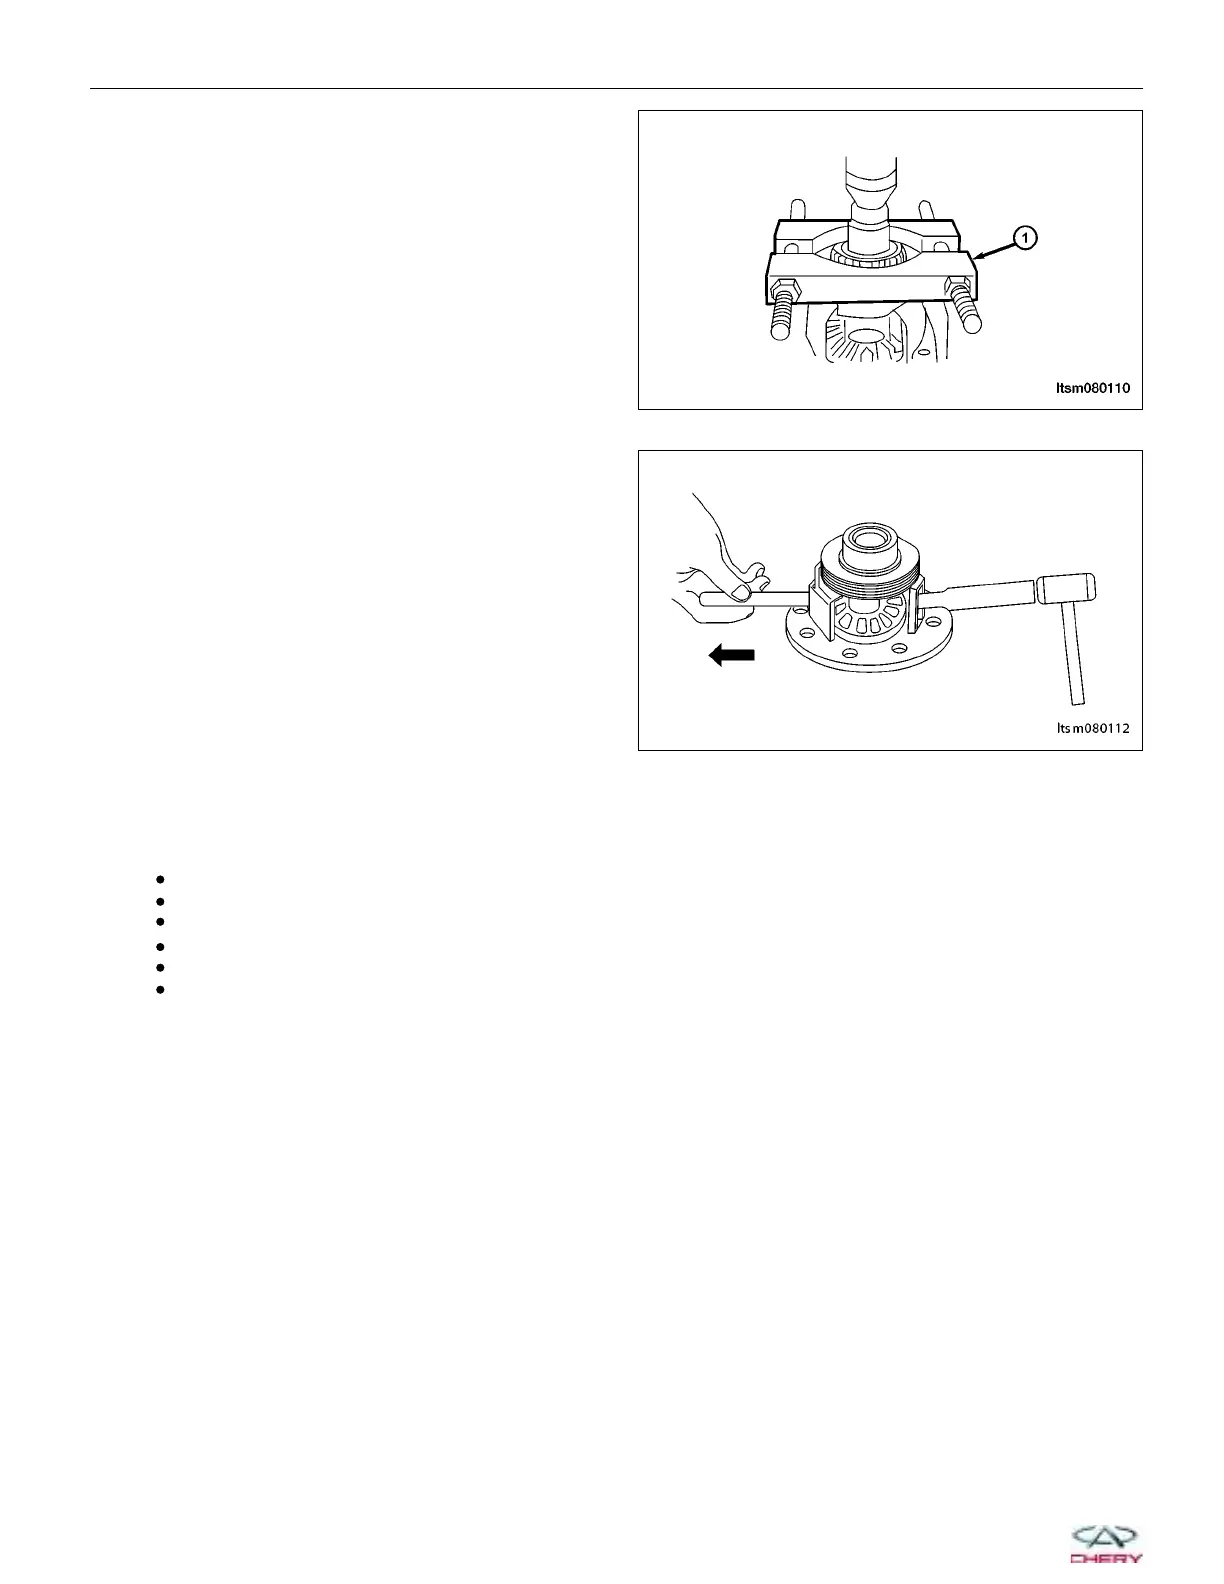
3. Using special tool MD-998801 (1), disassemble the
differential-front/rear shaft bearing.
4. Tap the drive gear off the differential case assem-
bly using a suitable tool.
5. Remove the pinion mate shaft.
6. Turn the pinion mate gear, then remove the pinion
mate gear, pinion mate thrust washer, side gear
and side gear thrust washer from the differential
case.
Inspection
1. Clean all components.
2. Inspect the following components for wear:
Ring gear
Adjusting washers
Side gears
Spherical washers
Planetary gears
Planetary gear shaft
Assembly
Installation of the adjusting washers, side gears, spherical washers, planetary gears and the planetary gear shaft:
Install the adjusting washers respectively on the backs of the side gears and put the side gears in place within
the differential.
NOTE :
The adjusting washer for any new side gear should be the appropriate thickness (0.93-1.00 mm).
Engage two planetary gears with side gears behind the spherical washers on the backs of the planetary gears
(rotate the gears for proper alignment).
DIFFERENTIAL UNIT REPAIR
LTSM080110
LTSM080112
08–40
Chery Automobile Co., Ltd.
 Loading...


