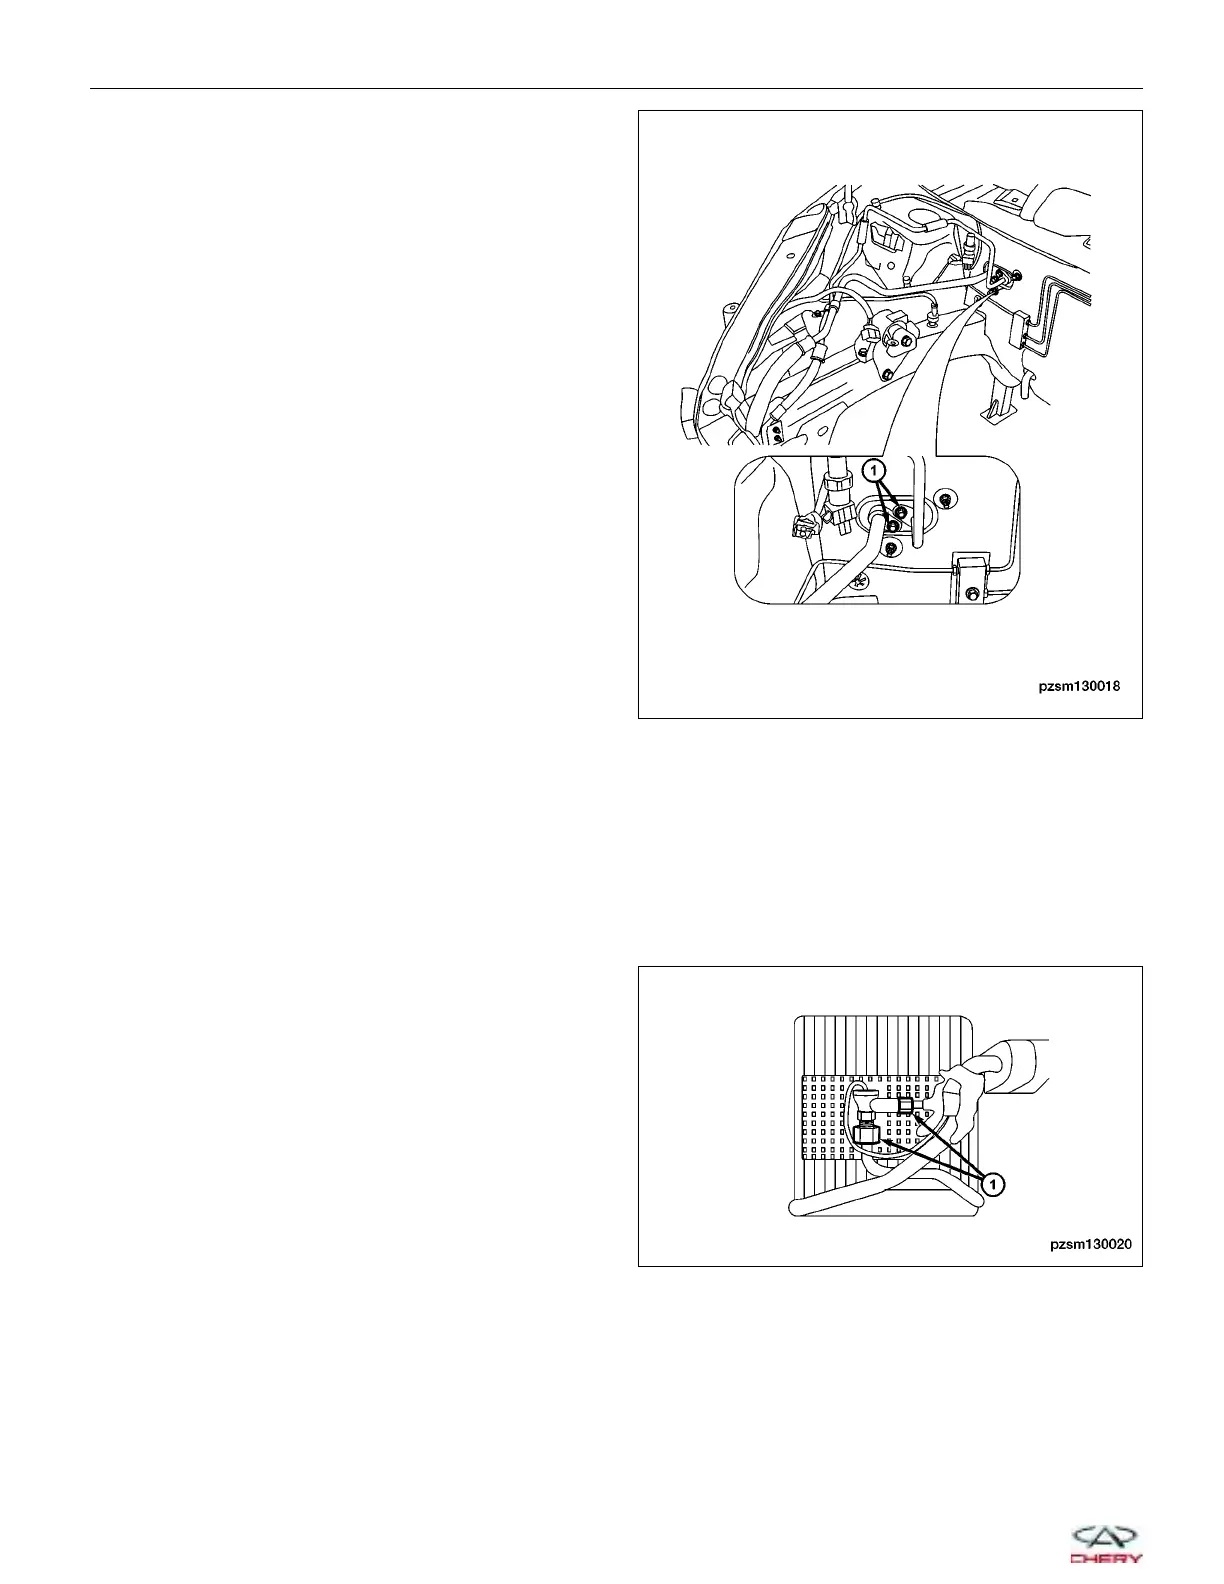
2. Remove the A/C high pressure and low pressure
line retaining nuts (1) from the evaporator.
NOTE :
After removing the A/C lines, plug the A/C lines to pre-
vent any debris from entering the A/C system.
3. Remove the HVAC housing (See HVAC Housing Removal & Installation in Section 13 Heating & Air Condition-
ing).
4. Remove the recirculation door actuator (See Recirculation Door Actuator Removal & Installation in Section 13
Heating & Air Conditioning).
5. Remove the nine screws on the evaporator shield, and pry the two clips off to remove the evaporator shield.
NOTE: The sponge seal around the housing must be replaced when servicing the evaporator. The seal is not
reusable.
6. Remove the evaporator assembly.
7. Remove the expansion valve connecting nuts (1).
8. Remove the expansion valve.
9. Installation is in the reverse order of removal.
Installation Notes:
• Lubricate new rubber O-ring seals with clean refrigerant oil and install them and new gaskets onto the refriger-
ant line fittings.
• Use only the specified O-rings as they are made of a special material for the R-134a system.
• Use only refrigerant oil of the type recommended for the A/C compressor in the vehicle.
ON-VEHICLE SERVICE
PZSM130018
PZSM130020
13–38
Chery Automobile Co., Ltd.
 Loading...


