v2.13 Cleverscope CS300 Reference Manual
©Cleverscope 2004-2018 www.cleverscope.com Page 171
26 Calibrate Cleverscope (versions 6442+)
If you are upgrading up from an earlier version to 6442 or later you will need to do a one-time full calibration.
The calibration table has changed, and the calibration will update it.
26.1 Calibration Functions
Click on the tab to open the calibration function panel
The calibration functions are as follows
Once Yearly
Standard
Signal Generator
Ext Trig
Digital Inputs
Frequency response
To carry out the calibration follow the steps that follow.
Update your Cleverscope application to the latest.
Ensure your
Cleverscope Acquisition Unit
has the latest firmware in it.
Run the application, and use Auto to acquire. You should see a trace
on the screen.
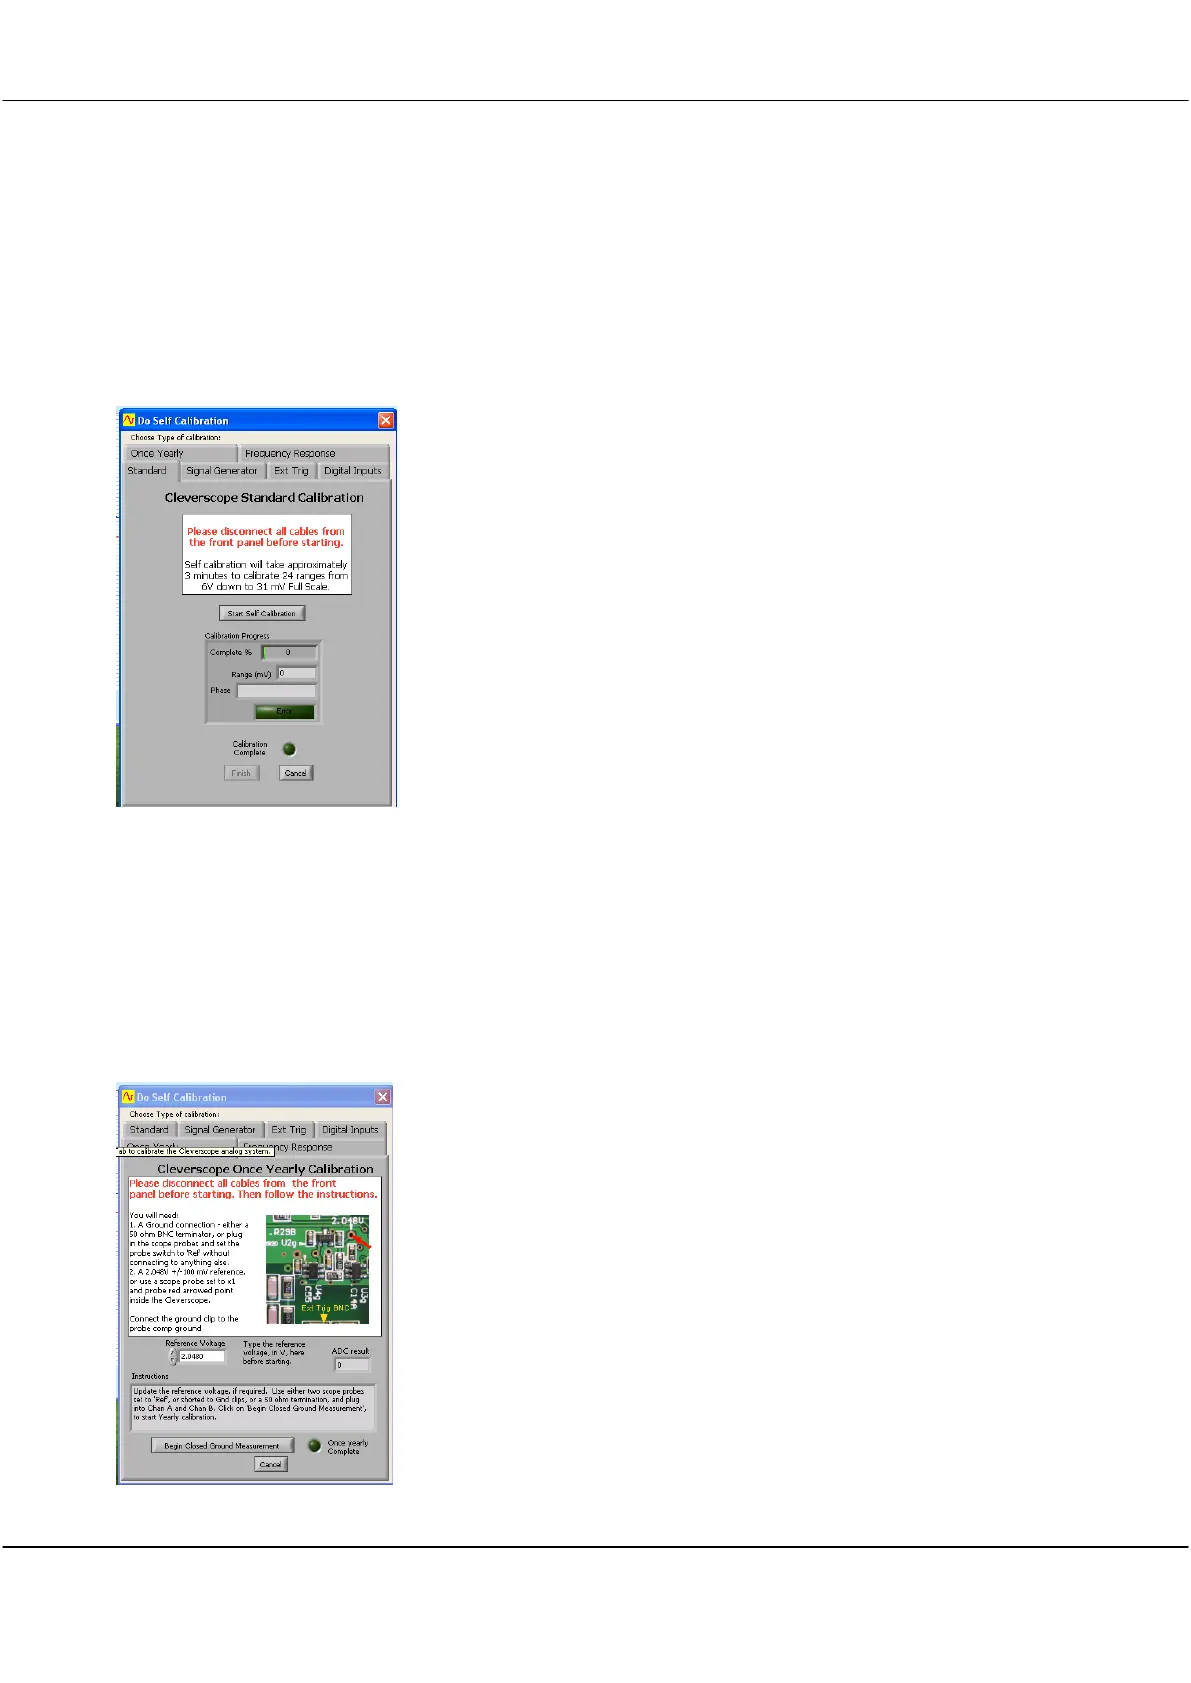
26.2 Once Yearly Calibration
Click Settings then Calibrate Cleverscope.
Click the Once Yearly tab.
Take two Cleverscope scope probes and set the probe switches to
Ref
.
This shorts the probe tip to ground. Connect one to Chan A and the
other to Chan B. Do not connect the probe tip to anything else. Click
Begin Closed Ground Measurement.
When the button changes to Begin Open Measurement, remove the
probes, and click Begin Open Measurement.
When the button changes to Begin Ref A Measurement, set the probe
switch to
1x
, plug one probe into Chan A, connect the ground clip to the
front panel test pin with the earth symbol above it, pull off the grabber
tip if fitted, and probe the via or component pointed at by the red arrow
in the picture. Use firm pressure. It is about 40mm in from the front
panel Ext Trig BNC.
Click Begin Ref A Measurement.