Cleverscope CS300 Reference Manual v2.11
Page 152 www.cleverscope.com ©Cleverscope 2004-2015
23 Using the Ethernet Cleverscope
The Ethernet Cleverscope can be connected to a 10/100 Mbit/sec Ethernet network via an Ethernet connector
that automatically senses the speed (10 or 100 Mbit/sec) and automatically reverses Tx and Rx if the Ethernet
cable has been crossed over.
No cross-over cable is required for connecting a Cleverscope to a PC Ethernet port.
The Cleverscope can be operated with either a Fixed IP address or as part of a DHCP network (Dynamic Host
Configuration Protocol), in which case it will automatically acquires an address in the correct internet protocol
address range.
The simplest use is as part of a DHCP network. Most modern routers and all servers offer a DHCP server
function.
You can also use Fixed IP (Internet Protocol) Addressing, which is useful when you do not have a DHCP server,
or are connecting to a remote Cleverscope connected at some other location.
This section provides instructions on using the Cleverscope as part of a DHCP network, or in a fixed IP address
network.
23.1 Using Cleverscope on a DHCP Network
The Cleverscope is set by default to work as part of a DHCP network. When it is plugged into a network, the
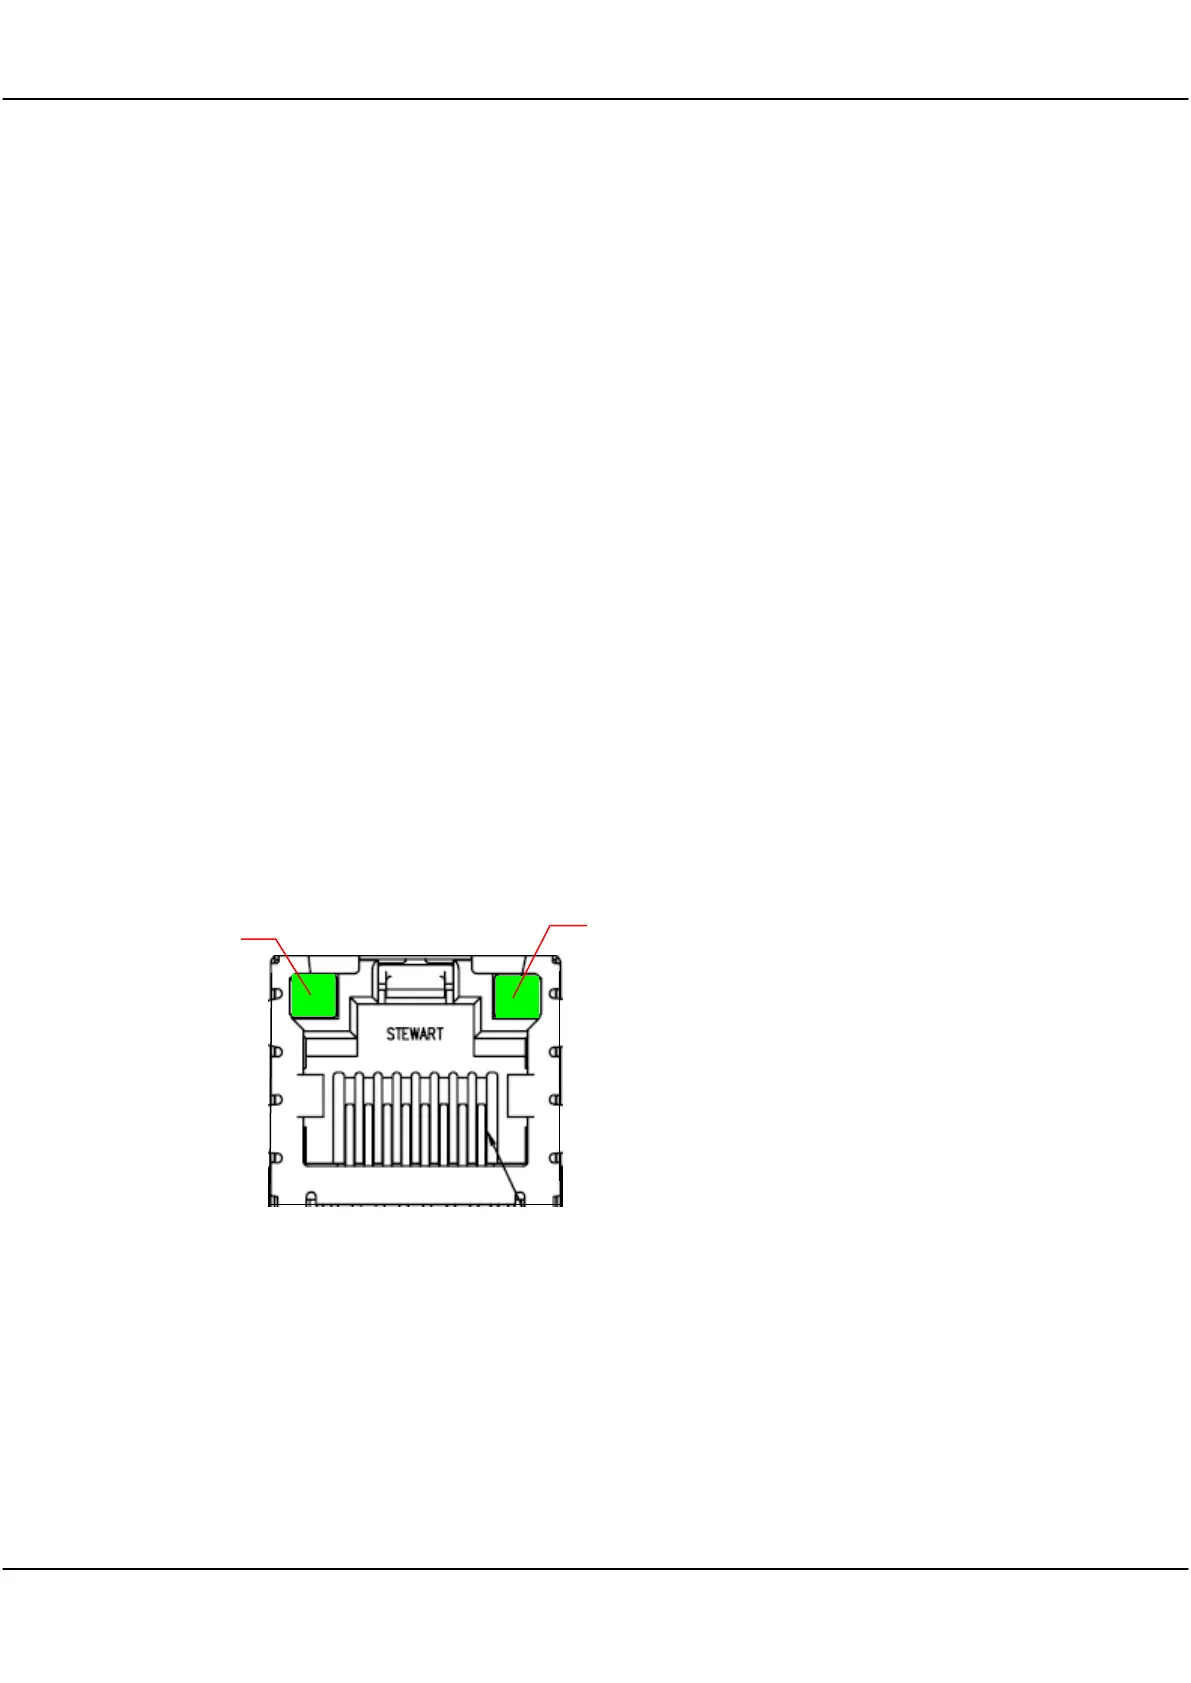
two lights on the Ethernet connector show status.
The Connected LED shows that the
Cleverscope has connected to the network.
The Transmit/Receive LED will flash
whenever packets of data are transferred.
Once the Cleverscope has triggered, the
Transmit/Receive LED will flash once per
second, as the Cleverscope application polls
the Cleverscope to make sure it is still
connected.
If the Connected LED is not on, there is a
problem, and the Cleverscope will not talk to
the Cleverscope application.
Please resolve the connection first.
Looking at Ethernet
connector from rear of CAU