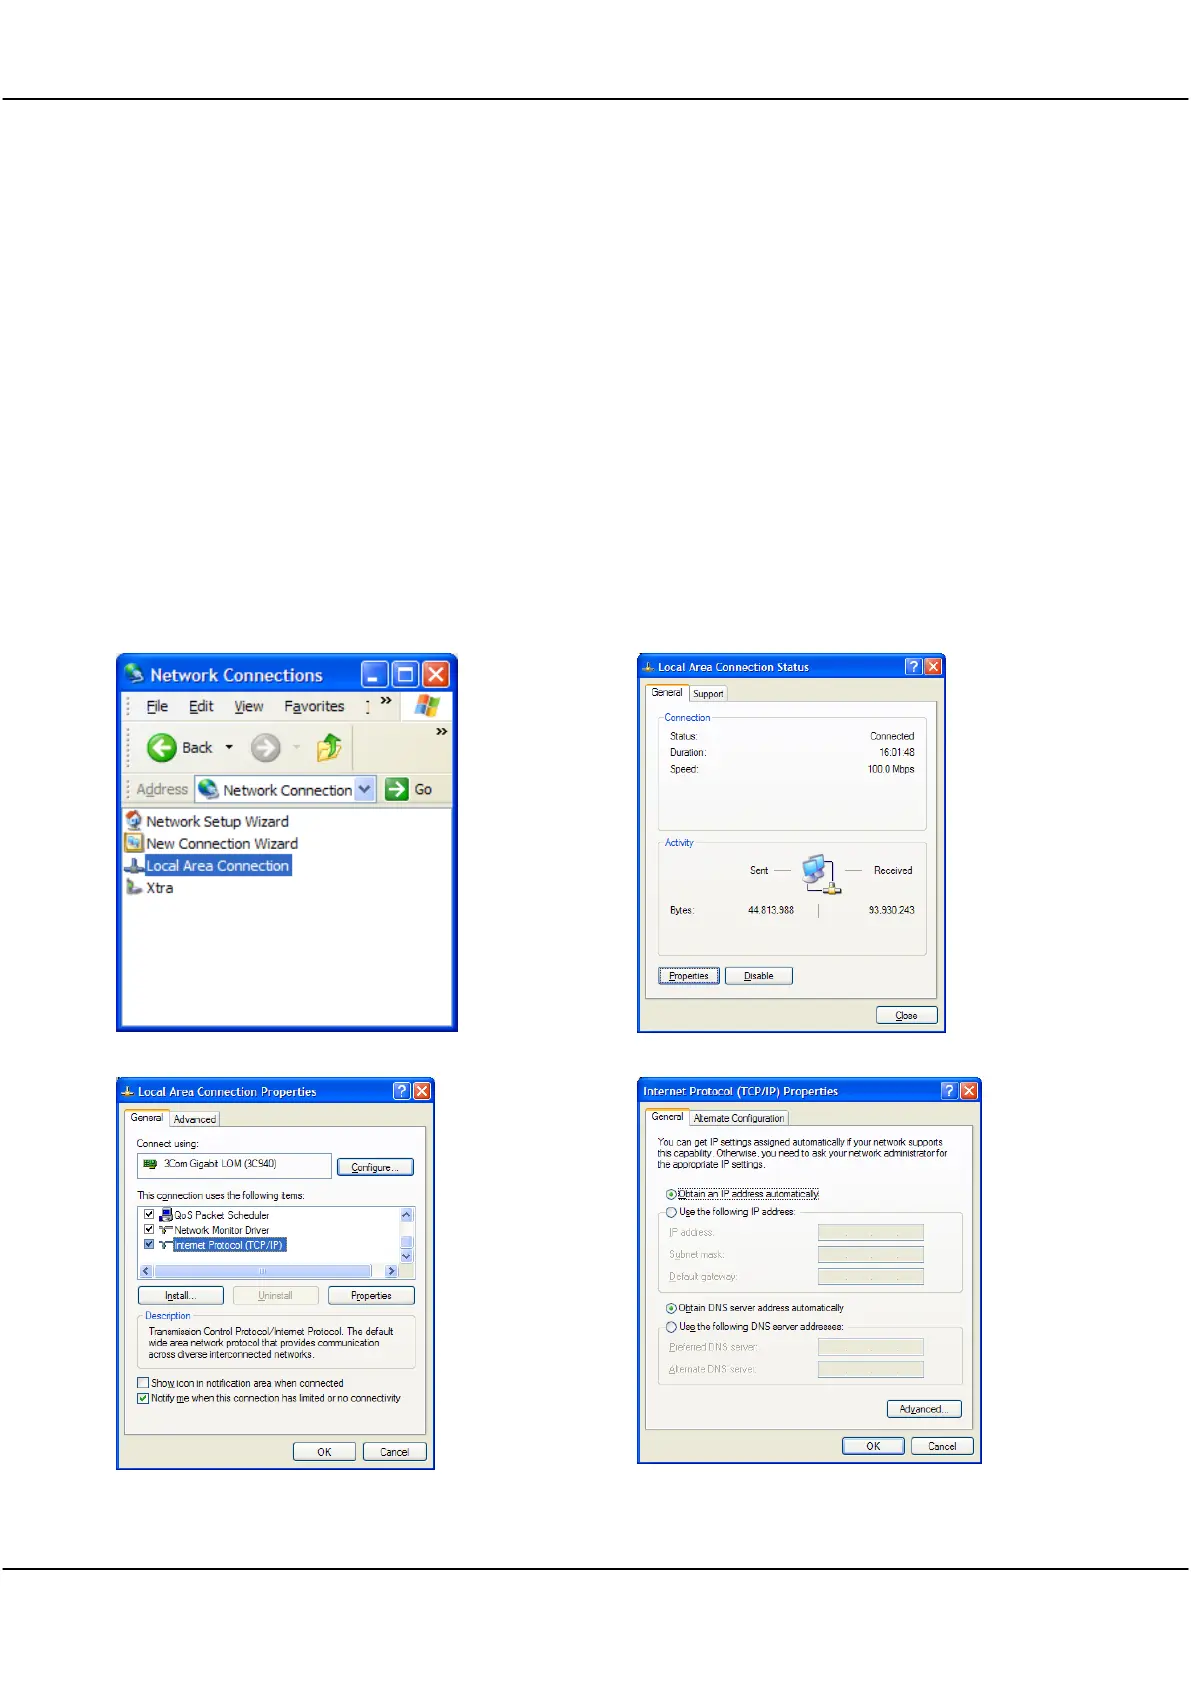
For a fixed IP network, for example a Cleverscope plugged directly into a laptop, you need to do a little more
work. We will examine two situations: the Cleverscope is plugged into a fixed IP local network; the Cleverscope
application is connecting to a remote Cleverscope at some other place.
For this network there is no DHCP server, and so someone will need to manually enter the IP address of each
unit on the network. All the units must be on the same ‘subnet’. All units, and the PC must have different unit
ID's.
The IP protocol subnet is the first three groups of digits in the IP address. For example, for 192.168.1.104, the
subnet is 192.168.1. The unit IDS are the last digit , eg 104 and 1. These must be different for all units in the
local network.
So let us look at an example of a Laptop and a Cleverscope connected directly to each other with an Ethernet
cable (because of the Auto direction, it is not important if the cable is cross over or not).
The examples that follow are from Windows XP. The setup is similar in other operating systems.