v2.13 Cleverscope CS300 Reference Manual
©Cleverscope 2004-2018 www.cleverscope.com Page 39
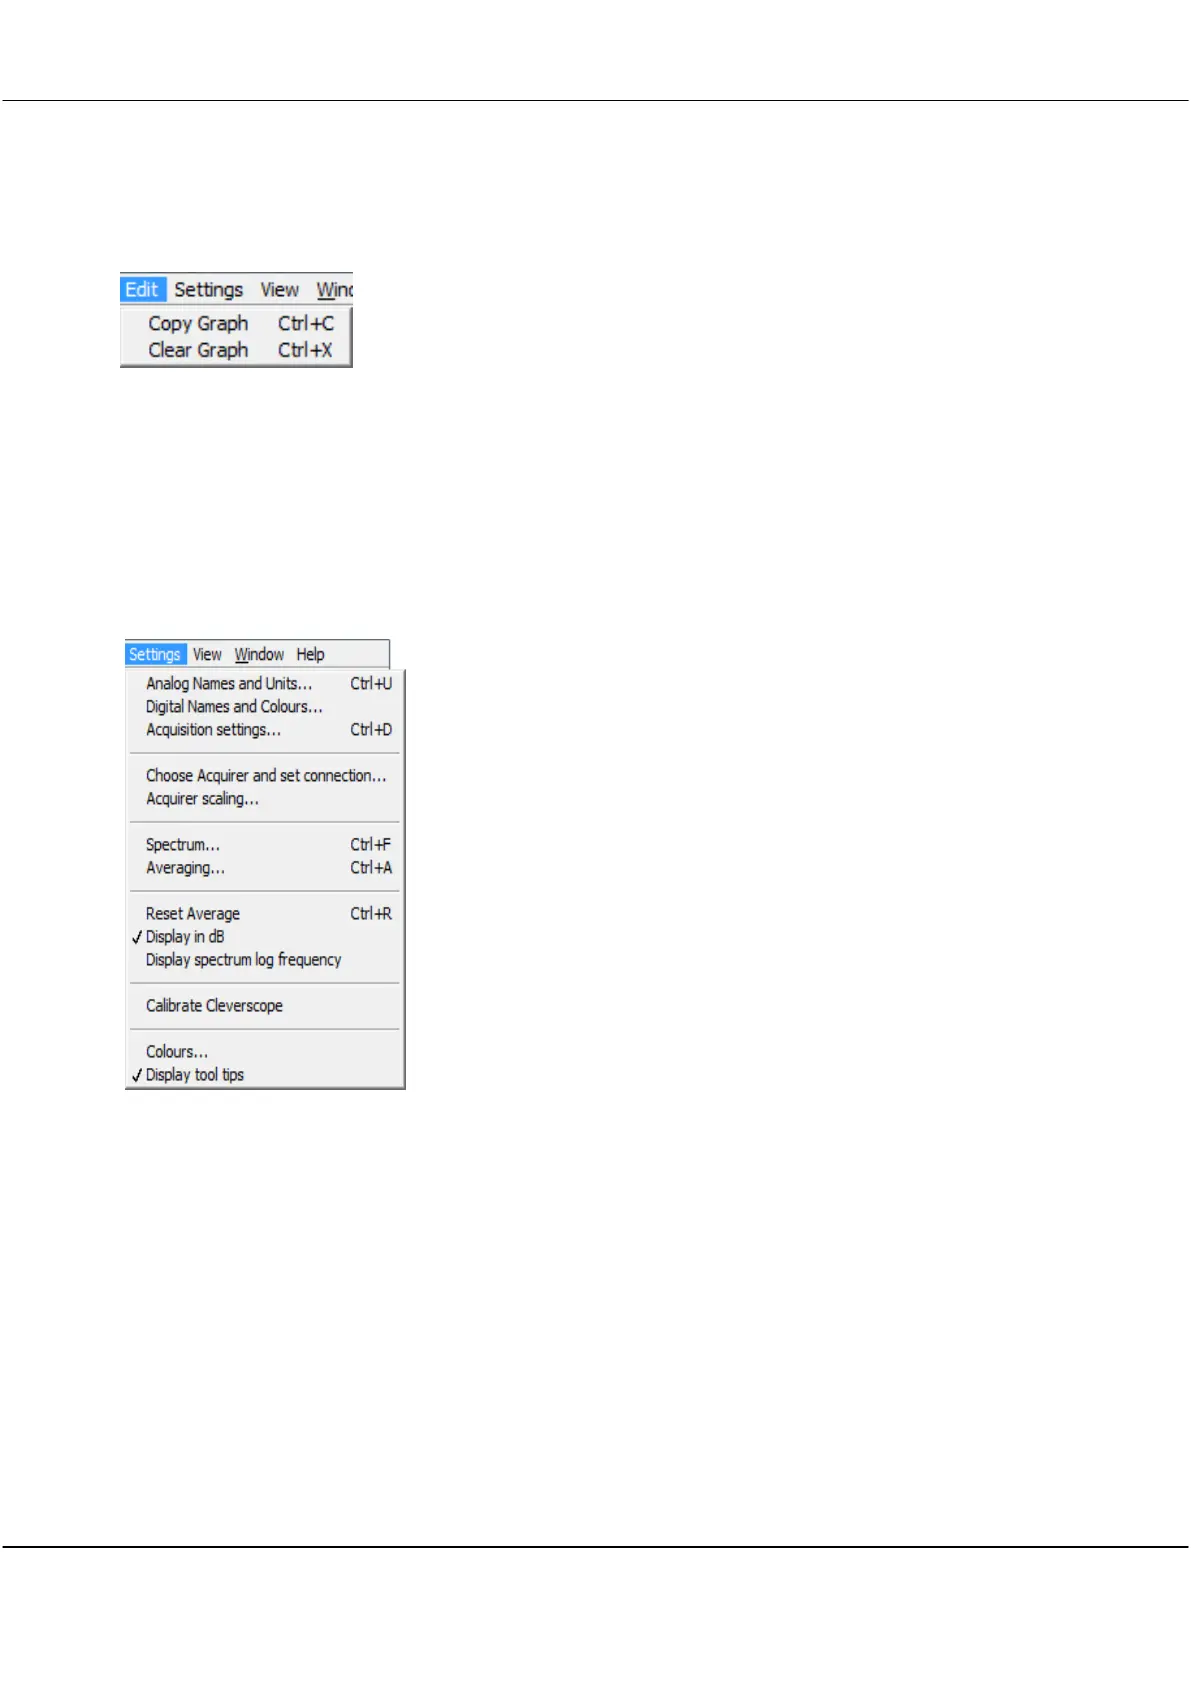
5.2 Edit Menu [Control Panel]
Copy Graph (Ctrl+C)
Clear Graph
Click menu item to copy an image of the last selected
graph or information window to the clip board.
You can then paste the copied item into a document or
similar in another application.
Click Clear Graph menu item to clear signal data from
the last selected graph.
5.3 Settings Menu [Control Panel]
The Settings menu contains all the options, preferences, and settings related to the acquiring and analysis of
signal data, including calibration In addition, you can choose different names, colours, and units for displaying
graphs.
Click to open Analog Names and Units window to
assign names and units to display window axis.
Digital Names and
Colours
Click to open Digital Names and Colours window
to assign names and colours to digital inputs.
Click to open Acquisitions Settings window to set
threshold voltages, Frame Store, ADC resolution,
enable link output, filtering, sampling clock source
and Update Rate.
Choose Acquirer and set
connection
Click to open Choose Acquirer and set connection
window to set type of acquirer and interface
source.
Click to open Acquirer scaling window to set
Acquirer values to Volts.
Click to open Define Spectrum Parameters
window to set transform type and FFT window,
convert to degrees and unwrap phase.
Click to open Define Averaging Values window to
set weighting mode, number of averages and
Acquisition average values.
Click to change axis to dB.
Display spectrum log
frequency
Click to change Spectrum display frequency axis
to logarithmic.
Click to open the calibration tools.
Click to open the Setup Colours window.