v2.13 Cleverscope CS300 Reference Manual
©Cleverscope 2004-2018 www.cleverscope.com Page 101
17.4 Getting Started with the FRA
It can be a bit daunting to know where to start, so here are some suggestions. There are worked examples at
the end of this chapter.
If you want to plot the spectral response to a stimulus signal sweeping in frequency then you are in the right
place! If you just want to display the spectrum of a signal, then you do not need this panel. For displaying just a
spectrum without swept frequency response you should turn off Use Swept Narrow Band, and close the FRA
Control Panel. The Sig Gen Control Panel is easier to use in this situation.
We suggest you open the Spectrum Display, Scope Display, as well as FRA Control Panel using the View menu.
Arrange them so you can see them all at the same time. Choose
View/Displays are docked
on the Cleverscope
Control Panel, and then you can move or minimize the whole group around by moving/minimizing the
Cleverscope Control Panel.
Close the Sig Gen Control panel, there is no need for it.
There is an individual help button on most panels that explain that panel in more detail.
If you want to save an FRA capture points only file, see the end of this description.
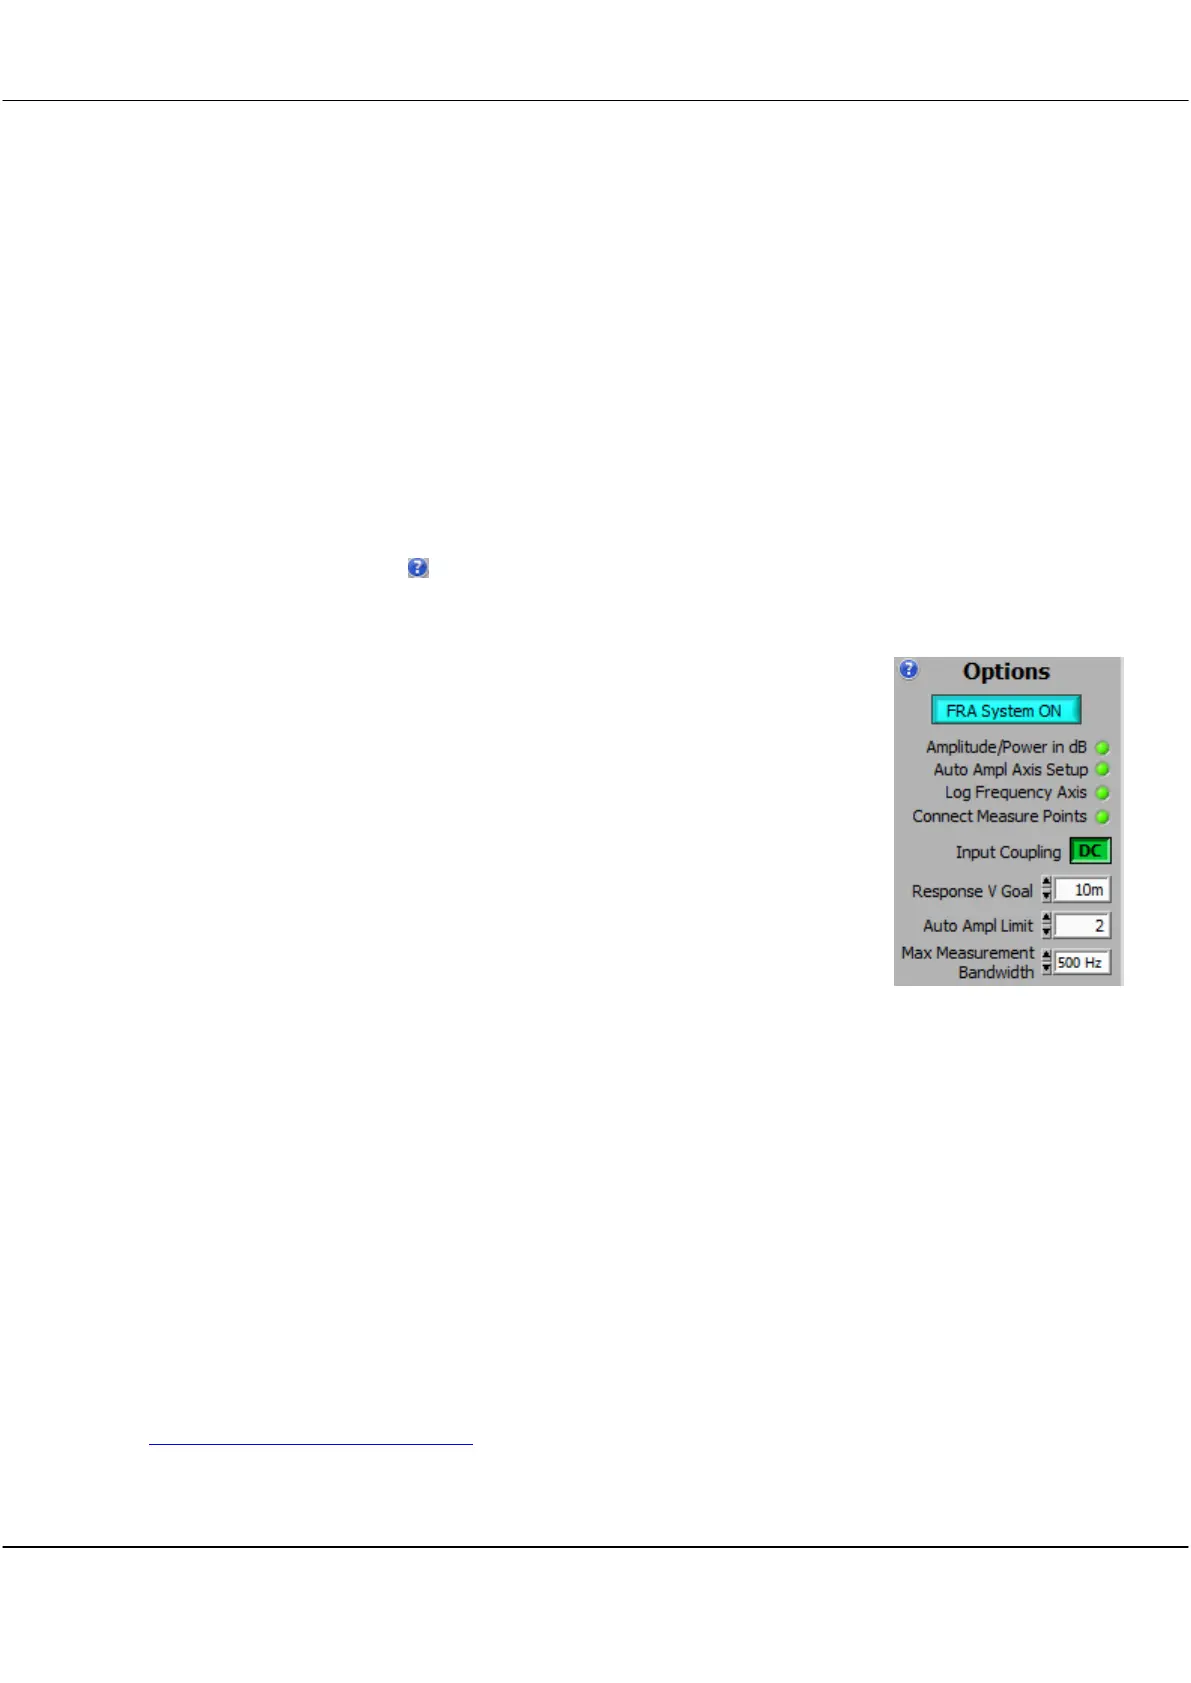
If you do want a swept response, for most situations you want these LEDs turned on:
FRA System ON - ON - the FRA builds up a picture of the response by sweeping
the signal generator over a range of frequencies, and records and plots the response
at only that frequency.
Auto Ampl Axis Setup - ON - gives you a first estimate of the amplitude range. If
the signals on the Scope Display are being clipped, or are tiny, you can turn this off,
and manually adjust the scope display
Connect Measure Points - ON - means all the sample points are joined up.
Amplitude/Power in dB and Log Frequency Axis are your presentation choices.
Ok, now you will need to set the frequency range, and Sig Gen Amplitude. If you are
using a passive system, a Sig Gen Amp of 2V is a good start. If you are working with a
Power Supply Unit (PSU) then these are our suggestions:
PSU Gain/Phase - set the Sig Gen Amp to 10 mV, and the Sweep Amplitude to
Auto
. Set the Auto Amp Limit to half the power supply voltage or 6V, whichever is lower.
PSU PSRR, Input Impedance or Output Impedance - set the Sig Gen Amp to 1V, and Sweep Amplitude to
Constant
.
Now to start a sweep click Start Sweep. There is no need to click any other buttons such as the Acquire buttons,
or Averaging, or work with the Sig Gen Control panel.
If you have Auto Setup turned on, then at completion of the sweep, the amplitude axis will be auto fitted. Once
things are approximately right, you can turn Auto Setup off, and tweak things manually.
Saving FRA files
FRA sequences automatically get converted into very long linear arrays for display. However, if you are after just
the data points, you can save them as a text file. After having done an FRA response, make sure the Spectrum
Display was selected (the Control Panel shows DISPLAY: Spectrum), and then use File/Save as Text.. and only
the swept data points will be saved to the text file. In addition you can use the File/File Options/Save Options
to choose 'Save using Fast Save Button' and the Fast Save button will appear top right of the Cleverscope
Control Panel, and you can save just by clicking the button.
See http://www.cleverscope.com/videos/ for videos on how to do all this.