User's Manual
264
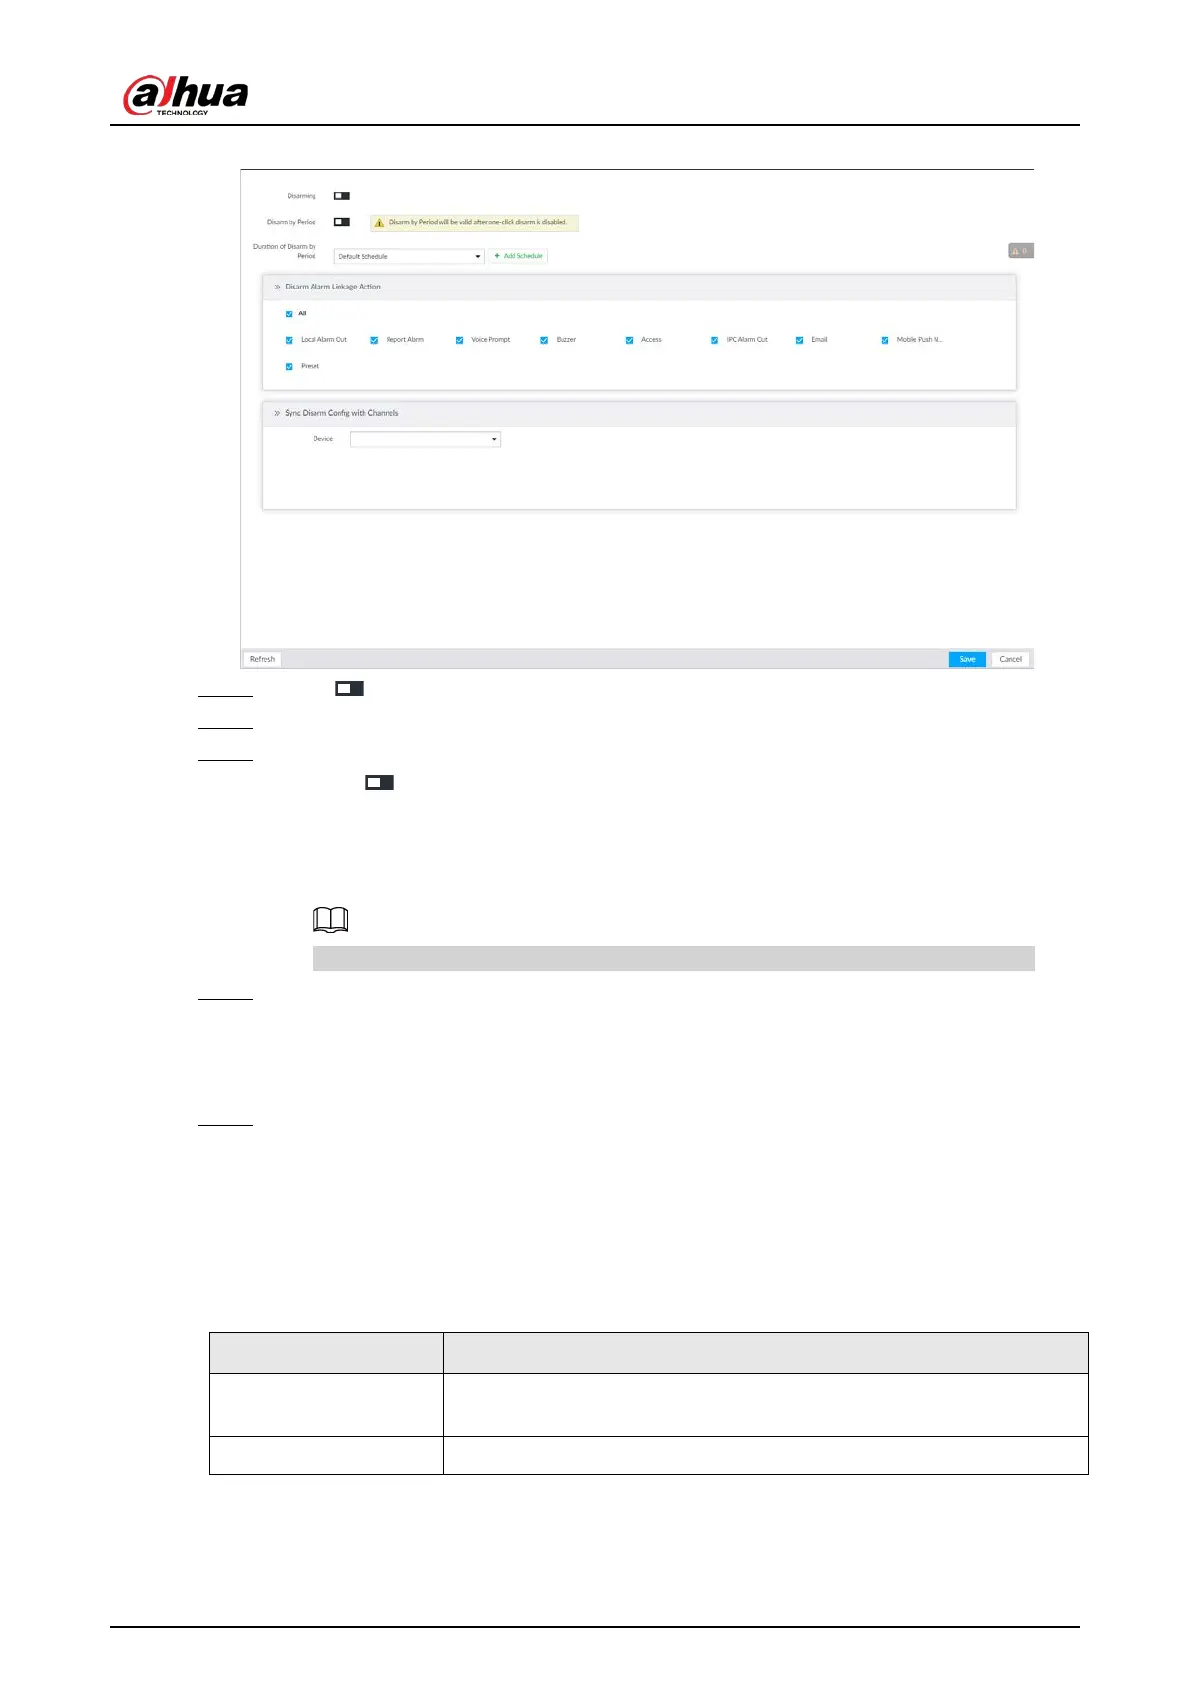
Figure 8-49 Disarming
Step 4 Click to enable disarming.
Step 5 Cancel selecting alarm linkage actions as needed. The actions are selected by default.
Step 6 (Optional) Configure disarming by period.
1) Click to enable disarming by period.
2) Click
Add Schedule to specify disarming schedule. The alarm linkage actions remain
armed during unscheduled periods.
3) Click
Apply.
After disarming by period is enabled, one-click disarming is disabled automatically.
Step 7 Configure sync disarming configuration with channels.
1) Click the drop-down list in the Sync Disarm Config with Channels section. The devices
that support one-click disarming or disarming by period are displayed.
2) Select the device that you want to synchronize the disarming configuration with.
Step 8 Click
Save.
8.4.2.2 Abnormal Event
Set the alarm mode when an abnormal event occurs.
The Device supports HDD, storage error, network, AI module, fan and power fault alarm.
Table 8-19 Abnormal event description
No HDD
System triggers an alarm when there is no HDD. It is enabled by
default.
Storage error System triggers an alarm in case of HDD error. It is enabled by default.
 Loading...