Chapter 4 -Operational Procedures-
146
AS-410M Auto Slide Preparation System
② Touch PRINT on the “Maintenance mode” screen.
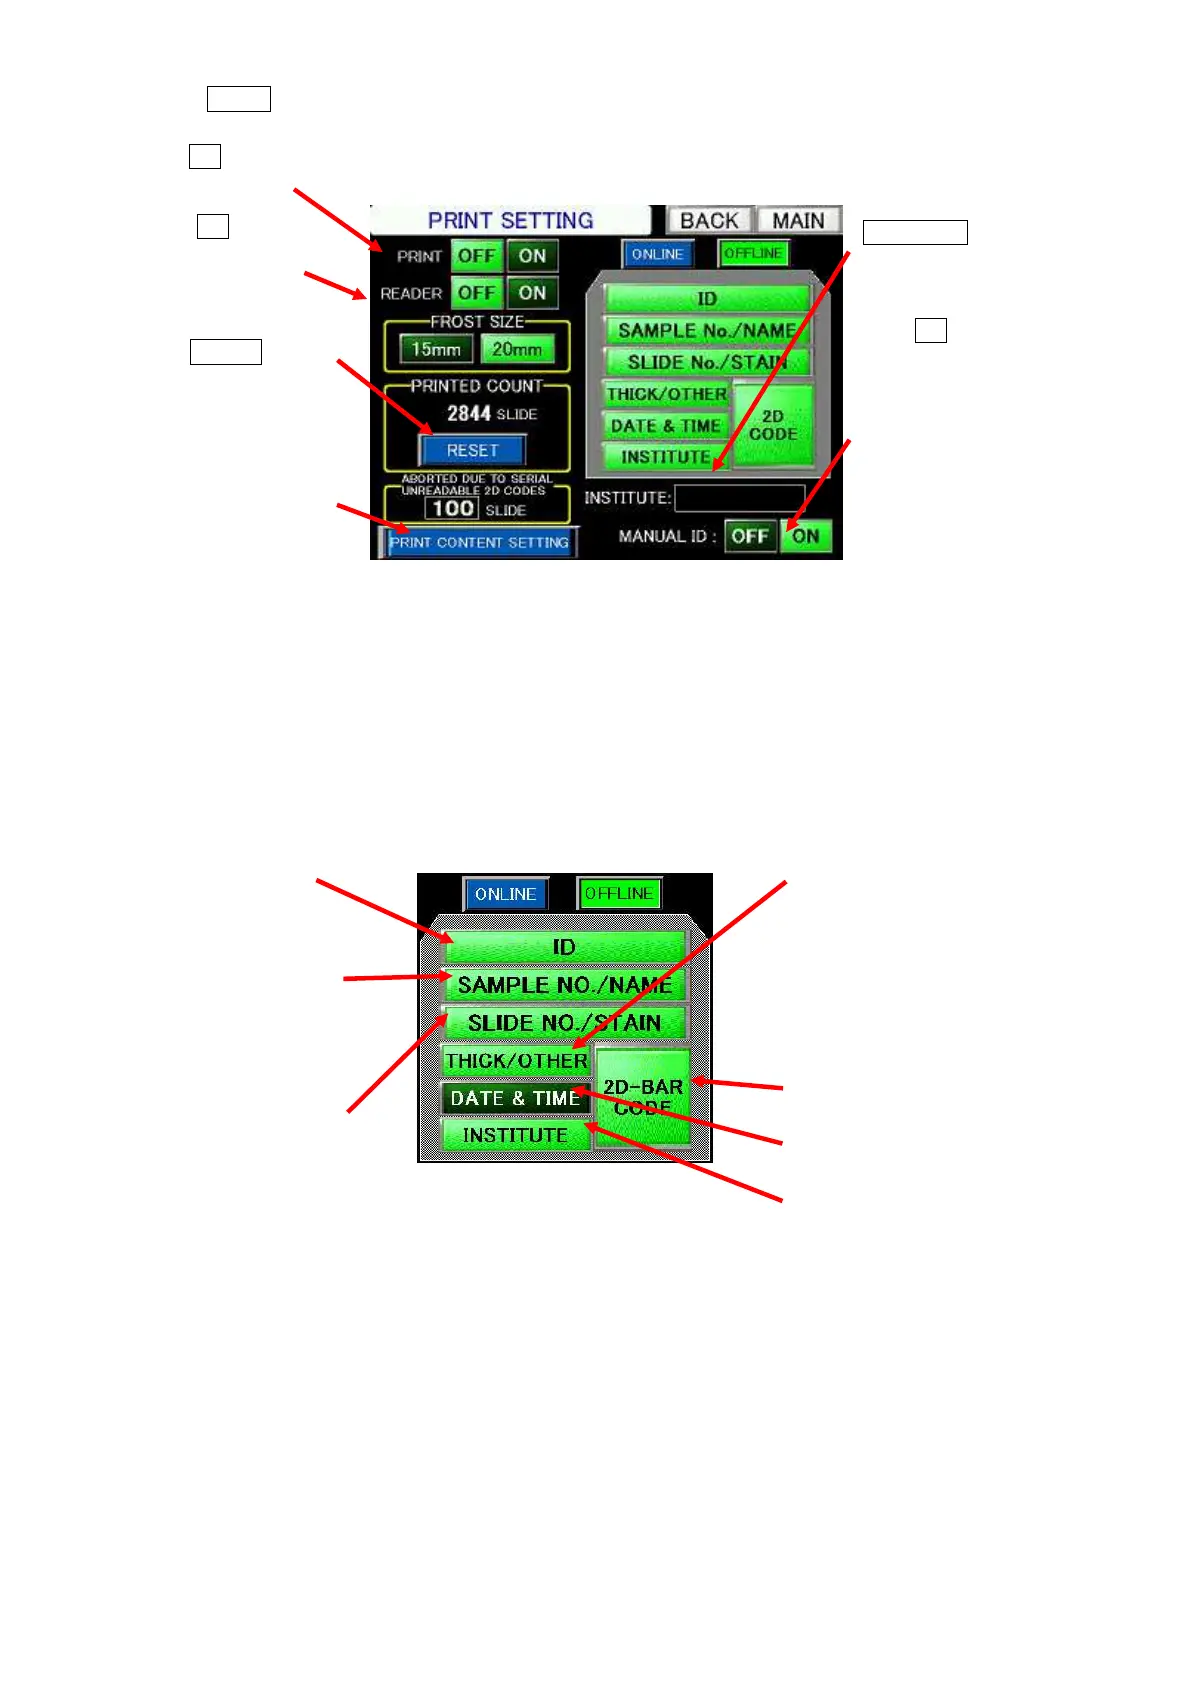
③ Print data items
The screenshot below shows the buttons used to select/deselect printable data. Touch and highlight
these buttons to select data to be printed. To cancel printing these data, touch the buttons again and
turn them dark.
<Offline Mode>
Select ON to perform printing on
slides.
Counter (numbers) for
slides printed with data.
Touch RESET to clear
Touch ON and enable
Manual Sample ID
Entry to edit print data
on the Touch Panel.
After touching the
INSTITUTE button
above, enter the data
to be printed.
Print scanned or entered
sample ID data.
With the sample barcode reader
available or with Manual Sample
ID Entry disabled, this button
prints the ID Nos. of processed
samples.
With Manual Sample ID Entry
enabled, this button prints
entered data.
With dye selection disabled,
this line prints the ID Nos. of
processed slides.
With dye selection enabled, the
line prints the names of selected
dyes.
With the sample barcode
reader available or with
Sample ID Entry disabled, this
button prints the slicing
thickness.
In other cases, this button
Prints institution names
entered.
Prints 2D codes.
Print Settings screen
Print Settings screen
(print data items)
Select ON to perform
reading of barcodes.
The number of abnormal
readings during 2D code
check before system
errors.
Prints day and time names
 Loading...