174 Scanning
6. Click Scan to start scanning.
The scanned images are sent to the application or saved in the
specified folder.
Select the suitable resolution
When you specify a high resolution, the number of pixels of the
data increases and the scanned image becomes fine in texture.
However, increasing the resolution causes the data size to
increase. Specify a suitable resolution according to the scanning
purpose.
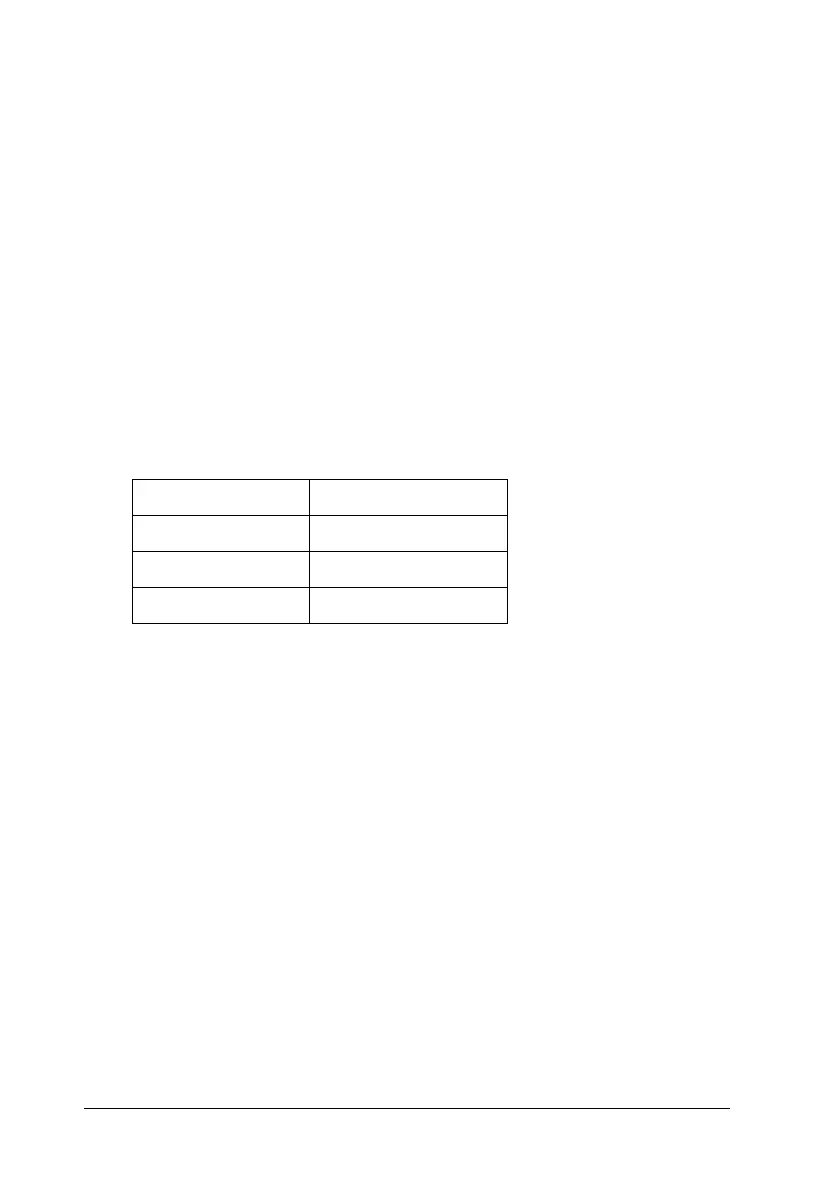
The following table indicates the suitable resolution to use
according to the scanning purpose.
For texts and line arts
Follow the steps below to make settings suitable for scanning texts
and line arts in the Professional Mode. With this feature, outlines
of texts and line arts are scanned and clearly defined. Clearly
defined texts can be reliably converted into text data using OCR
software.
1. Place your original either on the document table or in the Auto
Document Feeder (fax model only). For details, see “Setting
Your Originals” on page 154.
2. Start EPSON Scan and then select the Professional Mode. For
details on how to select a scanning mode, see “Changing the
scanning mode” on page 171.
Purpose Resolution
Sending E-mail 96 to 150 dpi
Printing 300 dpi
Filing 300 dpi