192 Scanning
Note:
When the output size of the scanned image is already decided, select
an appropriate setting from the Target Size list. A marquee
proportional to the measurements of the Target Size setting appears
in the Preview window. You can move this marquee to the area of
the image you want to scan. For more details, see the online help.
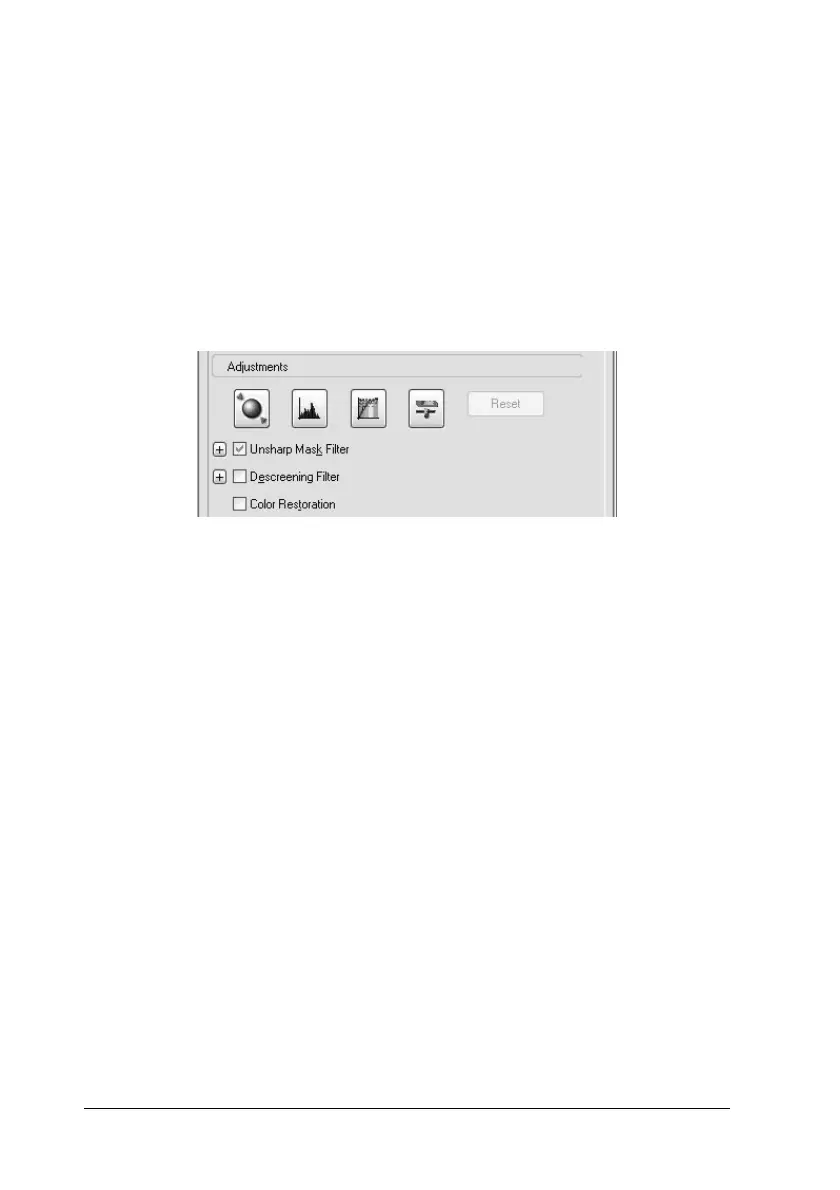
6. Specify the Adjustments settings, if necessary. (You may need
to scroll to the bottom of the screen.)
Note:
For some settings, you can apply the same modifications to all of the
images at once by clicking All in the Preview window. (In Normal
Preview, you need to make marquees.) For detail, see “Using
marquees” on page 197.
7. Click Scan. EPSON Scan starts scanning.
Note:
When the File Save Settings dialog box appears, make your settings
then click OK. For details, see the online help.
The scanned images are sent to the application or saved in the
specified folder.
 Loading...


