28
Playback and Backup
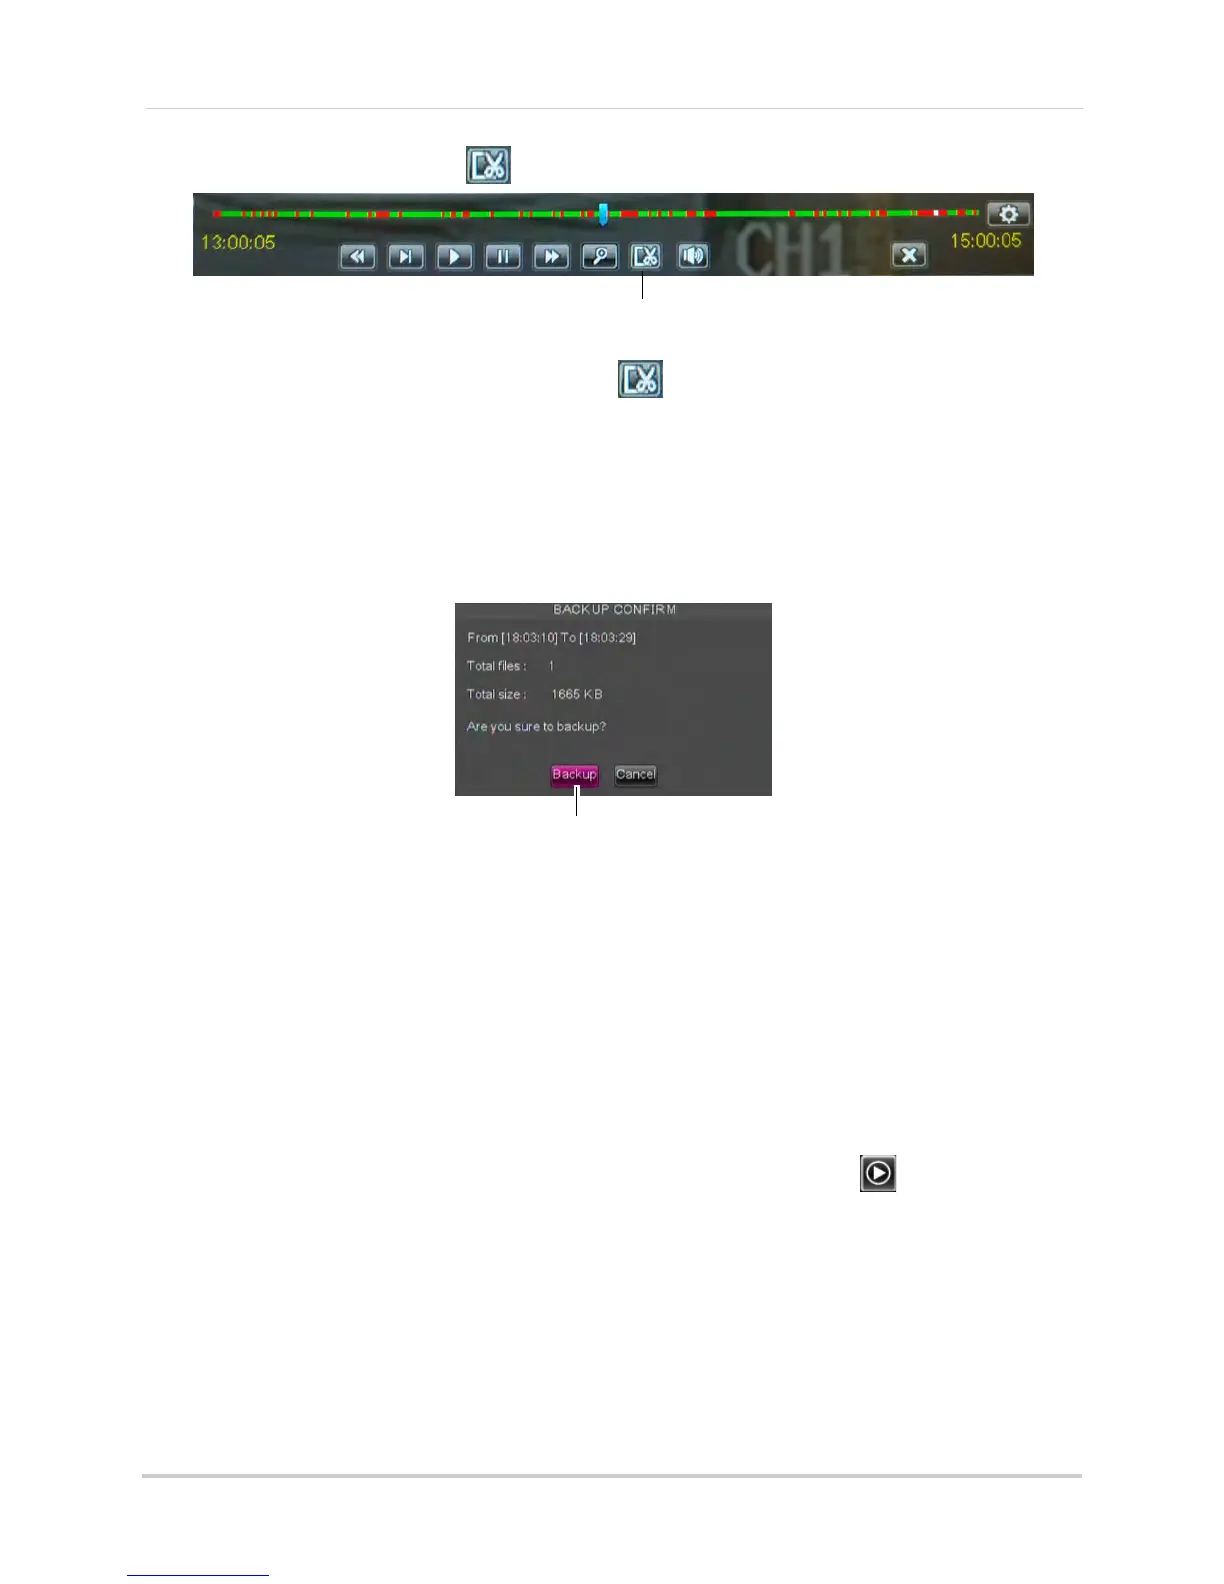
3 Click the clip backup button ( ) to start your backup at the current playback time.
Click to select the start and stop times
4 When you want the backup clip to stop, click again.
TIP: You can use fast forward or click-and-drag the video cursor to select the stop time for
the clip. This is useful because it allows you to backup longer segments of video without
having to watch the whole video each time. You must have enough space on your backup
drive to save the file.
5 A confirmation window appears, showing information about the backup file you are about to
cr
eate. Click Backup to confirm. Wait for the file to be saved.
Backup
For details on viewing backed up video, see “FLIR Player: Playing Backed up Video on PC”
on page 112 or see “FLIR Mac Player: Viewing Backed up Video on Mac” on page 114.
Backing Up Video
You can back up video to a USB flash drive (not included) or eSATA external hard drive (not
included) connected to the rear panel of the DVR.
NOTE: For information on formatting USB or eSATA drives, see “Device” on page 47
.
To back up video:
1 Connect a USB flash drive or eSA
TA external hard drive to the DVR.
2 Right-click to open the Menu Bar and click the Rec
ord Search button ( ).
3 Click the Event Sear
ch tab.
4 Configure the f
ollowing:
• Search Date: Enter the desir
ed month, date, and year
• Search Time: Ent
er the time range you wish to search.
• CH: Select the channel you wish to search. To search all channels, select All.
• Type: Sel
ect the type of recording you wish to search. Choose from All, Continuous, or Alarm.

 Loading...