57
Setting up your DVR for Remote Connectivity
To set up remote connectivity with your DVR, you must:
1 Port forward the HTTP and Client Ports (default: 80 and 9000) on your router to your DVR’s IP
addr
ess.
2 Create a DDNS account.
3 Enable DDNS on the DVR.
4 Test the remote connection by connecting to the DDNS address.
Step 1 of 4: Port Forwarding
You must port forward the HTTP and Client ports (default: 80 and 9000) on your router to
your DVR’s IP address before you can remotely connect to your system. There are several
methods to port forward your router:
• Manually port forward the required ports on your router to your DVR’s IP address by
foll
owing your router manufacturer’s instructions. For more information on port
forwarding, see the reference guides on www.flirsecurity.com/pro.
• Use the Auto Port F
orwarding Wizard (PC only) to port forward the required ports (visit
www.flirsecurity.com/pro for the Wizard software and manual).
NOTE: If the abov
e ports are not forwarded on your router, you will not be able to access your
system remotely.
Step 2 of 4: Create a DDNS Account
FLIR offers a free DDNS service for use with your system. A DDNS account allows you to
set up a web site address that points back to your local network. This allows you to connect
to your system remotely. You must create a DDNS account in the same network as your
DVR.
To setup your free FLIR DDNS account:
1 In y
our browser, go to http://
ddns.myddns-flir.c
om
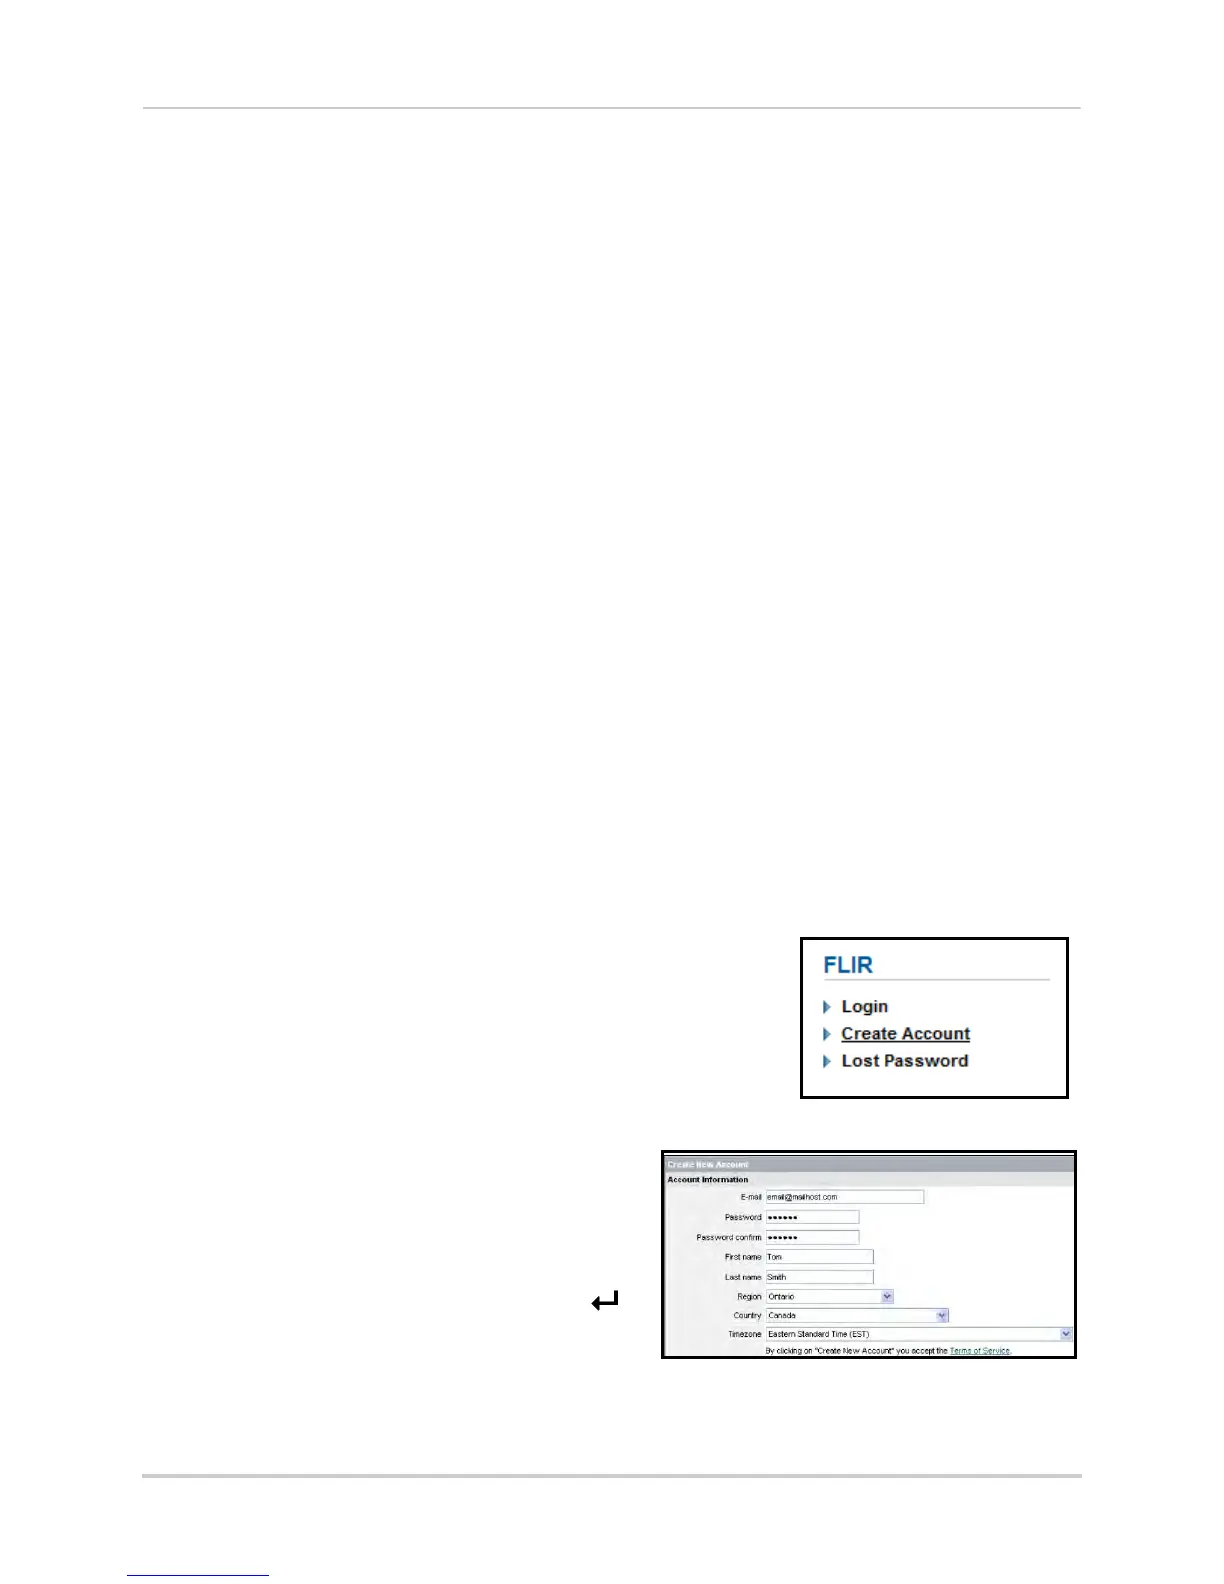
Create a DDNS account
Enter personal information
and click Create
Account.
2 Complete the Account Information fields with
y
our personal information. Complete the
Warranty Information with your purchase
details (optional).
3 Compl
ete the System Information fields:
•
Product License: Select y
our product model
from the Product License drop down menu (i.e.
D3200 or D3300).
• <Product Code> - <MAC Address>: Loc
at
e
the MAC address of your DVR (press the
button on the remote control or front panel to
find the MAC addr
ess.

 Loading...