78
Remote Viewing Interface
• Data Bit: Select the data bit rate of the PTZ camera*.
• Stop Bit: Select the s
top bit rate of the PTZ camera*.
• Parity: Select the parity settings of the PTZ camera*.
•
Cruise: Select Enabl
e or Disable*.
• Address: Select the address of the PTZ camera*.
*Consult the PTZ c
amera’s instruction manual for protocol and configuration details.
3 Click Save to apply your settings.
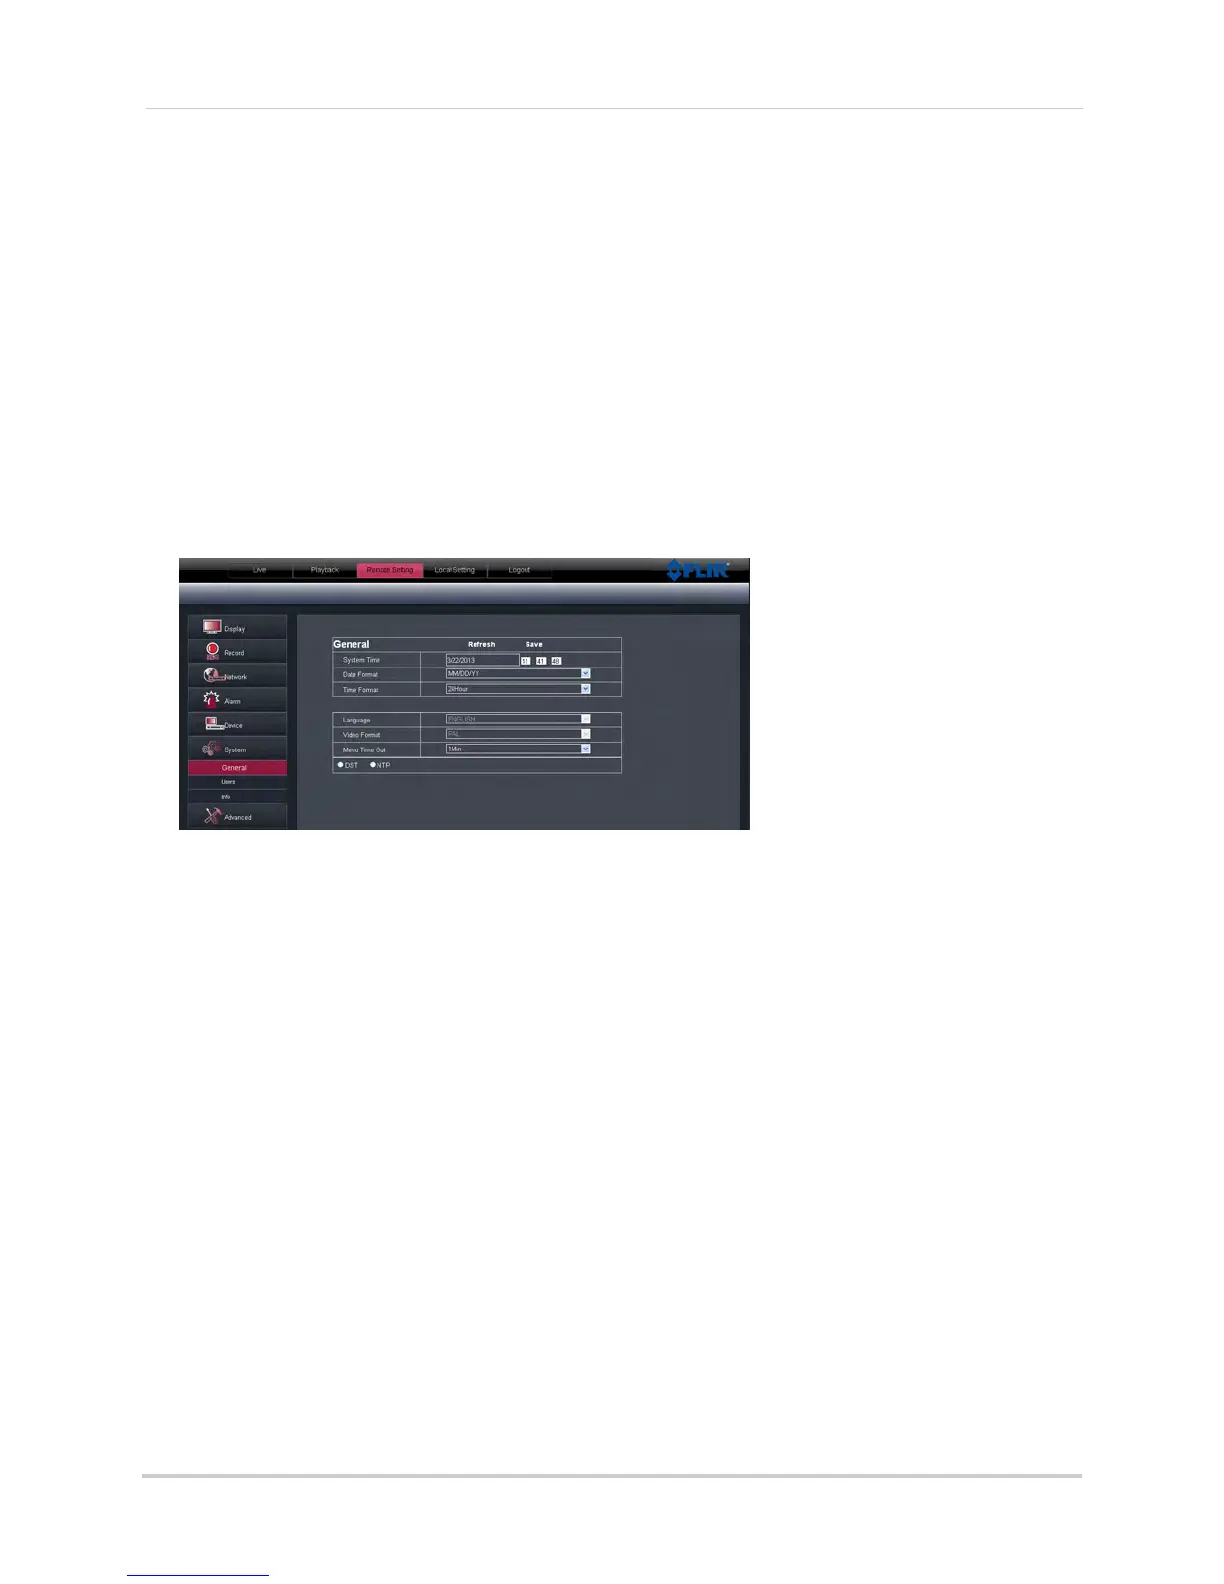
Configuring the System Time and Date
To configure the system time and date:
1 Click the Remote Setting tab, and click
System>General.
2 Configure the system format and time:
• System Time: Ent
er the desired system time and date. An on-screen calendar appears when
you click the date.
• Date Format: Sel
ect the desired format the date is displayed in.
• Time Format: Select between 12 hour or 24 hour time formats.
3 Select DST to enable daylight savings time, or NTP to sync the time with a NTP time server.
NOTE:
Using the NTP featur
e requires that your DVR have a constant Internet connection.
Changing the System’s Menu Time Out
To change the system’s time out menu:
1 Click the Remote Setting tab, and click
System>General.
2 In the Menu Timeout drop-down menu, select the duration the menu stays on screen before
disappearing.
3 Click Save
to apply your changes.
Configuring System User Accounts
You can add user accounts on the system.

 Loading...