71
Remote Viewing Interface
3 Click the recording grid, and select the type and duration of recording.
4 (Optional) Use the top Copy and Copy T
o drop-down to copy the recording schedule to a
specific day or all days. Click Copy to copy the schedule.
5 (Optional) Use the bottom
Copy and Copy To drop-down to copy the recording schedule to a
specific channel or all channels. Click Copy to copy the schedule.
6 Click Save
to apply your settings.
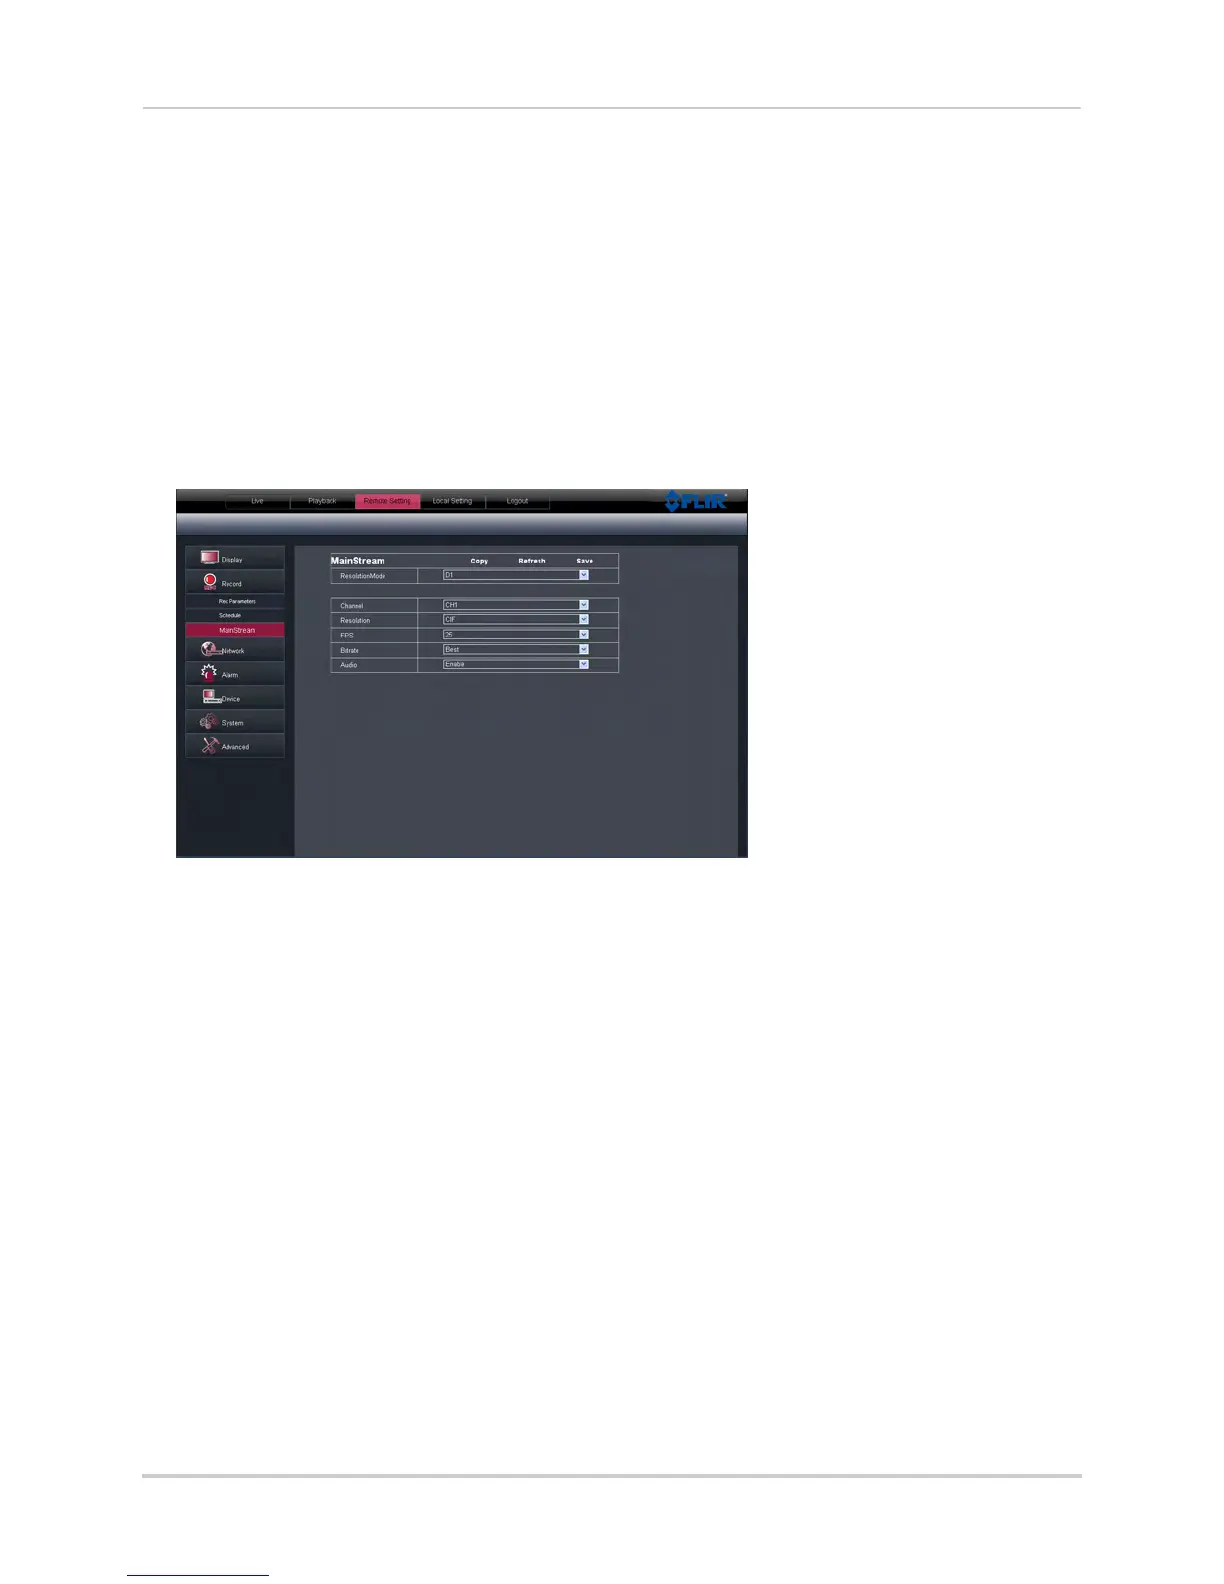
Configuring System Recording Quality
1 Click the Remote Setting tab, and click Record>MainStream.
2 Under Resolution Mode, select D1 or 960H. If you do not have 960H-compatible cameras, it is
recommended to select D1, as D1 will provide a higher number of total frames per second
(FPS) for recording. If you change the Resolution Mode setting, the system will restart once
you save your changes.
3 Configur
e the f
ollowing:
• Channel: Select the channel y
ou wish to apply the settings to.
• Resolution: Select the desir
ed recording resolution.
• FPS (Frame Rate): Select the desired recording frame rate. Note that higher frame rates
r
equire greater bandwidth consumption during remote viewing.
• Audio: Select whether y
ou want the system to record audio (audio cameras required, not
included).
4 Click Save
to apply your settings.
Configuring Basic Network Settings
The basic network menu allows you to configure the network protocol type (DHCP or
Static), UPnP and mobile phone login information.

 Loading...