CHAPTER 6
85
Routine Printer Maintenance
4/29/10 Rev G
Note: Both job length and material thickness affect the frequency of Clean Heads
procedures required to maintain healthy printheads: shorter length jobs and/or thicker
materials will increase the frequency of need for Clean Heads procedures due to
greater UV exposure to the printheads under these conditions. Be sure to monitor the
Clean Heads LED and perform a Clean Heads procedure whenever the LED is flashing
in order to maintain healthy printheads.
1 From the main or auxiliary control panel press the CLEAN HEADS key to begin the
cleaning sequence. This procedure pushes a small quantity of ink through all of the
printheads to clear the nozzles.
2 The printhead carriage moves to the maintenance location and the screen prompts you
to
Remove the Head Access Door. Press ENTER when done. Set the door aside on an all-
purpose wipe.
3 The printer prompts you to
Check Ink Waste Tray. Remove the waste ink tray and replace
the two all-purpose wipes if they are saturated.
4 Slide the waste tray back in place to automatically begin the cleaning sequence. The
working icon displays during the cleaning sequence. Ink will drip from all of the
printheads into the waste ink tray. The Clean Heads procedure takes approximately
three minutes and a series of three progress bars display sequentially as follows:
Please wait…, Head Cleaning, Please wait….
5 When the Clean Heads procedure is complete, the system prompts you to
Replace Head
Access Door.
6 After the head access door is installed the screen prompts you to
Lower shelf and swab
printheads.
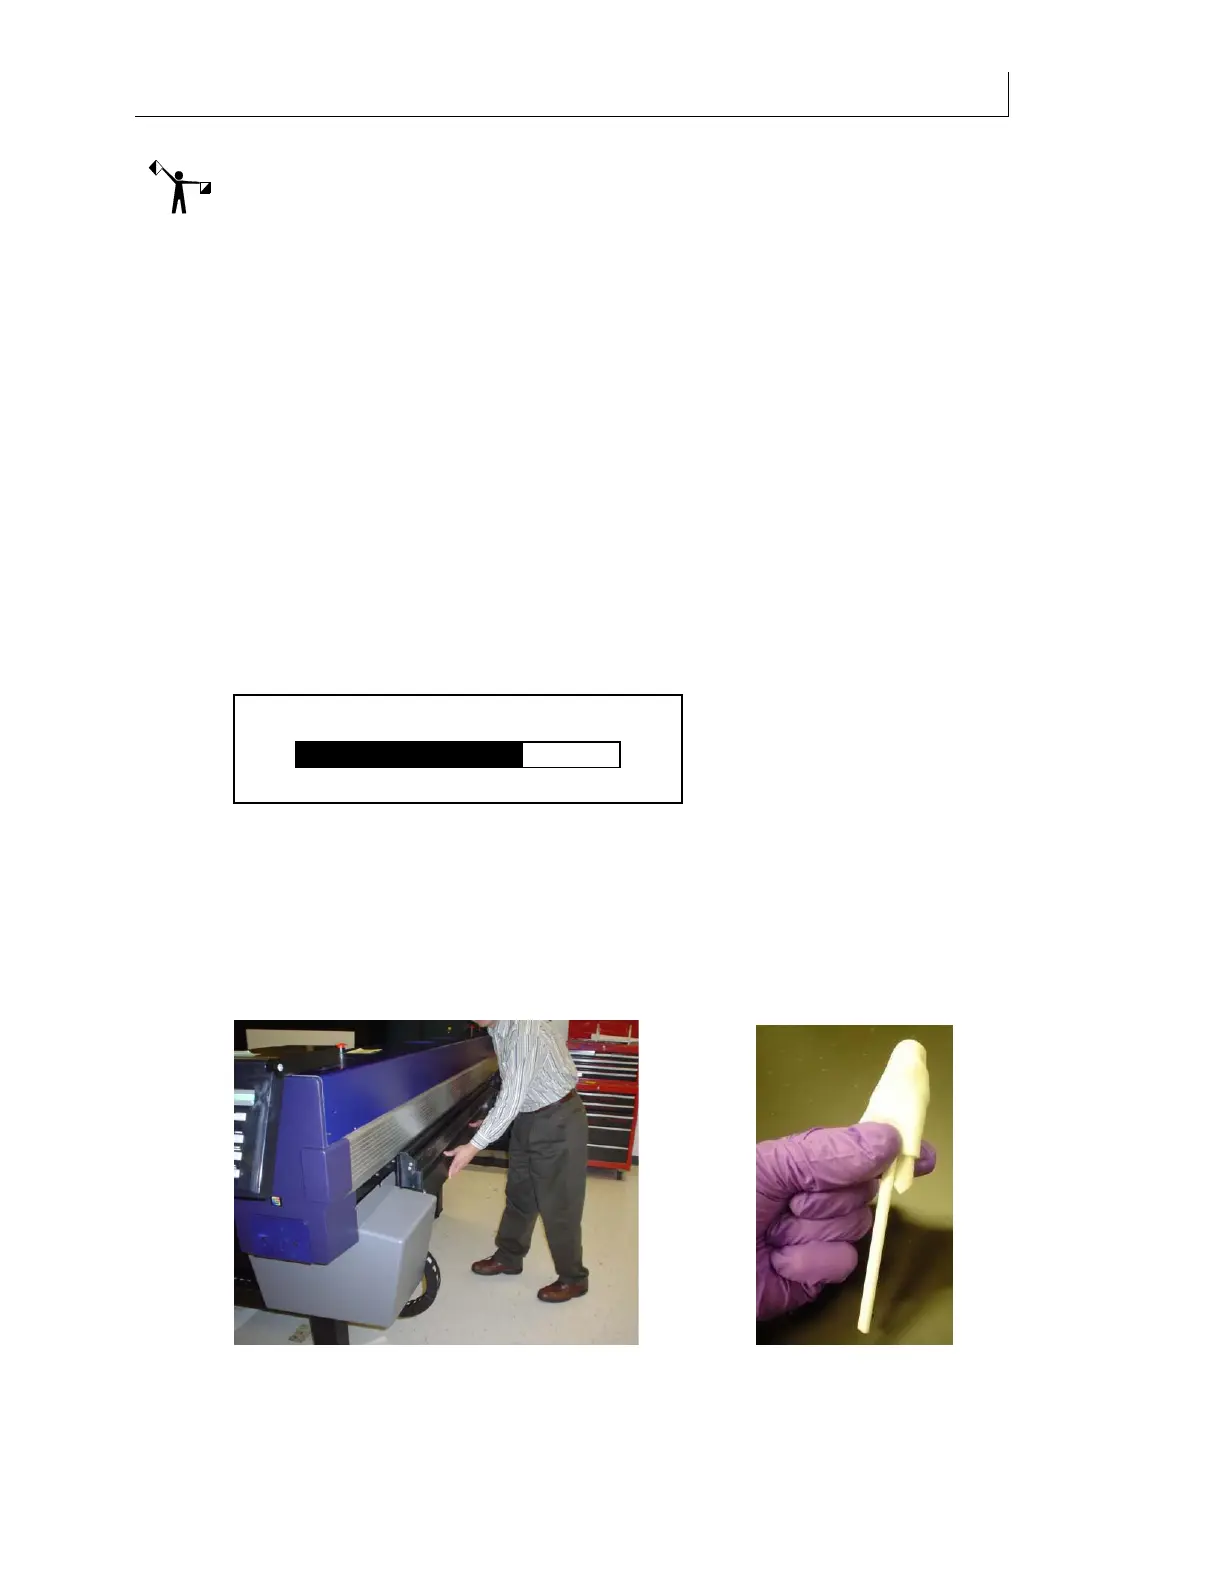
7 Lower the Maintenance Shelf by pushing down in the middle of the shelf. Do not push
on either end of the shelf as it causes the shelf to twist.
8 Place 3-5 drops of Daily Maintenance Solution onto a new Anticon-covered swab. See
photo above.
Head Cleaning
70%