CHAPTER 7
147
Gerber Solara ion Web Pages
4/29/10 Rev G
9 Click the Set Print Pos button to accept the entered values. Note that the resulting
calibration values are computed from the entered measurements and will differ from
the values that were entered.
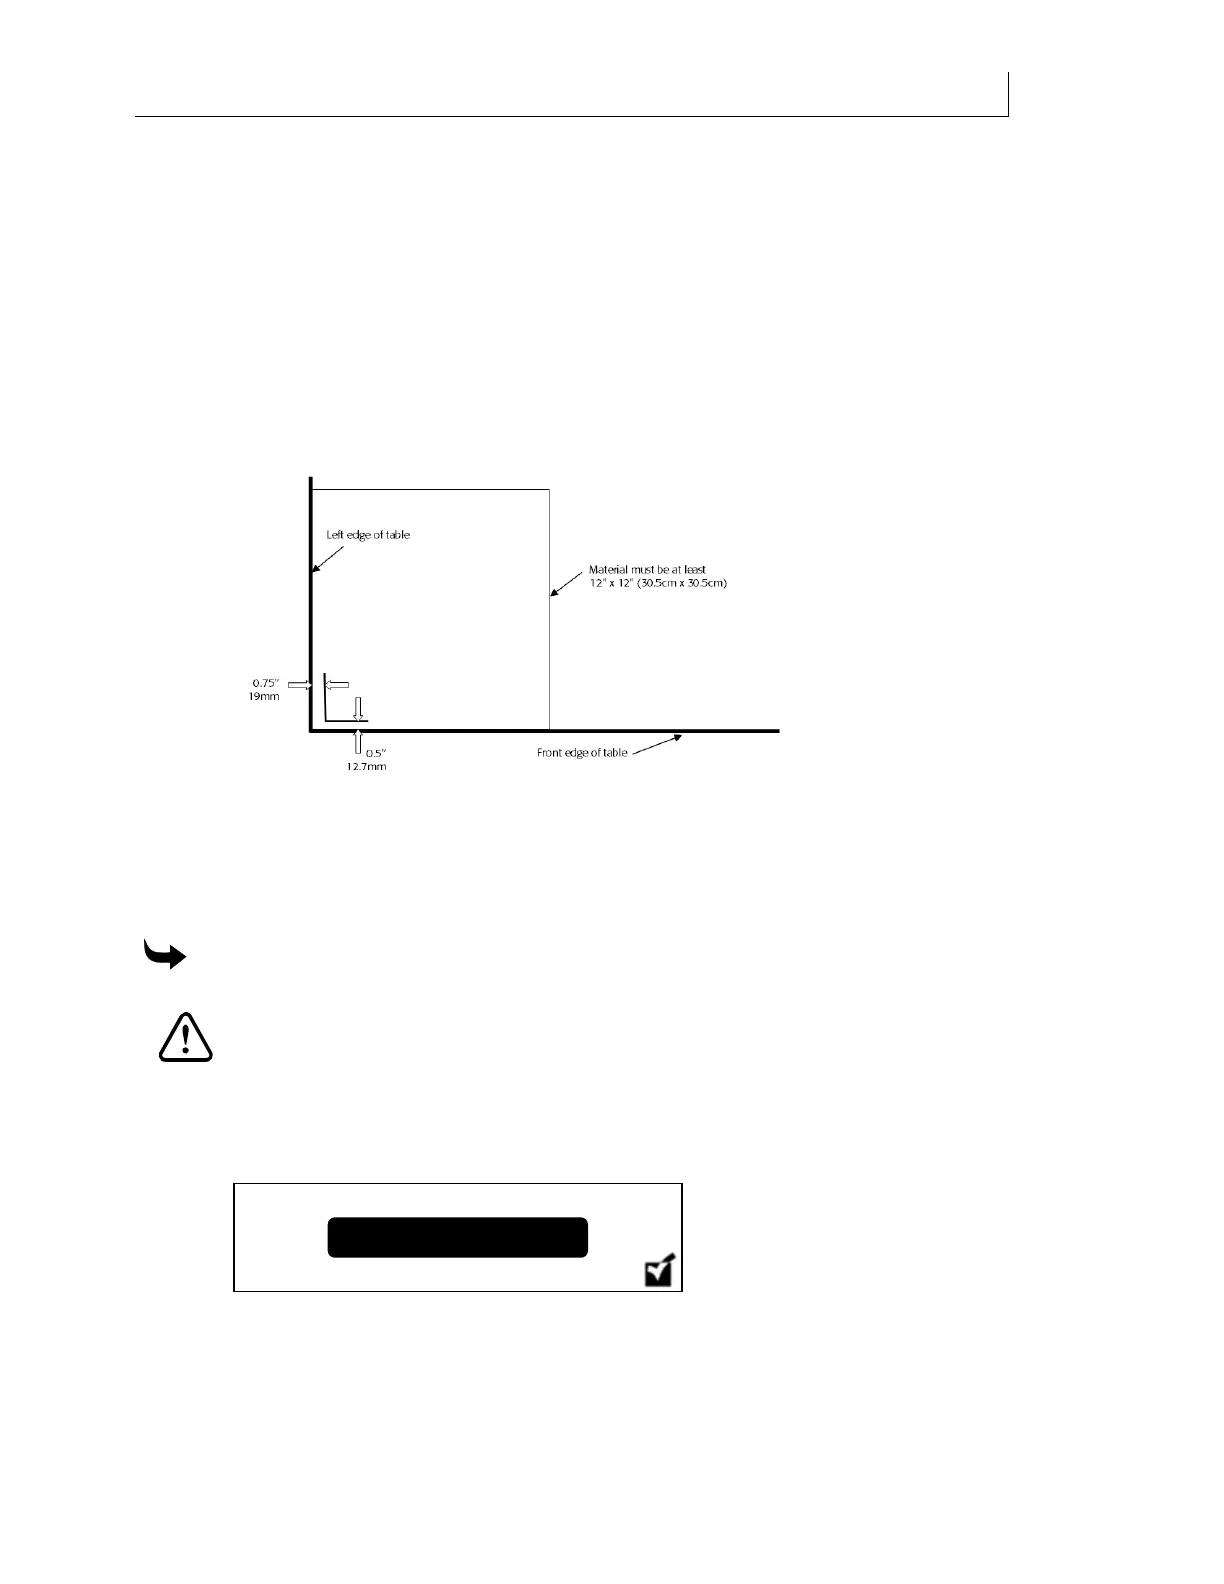
10 Rotate the material so that an unprinted corner of the material is at the front, left
corner of the table. Send Print Position Cal test job to the printer again.
11 Measure the distance from the left and front edge to the printed L-shaped image to
verify the correct positioning. When properly calibrated the left edge distance should
be 0.75" ”19mm) and the front edge distance should be 0.5" ”12.7mm). If the
measurements are not correct, re-enter the measured values as described in the above
steps and rerun the Print Position Cal job. Recheck measurements for proper
calibration.
Calibrating the printhead park position
Park Position calibration aligns the printheads with the slots in the head access door. If the
printhead is not spitting accurately through the slots, run the Park Position Calibration routine
which can be found in the Maintenance section of the printer Menu.
To calibrate the printhead park position
CAUTION: Use impervious gloves to protect your hands. Nitrile gloves of no less
than 8 mils have proven impervious for one hour of exposure. Gloves should be
disposed of after one hour of exposure time. Wear safety goggles to protect your
eyes. Dispose of used gloves according to local laws and regulations.
1 Remove the two left hand gantry covers.
2 From the main control panel press the MENU key. The
Status screen displays.
3 Press the or key until the
Calibration screen displays.
Status