CHAPTER 7
149
Gerber Solara ion Web Pages
4/29/10 Rev G
11 Press ENTER to save the offset value from the Y encoder edge. The screen displays
Calibration is set! The offset value displays on the Calibration web page as the Y
Carriage Park Offset. This calibration can only be completed using the printer. It is not
possible to enter the offset value manually on the web page.
12 The screen prompts you to
Replace the ink tray and to Replace the Head Access Door. Press
ENTER when done.
The screen then displays the Printer Ready message.
13 Replace the gantry covers.
Calibrating Image Quality
The 360 Uni, Bi, and 720 Uni directional calibrations align the printheads’ ink output for crisp
images and text. If the printhead is not spitting accurately, run the 360 and 720 Horizontal
Alignment Jobs which can be found in the Test Jobs submenu of the Calibration section of the
printer Menu and make adjustments as directed in this section.
NOTE: Be sure to check the uni directional alignments on the “360 Horizontal Alignment
Job” and make any required adjustments prior to adjusting the bidirectional mode, as
unidirectional changes directly affect bidirectional alignment.
Note: Always perform 360 mode alignments prior to 720.
CAUTION: Use impervious gloves to protect your hands. Nitrile gloves of no less
than 8 mils have proven impervious for one hour of exposure. Gloves should be
disposed of after one hour of exposure time. Wear safety goggles to protect your
eyes. Dispose of used gloves according to local laws and regulations.
To calibrate 360 unidirectional printing
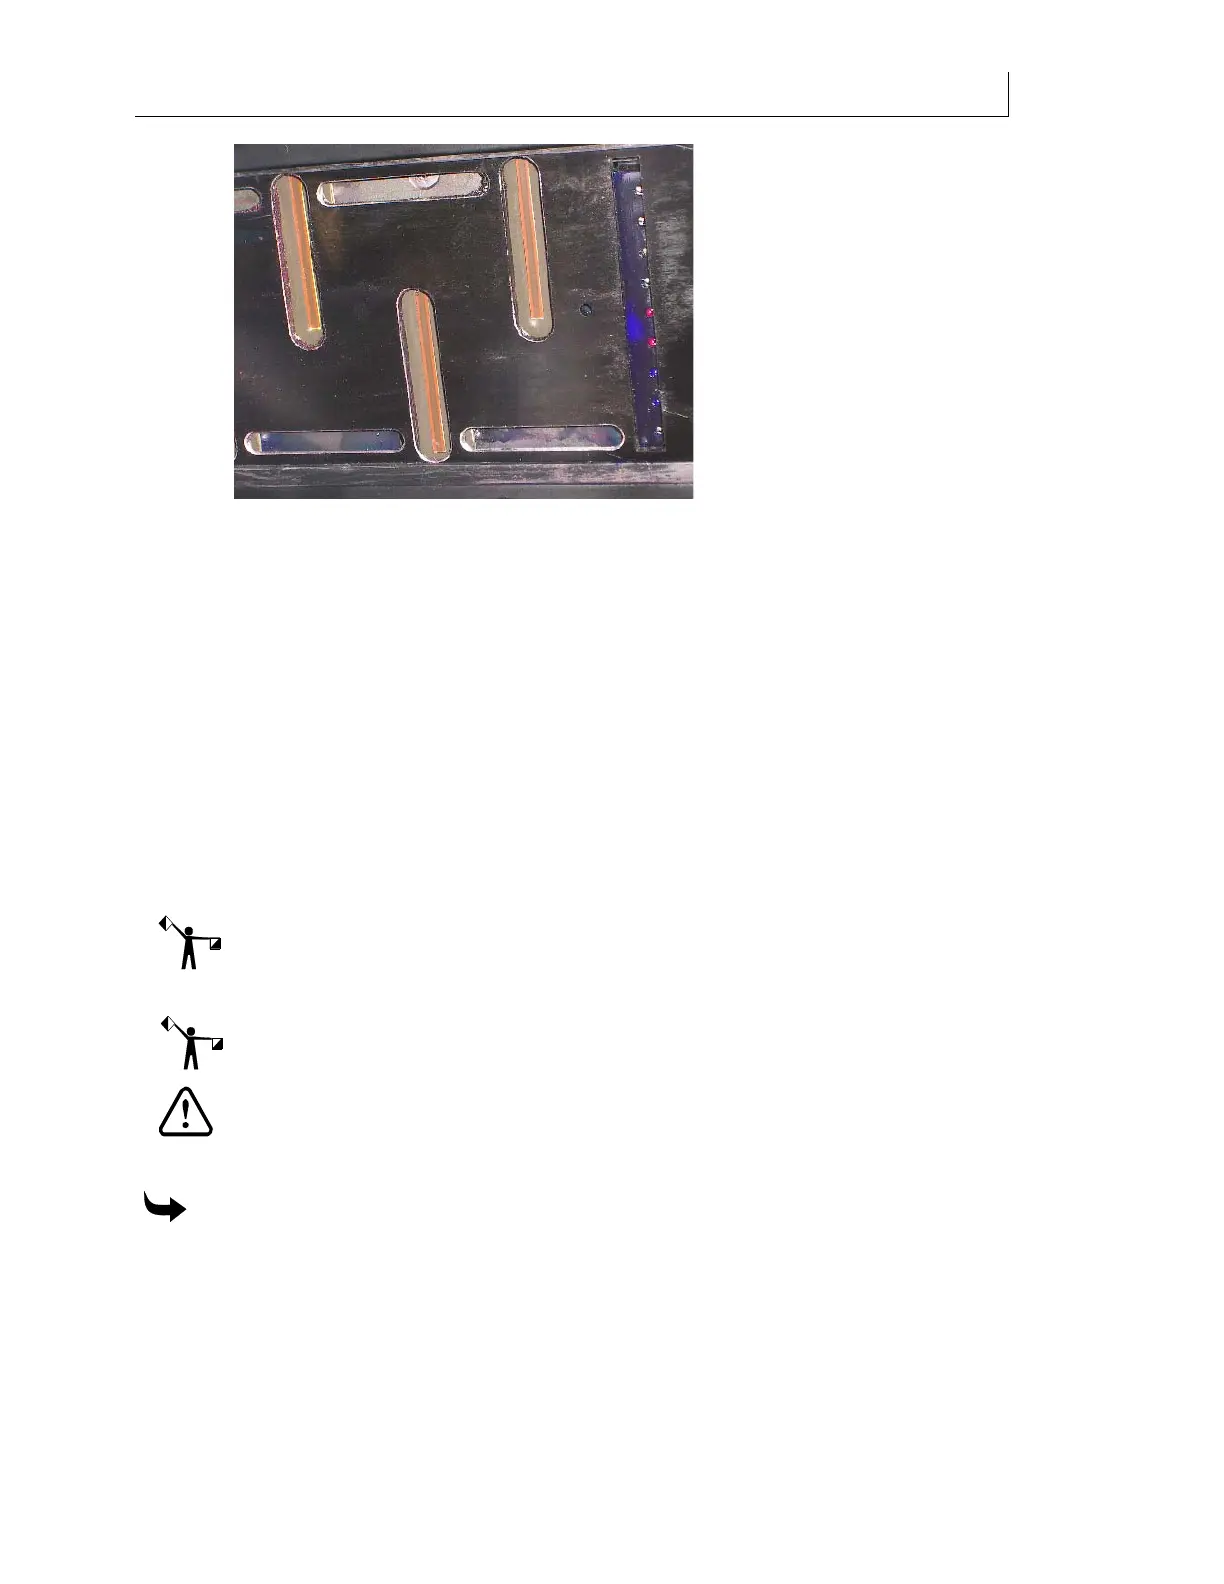
The image below is used for the unidirectional and bidirectional calibration. For this
particular calibration procedure please use the bottom row labeled UNIDIRECTIONAL.