CHAPTER 7
148
Gerber Solara ion Web Pages
4/29/10 Rev G
4 Press ENTER to display the
Test Jobs screen.
5 Press the or key until the
Park Position Cal screen displays.
6 Press ENTER to begin the calibration sequence. The
printhead carriage moves to the maintenance location
and the screen prompts you to
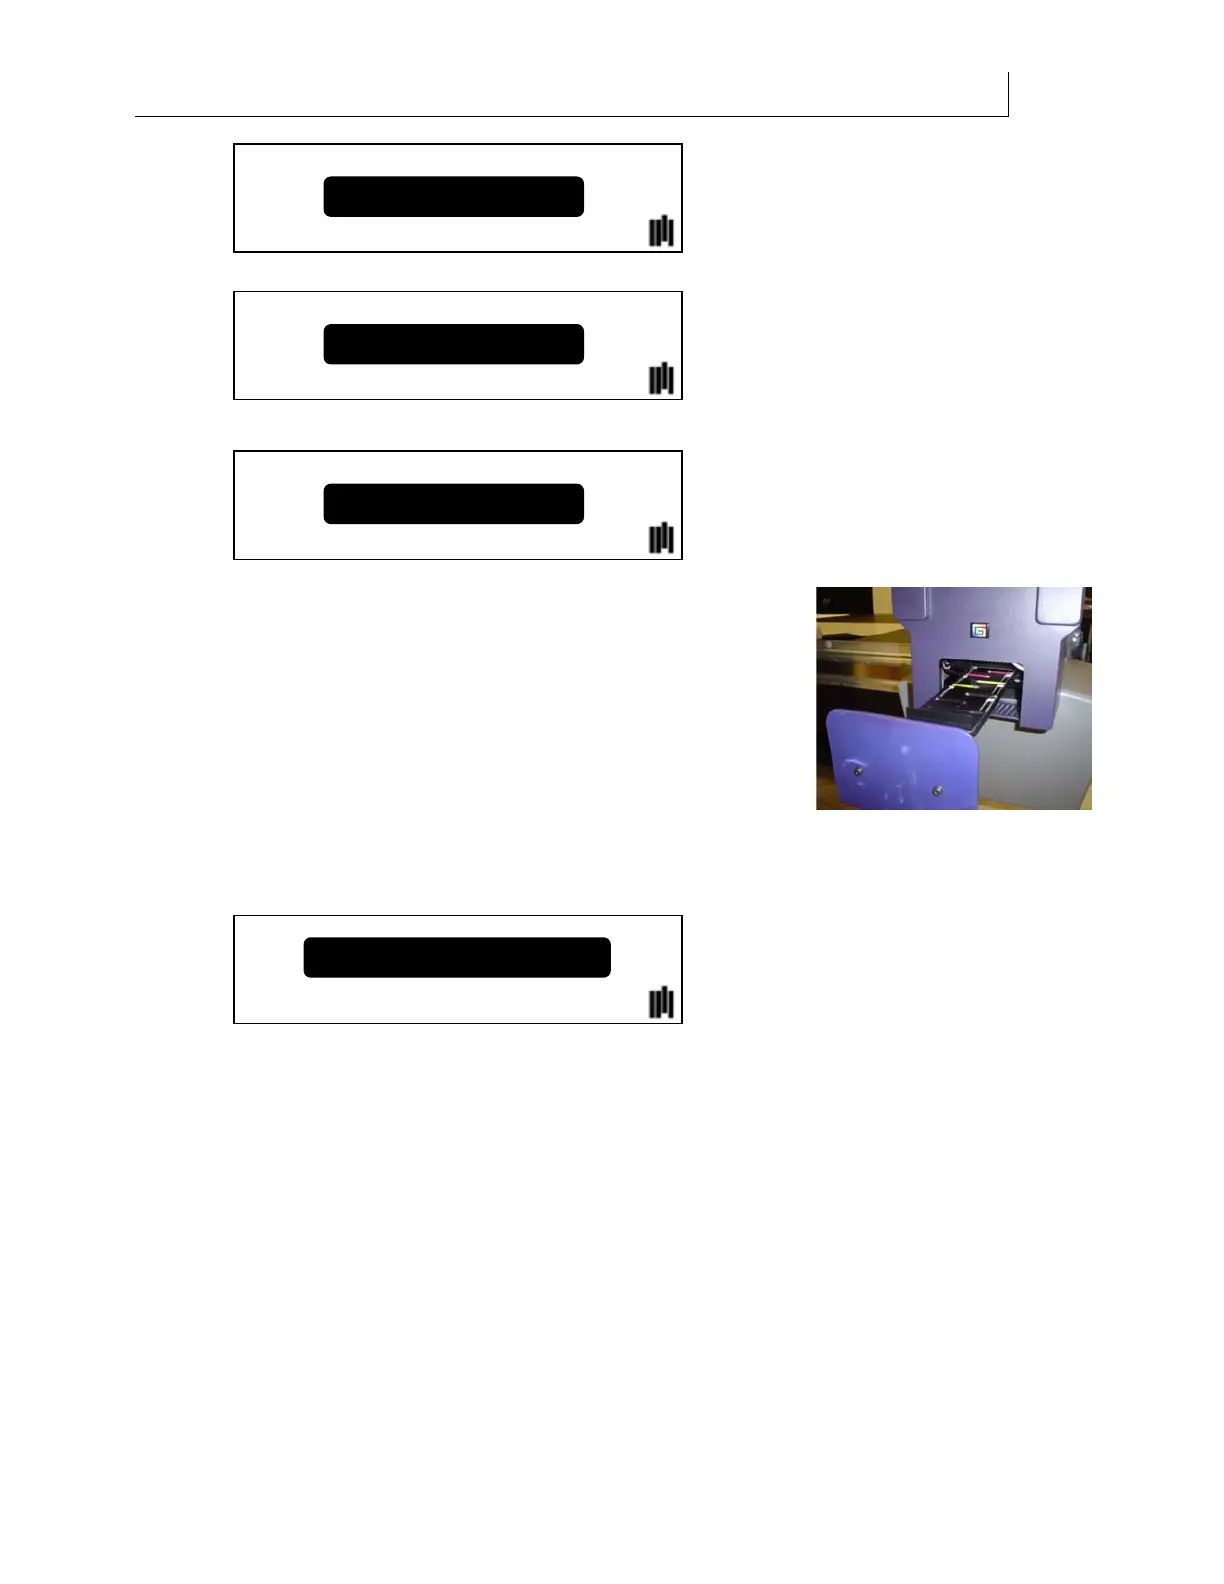
Remove the Head Access
Door. Press ENTER when done. Set the door aside on an all-
purpose wipe.
7 The printer prompts you to
Remove the waste ink tray.
Remove the waste ink tray, empty it, and set it aside on
an all-purpose wipe (see page 93).
8 The printer prompts you to
Replace the Head Access Door. Press ENTER when done.
9 The printer displays instructions to adjust the printhead carriage location in the Y axis
using the slew keys.
10 Use the slew keys to adjust the printheads until they are aligned directly above the
slots in the head access door. View the printheads and head access door from
underneath. You may find it easier to use the slew keys on the auxiliary keypad
located on the maintenance shelf.
Test Jobs
Calibration
Park Position Cal
Use slew keys to adj. Pos.
Press ENTER when done