CHAPTER 6
88
Routine Printer Maintenance
4/29/10 Rev G
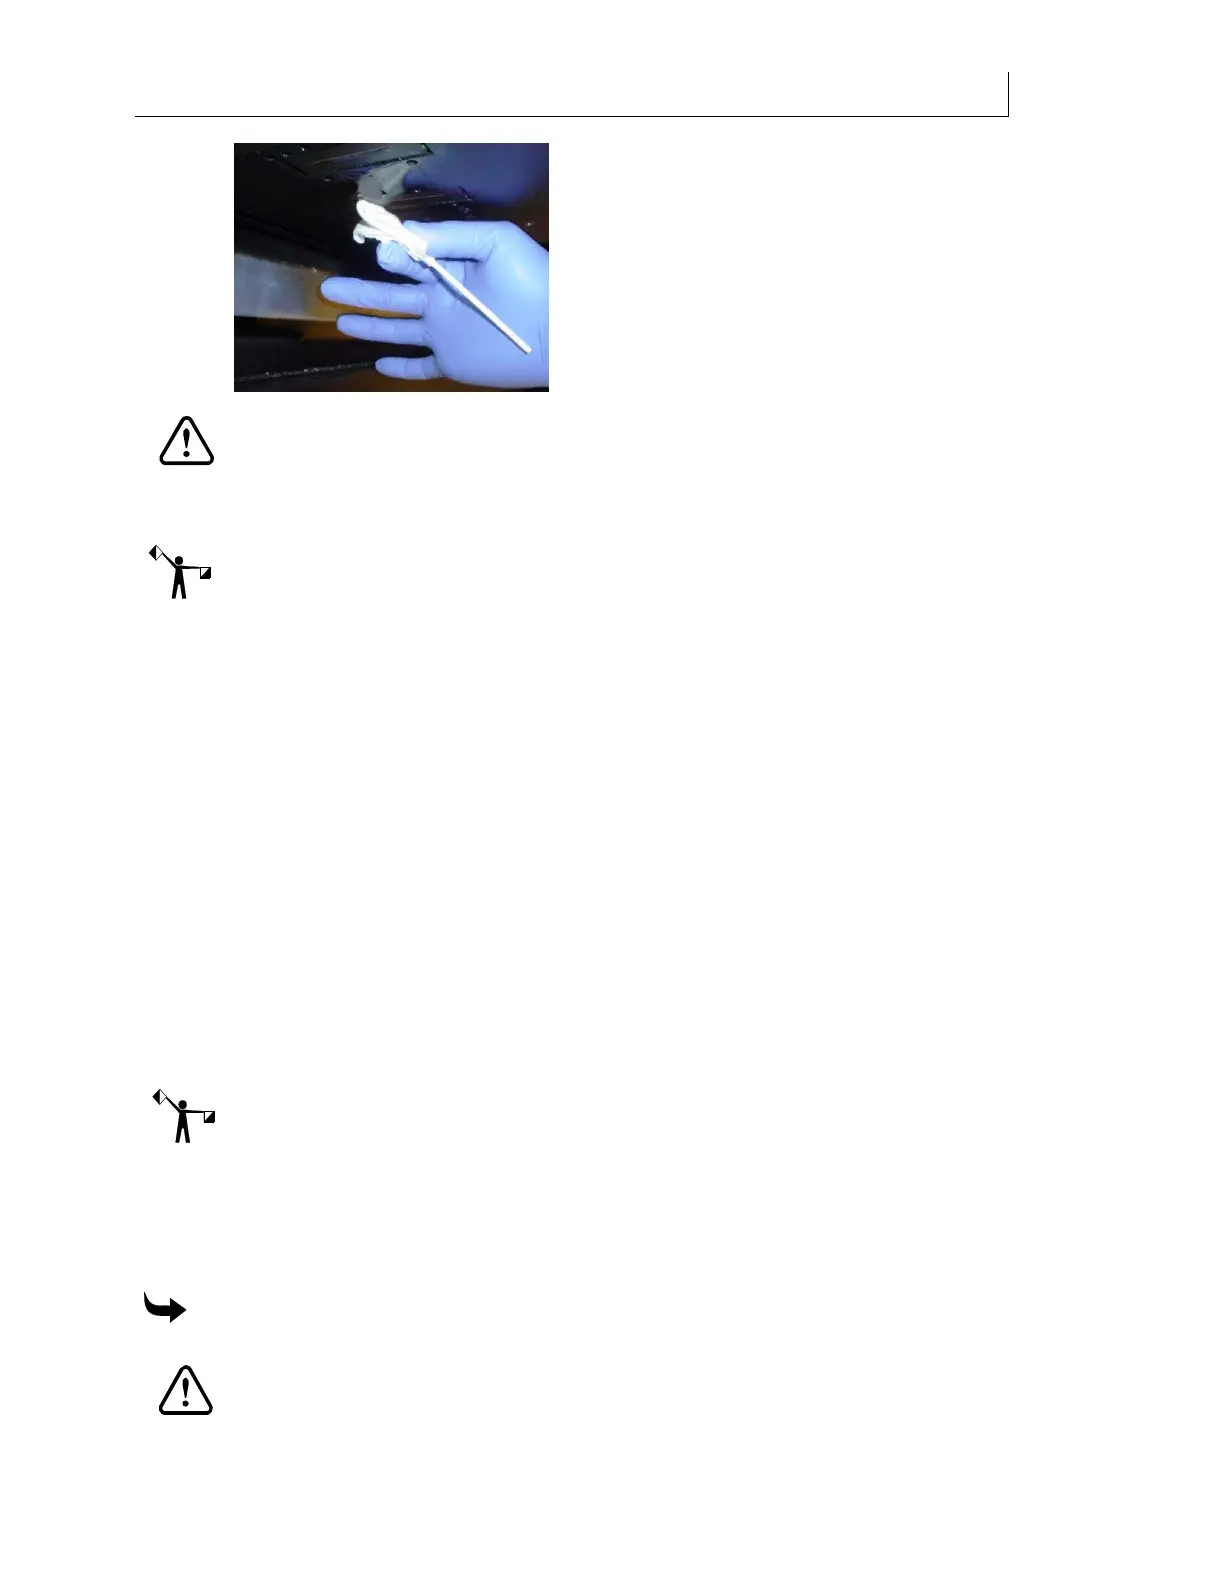
CAUTION: Never reuse old swabs to clean the printhead. Never use the same swab
on two different color printheads.
9 Repeat the previous steps for the remaining heads, moving from left to right, and
using a new Anticon-covered swab for color printhead.
Note: Prior to raising the Maintenance Shelf, be sure to complete all steps for all printheads
and check the UV shield and side plates for presence of wet and/or cured ink. If PRESENT in
either form, see “Cleaning the sliding UV Shield and side plates” instructions starting on page
88 prior to proceeding.
10 Dispose of used swabs
and wipes according to state and local laws and regulations.
11 Raise Maintenance Shelf when complete.
Cleaning the sliding UV shield and side plates
The UV shield and the side plates should be checked and cleaned during every Clean Heads
procedure. This procedure should be done after you have completed the Clean Heads process
and before you lift the Maintenance Shelf.
Inspect the small, flat side plate between the waste ink tray and the table, and the opposite side
plate for cured ink. Occasionally ink may drip in these areas and will be cured by the UV lamps,
creating small mounds of cured ink. As the carriage travels over this area it can contact the
cured ink and damage the printheads. Use an all-purpose wipe to remove uncured ink; use a
flat edge razor blade to remove the cured ink.
Note: At any time, if you notice ink drips on the table or print, inspect the left and right side
plates to see if ink has dripped in these locations, and remove any drips or cured ink
immediately.
Slide the UV shield all the way to the right and use the Inspect Nozzle function to gain access to
the shield and the side plates.
To clean the sliding UV shield and side plates
CAUTION: Use impervious gloves to protect your hands. Nitrile gloves of no less
than 8 mils have proven impervious for one hour of exposure. Gloves should be