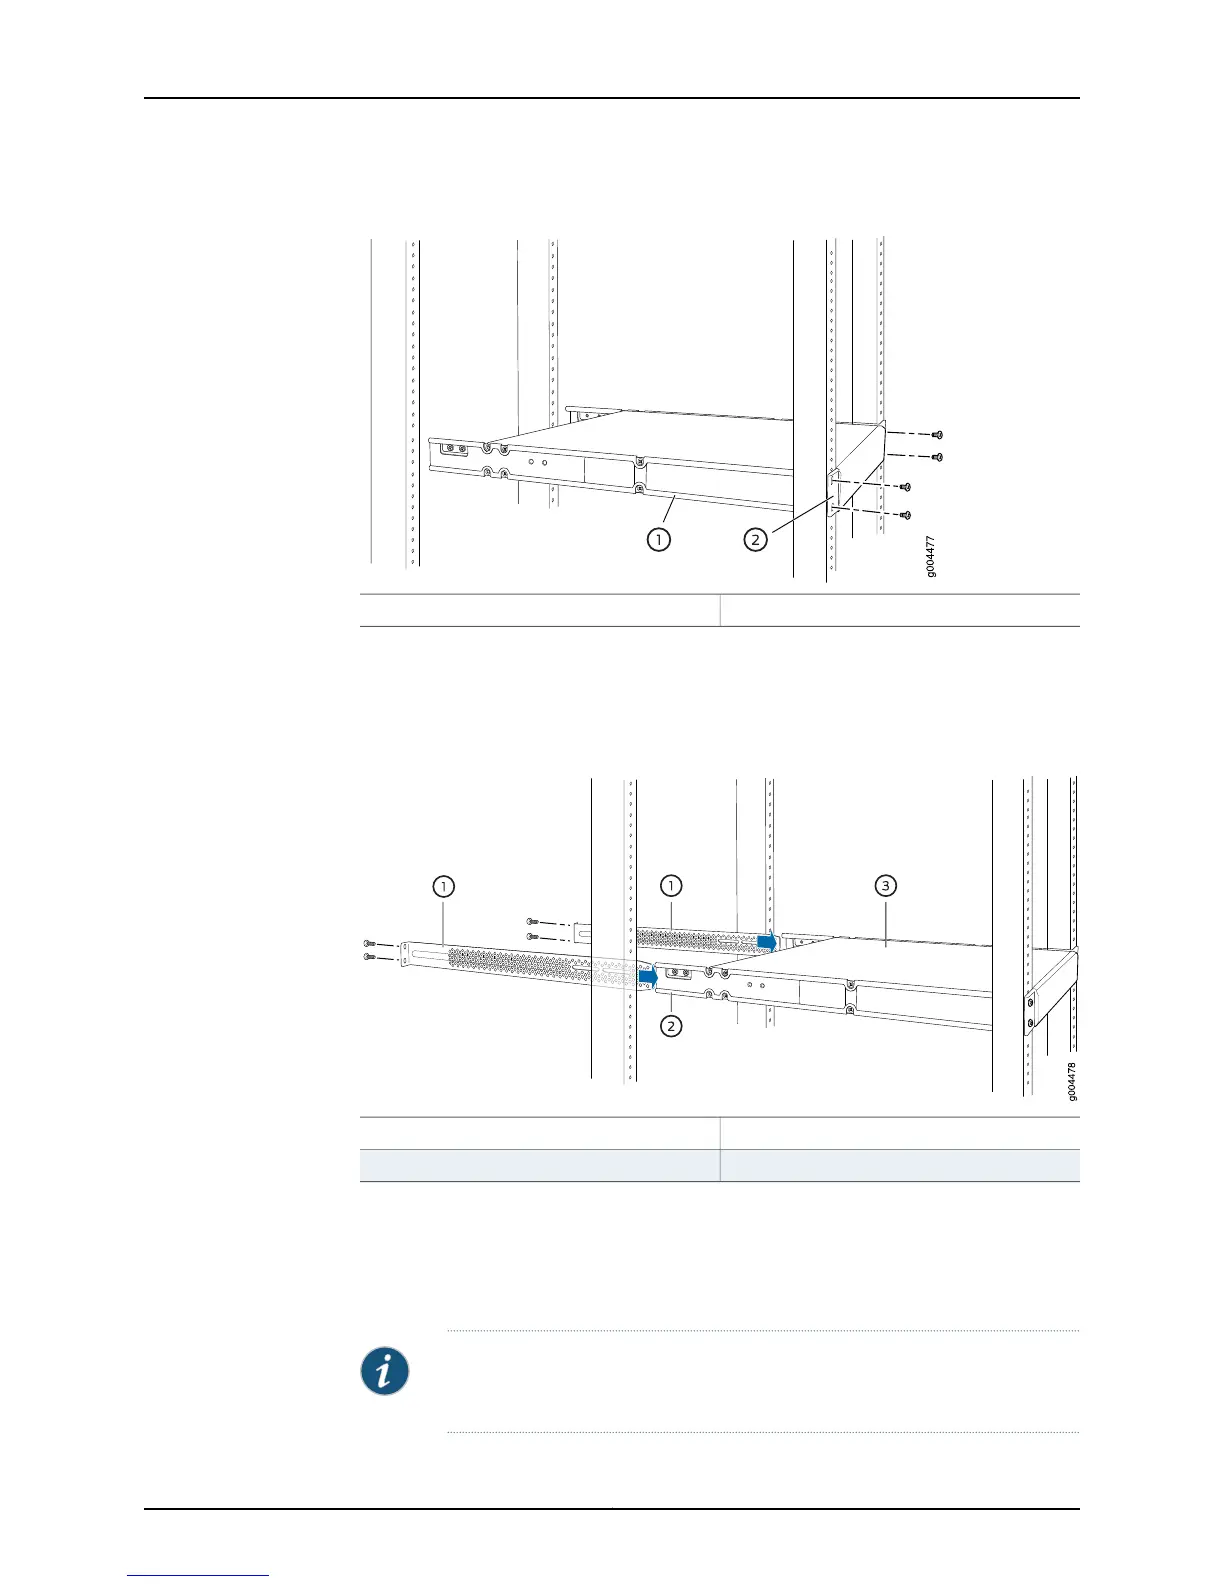
Figure 40: Mounting the Switch to the Front Posts in a Rack
2—1— Front-mounting bracketSide mounting-rail
7. Have a second person secure the front mount brackets to the rack by using the
appropriate screws for your rack.
8. Slide the rear mounting-blades into the side mounting-rails.SeeFigure 41 on page154.
Figure 41: Sliding the Rear Mounting-Blade into the Side Mounting-Rail
3—1— SwitchRear mounting-blade
2—Side mounting-rail
9. Attach the rear mounting-blades to the rear post by using the appropriate screws for
your rack. Tighten the screws.
10. Ensure that the switch chassis is level by verifying that all the screws on the front of
the rack are aligned with the screws at the back of the rack.
NOTE: We recommend that you use cover panels in unused module slots
and dust covers in any unused SFP/SFP+ ports.
Copyright © 2015, Juniper Networks, Inc.154
EX4550 Switch Hardware Guide