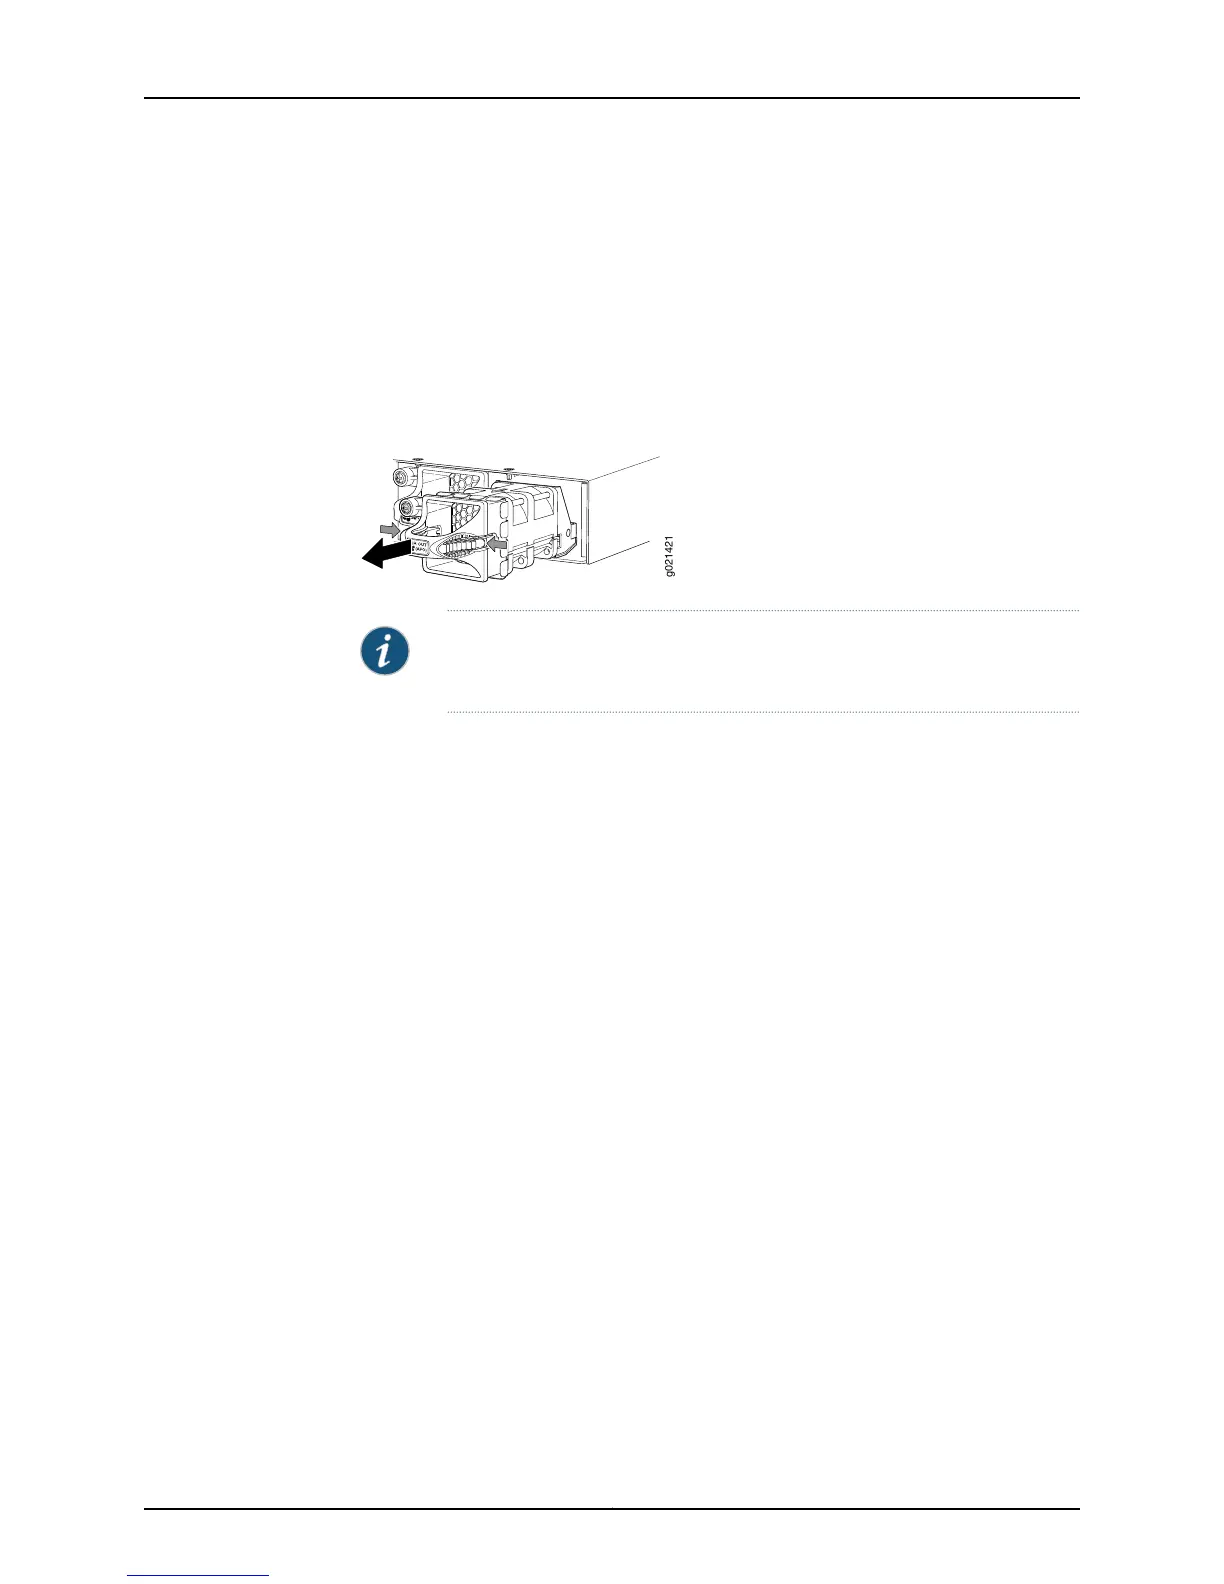
3. Grasp the handle on the fan module and compress the release clip on both sides of
the handle firmly to release the fan.
4. Pull the handle firmly to slide the fan module out of the chassis.
5. Place the fan module in the antistatic bag or on the antistatic mat placed on a flat,
stable surface.
6. Install the replacement fan.
Figure 56: Removing a Fan Module from an EX4550 Switch
NOTE: All three fan modules must be installed and operational for optimal
functioning of the switch.
Related
Documentation
• Installing a Fan Module in an EX4550 Switch on page 199
• Installing and Removing EX4550 Switch Hardware Components on page 155
• Cooling System and Airflow in an EX4550 Switch on page 35
• Field-Replaceable Units in EX4550 Switches on page 18
• EX4550 Switches Hardware Overview on page 3
201Copyright © 2015, Juniper Networks, Inc.
Chapter 16: Replacing Cooling System Component