Before you remove a power supply from an EX4550 switch, ensure that you have taken
the necessary precautions to prevent electrostatic discharge (ESD) damage (see
“Prevention of Electrostatic Discharge Damage” on page 287).
Ensure that you have the following parts and tools available to remove a power supply
from an EX4550 switch:
•
ESD grounding strap
•
Antistatic bag or an antistatic mat
•
Replacement power supply or a cover panel for the power supply slot
CAUTION: We recommendthatyou install eithera replacement powersupply
or a cover panel in the empty power supply slot to avoid chassis overheating
and dust accumulation.
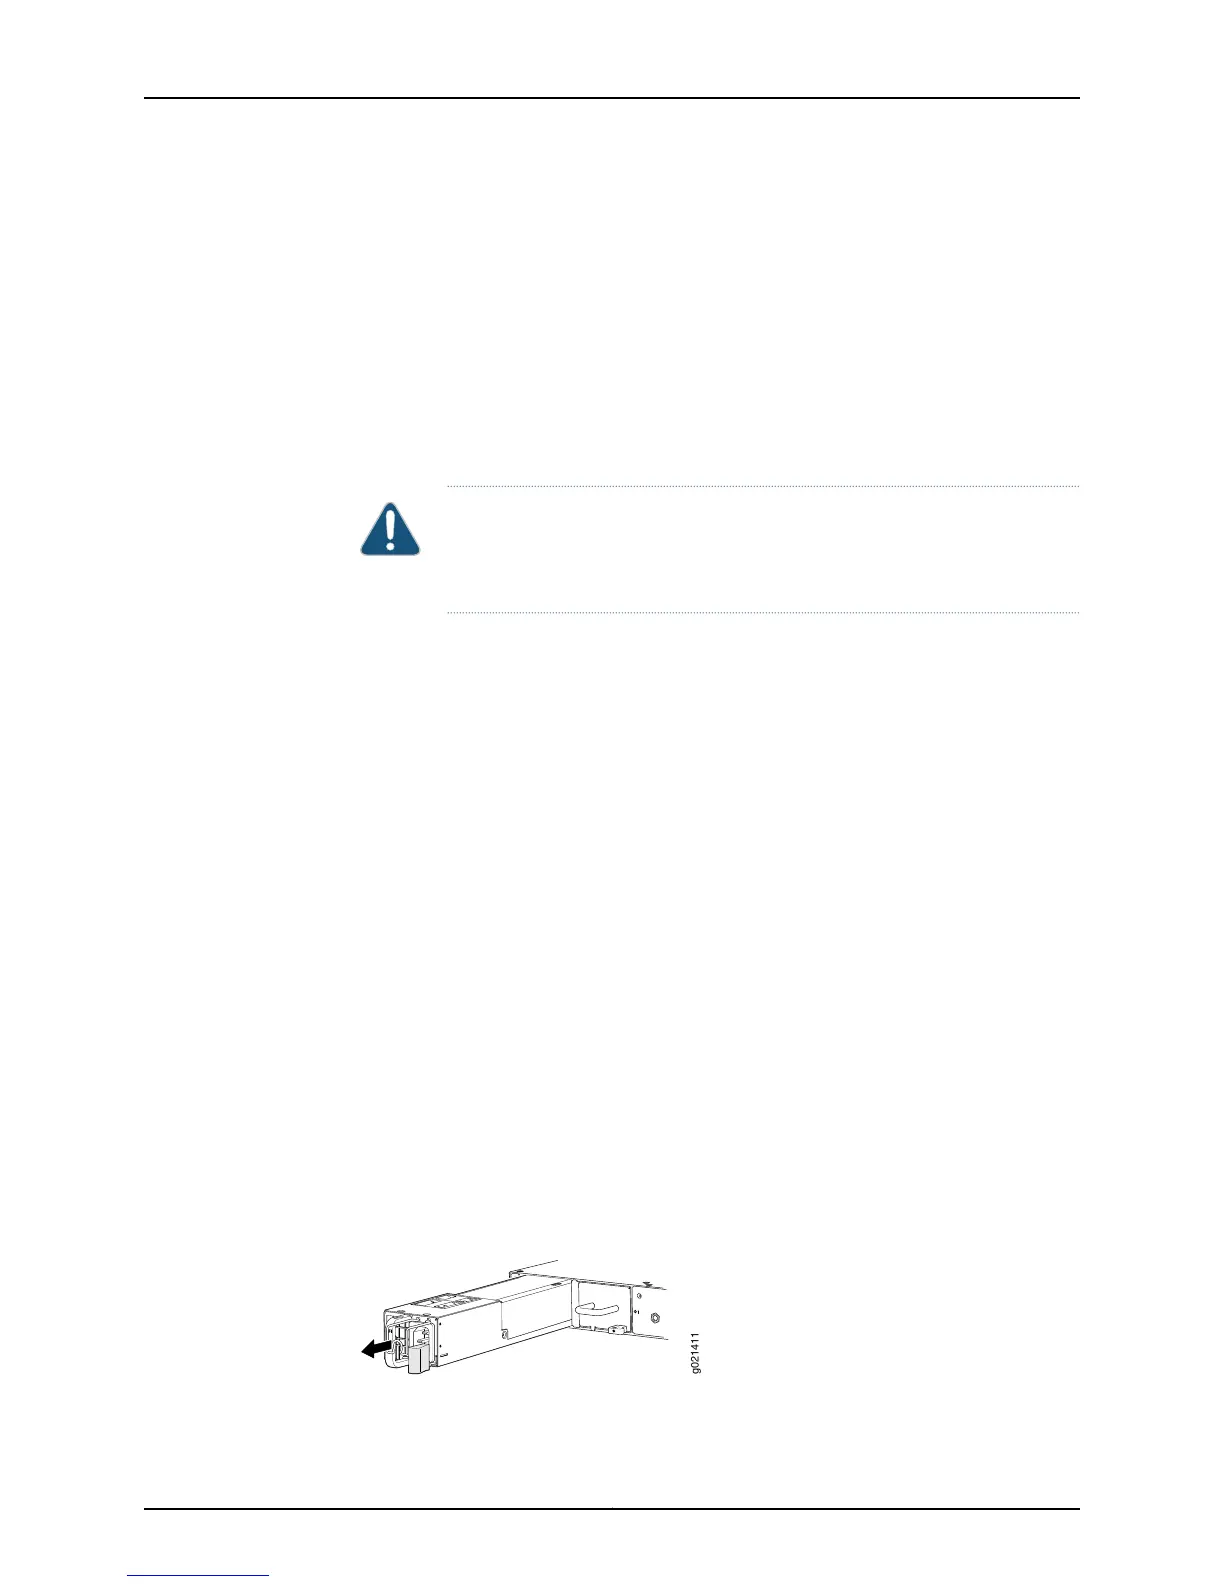
To remove a power supply from an EX4550 switch (see Figure 58 on page 205):
1. Place the antistatic bag or the antistatic mat on a flat, stable surface.
2. Attach the ESD grounding strap to your bare wrist, and connect the strap to the ESD
point on the chassis.
3. If the AC power source outlet has a power switch, set it to the off (O) position.
4. Gently pull out the male end of the power cord connected to the power source outlet.
5. Remove the power cord from the power supply faceplate by detaching the power
cord retainer and gently pulling out the female end of the power cord connected to
the power supply faceplate.
6. Slide the ejector lever toward the left until the power supply is unseated.
7. Grasp the power supply handle and pull firmly to slide the power supply halfway out
of the chassis.
8. Place one hand under the power supply to support it and slide it completely out of
the chassis. Take care not to touch power supply components, pins, leads, or solder
connections.
9. Place the power supply in the antistatic bag or on the antistatic mat placed on a flat,
stable surface.
10. If you are not replacing the power supply, install the cover panel over the slot.
Figure 58: Removing an AC Power Supply from an EX4550 Switch
205Copyright © 2015, Juniper Networks, Inc.
Chapter 17: Replacing Power Supply